Spline: Interactive 3D Design Tool to Generate Professional-Grade 3D Digital Experiences in the Browser
General Introduction
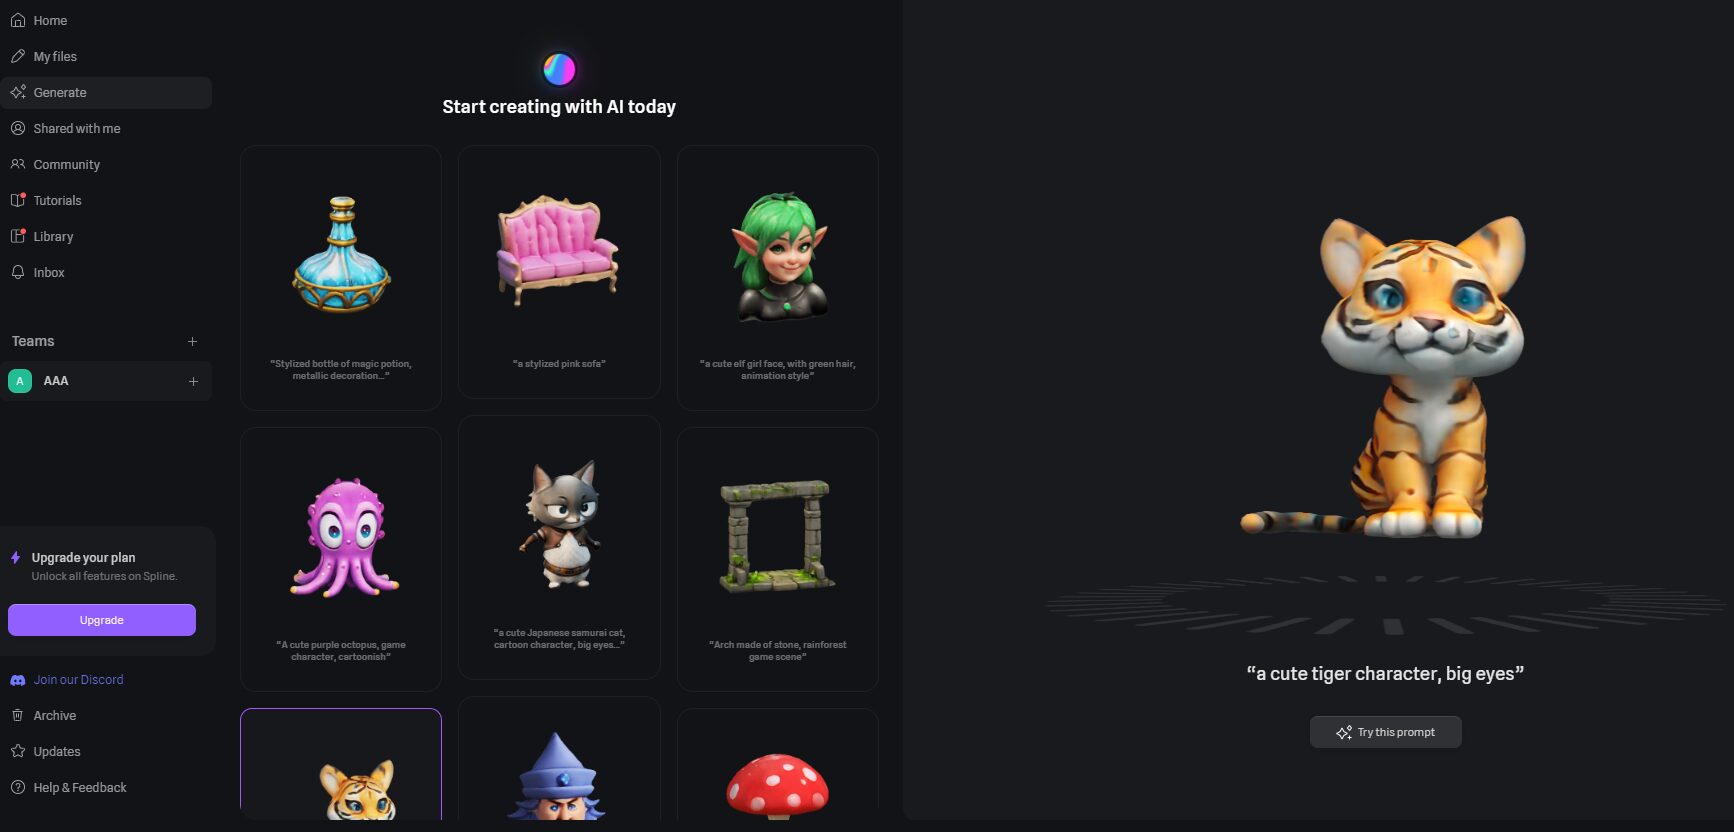
Spline is a revolutionary web-based 3D design platform that enables designers to create, edit and share professional-grade 3D content directly in the browser. The platform breaks through the complexity of traditional 3D design tools by providing an intuitive user interface and powerful feature set. With real-time collaboration features, team members can work on the same project at the same time, dramatically increasing productivity.Spline supports everything from simple 3D model creation to complex interactive animations, and makes it easy to export work for web development. The platform is equipped with a wealth of learning resources, including detailed tutorials and documentation, making it easy for even novice 3D designers to get started. Spline provides an ideal one-stop solution for designers and developers who want to incorporate 3D elements into their digital products.
Function List
- In-browser 3D modeling and design tools, no downloads or installations required
- Real-time multiplayer collaboration features to support team co-creation
- Rich 3D object library and material system
- Professional-grade animation and interaction design tools
- Support for physics engine simulation
- Full export functionality with web integration support
- Built-in version control and project management system
- Support 2D to 3D function, which can convert flat design into three-dimensional effect
- Advanced material editor and mapping system
- Interactive preview and real-time rendering capabilities
Using Help
1. Getting Started
- Visit the spline.design website
- Click on "Sign Up" to create an account, either using your email or social media accounts.
- Select the appropriate subscription plan (free and pro versions available)
2. Overview of the interface
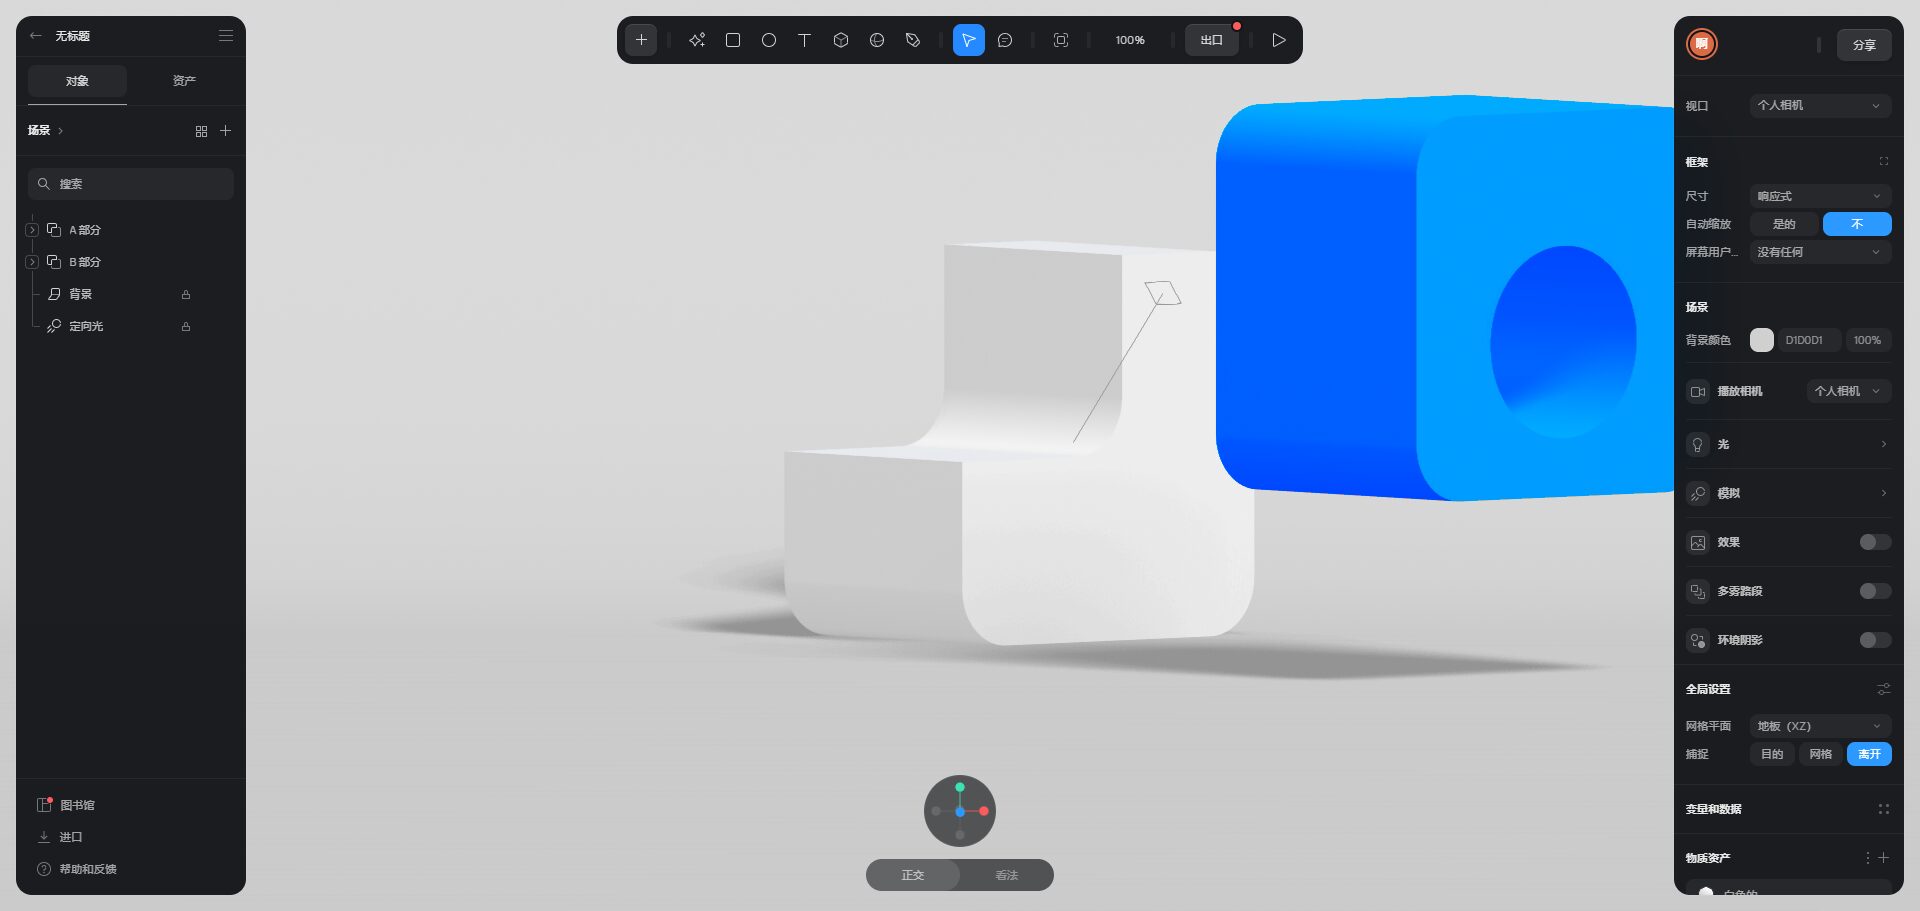
The main interface is divided into the following key areas:
- Left toolbar: contains basic shapes, drawing tools, modification tools, etc.
- Central Canvas: the main 3D design workspace
- Right panel: property editor, material settings, animation timeline, etc.
- Top menu: file operations, view control, export options, etc.
3. Basic operational guidelines
Creating 3D objects
- Select the base shape (cube, sphere, etc.) from the left toolbar
- Click on the canvas to place the object
- Use control points to adjust size and shape
- Precise parameterization via the right panel
Material Editor
- Selecting the target object
- Find the "Materials" option in the right panel.
- Select preset materials or custom properties
- Adjust color, transparency, reflection and other parameters
animation
- Switch to "Animation" mode.
- Setting Keyframes
- Adjusting object properties (position, rotation, scaling, etc.)
- Using the timeline to control the rhythm of the animation
4. Use of advanced functions
collaboration function
- Click on the "Share" button.
- Setting up access rights
- Invite team members to join
- Changes can be edited and viewed at the same time
interaction design
- Go to the "Interactions" panel.
- Selection of trigger events (click, hover, etc.)
- Setting the response action
- Preview and test interactions
Export Project
- Click on the "Export" button.
- Select export format (HTML, React component, etc.)
- Configuring Export Options
- Get the code or download the file
5. Performance optimization recommendations
- Rationalize the number of polygons used
- Compressing the texture size
- Appropriate use of LOD (level of detail)
- Attention to animation frame rate control
6. Resolution of common problems
- If you are experiencing performance issues, it is recommended to clear your browser's cache
- Check network connection when export fails
- Collaboration lags try reconnecting
- Regularly save work progress
© Copyright notes
Article copyright AI Sharing Circle All, please do not reproduce without permission.
Related articles

No comments...

