NarratoAI: Text-Generated Movie and TV Narration and Automated Editing Tool
General Introduction
NarratoAI is a fully automated tool that integrates movie and TV narration, automated editing, dubbing and subtitle generation. It relies on large-scale language modeling (LLM) technology to automatically generate copy and automatically edit videos with corresponding voiceovers and subtitles, providing users with a one-stop solution for film and television narration. The tool greatly simplifies the video content creation process, improves creation efficiency, and reduces the dependence on professional video editing software and hardware.
Function List
- Automated Copywriting: Use LLM technology to generate movie and TV narration copy, with a high degree of automation, saving time and effort.
- Automatic editing and dubbing: Automatically edits the video and generates dubbing at the same time, making the whole process more efficient.
- Subtitle Generation: Automatically generate subtitles to ensure that video content is more readable and enjoyable.
- Local Deployment and Docker Deployment: Supports a variety of deployment methods, making it easy for users to choose the right environment.
Using Help
Installation and Configuration
- Apply for a Google AI Studio account and get an API Key::
- interviews Google AI Studio Apply for an account.
- Click "Get API Key" to request an API key.
- Fill in the requested API Key into the
config.example.tomlin the filegemini_api_keyConfiguration.
- local deployment::
- Use conda to create a virtual environment and install dependencies:
conda create -n narratoai python=3.10 conda activate narratoai cd narratoai pip install -r requirements.txt - Install ImageMagick according to your operating system:
- Windows: Download and install ImageMagick and add the following to the configuration file
config.tomlset up inimagemagick_pathThe - MacOS: Install using Homebrew:
brew install imagemagick
- Windows: Download and install ImageMagick and add the following to the configuration file
- Start the WebUI:
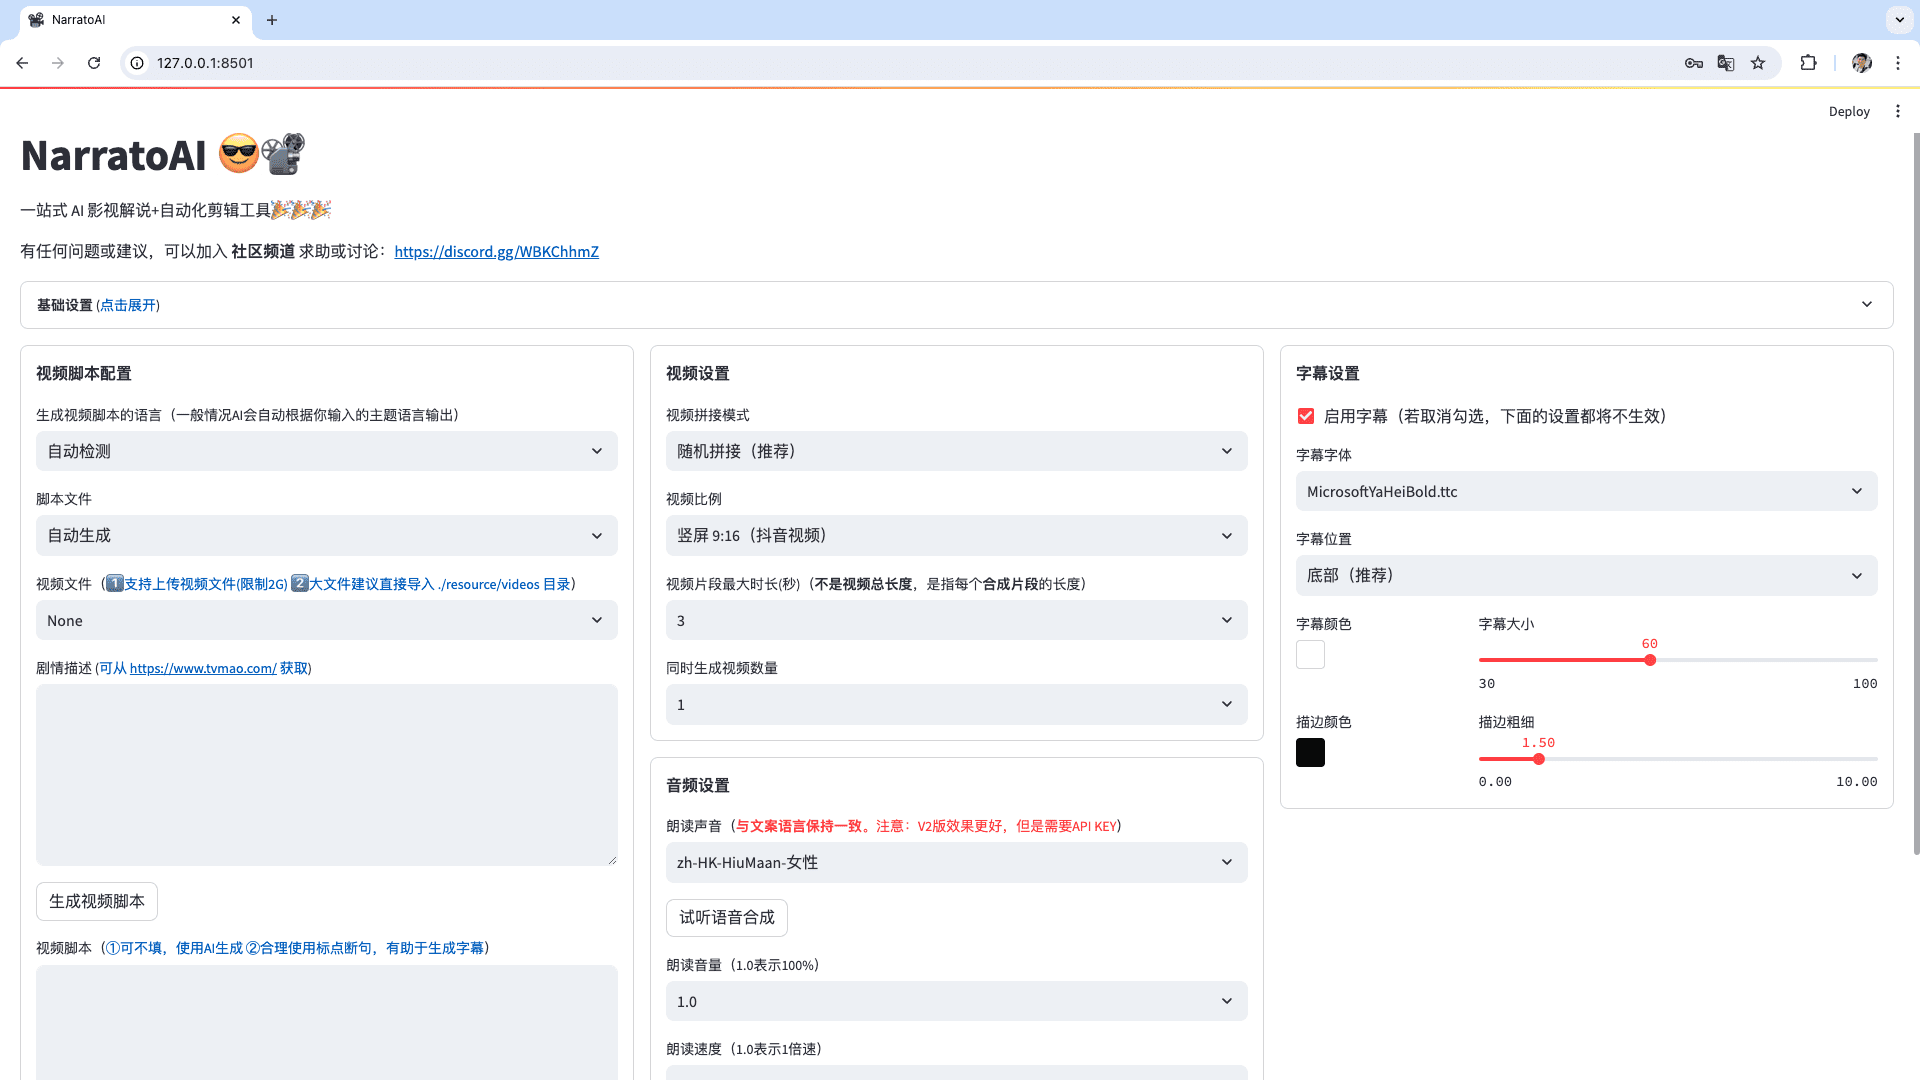
streamlit run ./webui/Main.py --browser.serverAddress=127.0.0.1 --server.enableCORS=True --browser.gatherUsageStats=False - Access in browser http://127.0.0.1:8501The
- Use conda to create a virtual environment and install dependencies:
- Docker Deployment::
- Pull the project and start Docker:
git clone https://github.com/linyqh/NarratoAI.git cd NarratoAI docker-compose up - Access in browser http://127.0.0.1:8501 View the web interface.
- Access the API documentation:http://127.0.0.1:8080/docs maybe http://127.0.0.1:8080/redocThe
- Pull the project and start Docker:
Usage
- Basic Configuration::
- Configure the API Key and select the supported models. Currently, NarratoAI only supports Gemini model, other models will be supported in subsequent updates.
- Select video and generate script::
- Either use the platform's built-in demo videos, or place your own mp4 files in the
resource/videosdirectory and refresh your browser to load the video. Please note: The file name cannot contain Chinese characters, special characters, spaces or backslashes.
- Either use the platform's built-in demo videos, or place your own mp4 files in the
- Save the script and start editing::
- After generating and saving the script, refresh your browser and in the Script File drop-down box select the generated
.jsonfile to start editing.
- After generating and saving the script, refresh your browser and in the Script File drop-down box select the generated
- Check the video::
- If there are clips in the video that do not meet the requirements, you can choose to regenerate them or edit them manually.
- Configuration video parameters::
- After configuring the basic parameters of the video, click Start Generating Video.
- Generate Video::
- Once all settings are complete, NarratoAI will automatically generate the final video, completing the entire narration and editing process.
© Copyright notes
Article copyright AI Sharing Circle All, please do not reproduce without permission.
Related posts

No comments...


