Lightning: one-stop AI development cloud resource platform for easy deployment of AI applications
General Introduction
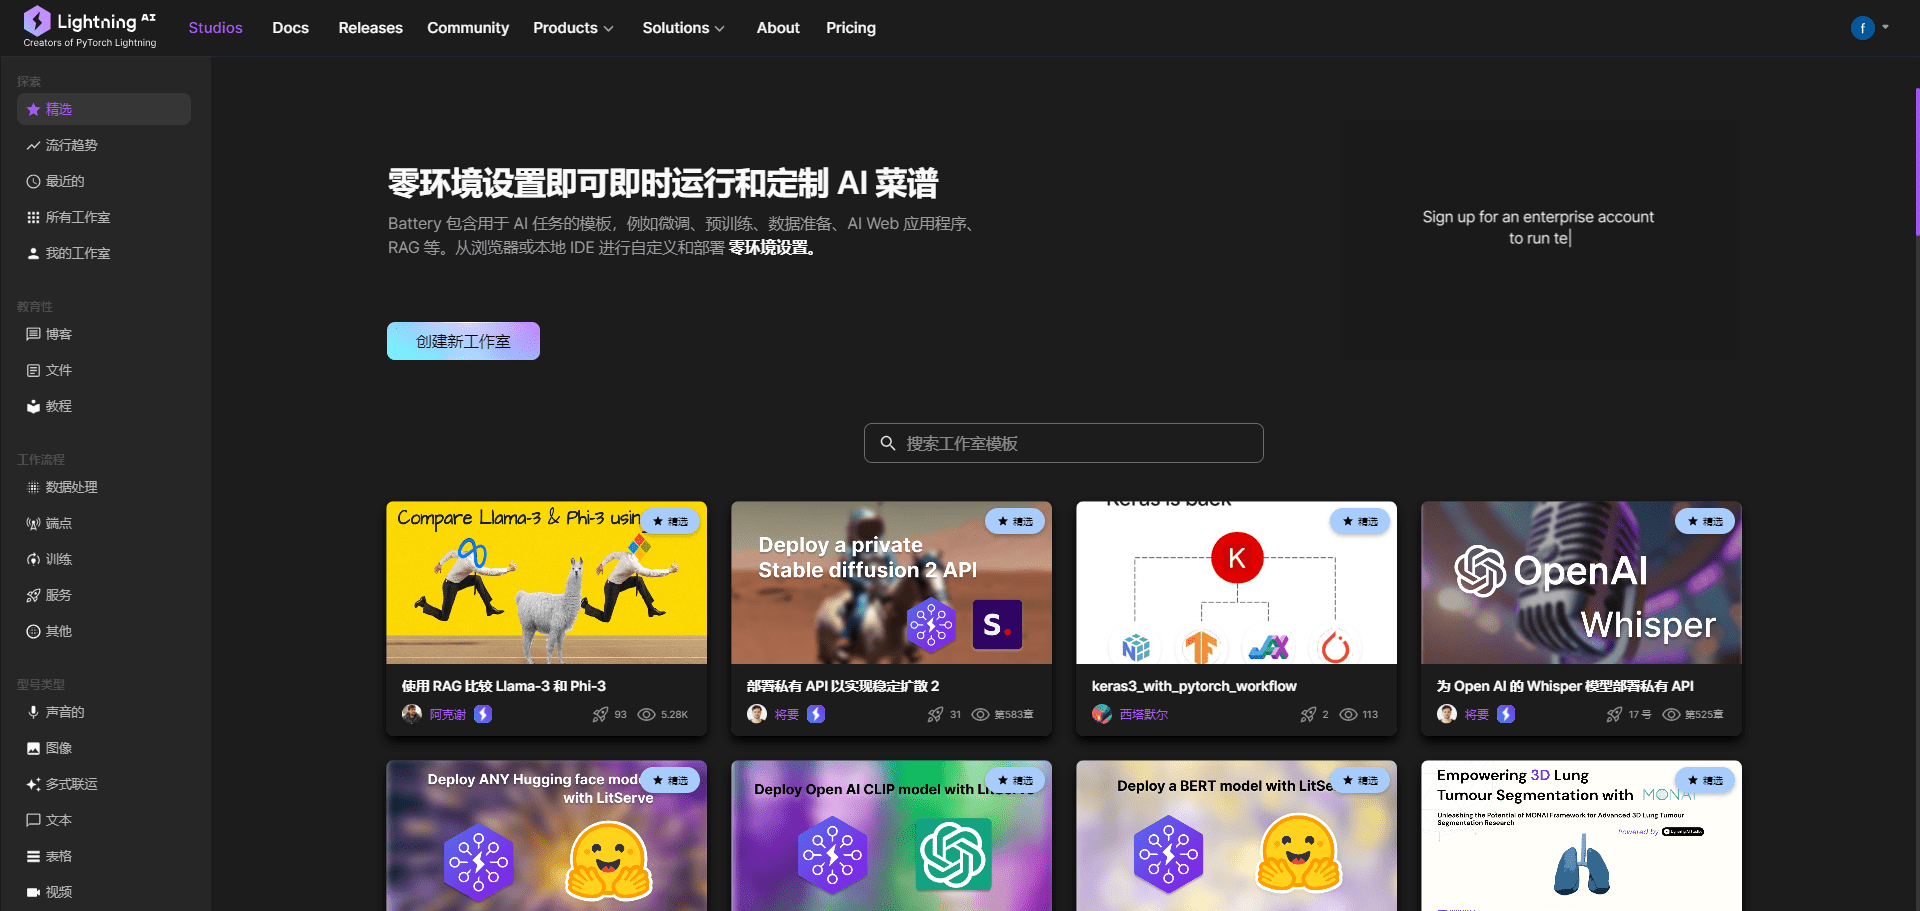
Lightning AI is a full-stack AI development platform. The platform is designed to simplify the process of developing AI applications, from code writing, prototyping, model training, to deployment and serving, all in the browser with no setup required.Lightning AI provides users with an efficient and concise environment that allows them to focus on business logic and innovation without worrying about the underlying technical details.
Built by the PyTorch Lightning team, it provides a seamless collaborative environment, support for multi-node training, a powerful cloud-based GPU environment, and the ability to easily deploy AI applications.


Function List
All-in-one Lightning AI studio environment
Support for team collaboration and real-time debugging
Easily scale AI models horizontally
Supports efficient model training with multiple nodes
Ready-to-Use Persistent GPU Cloud Environment
One-click deployment of AI web applications
Zero environment setup, pre-configured with required toolchain
Fully customizable studio environment
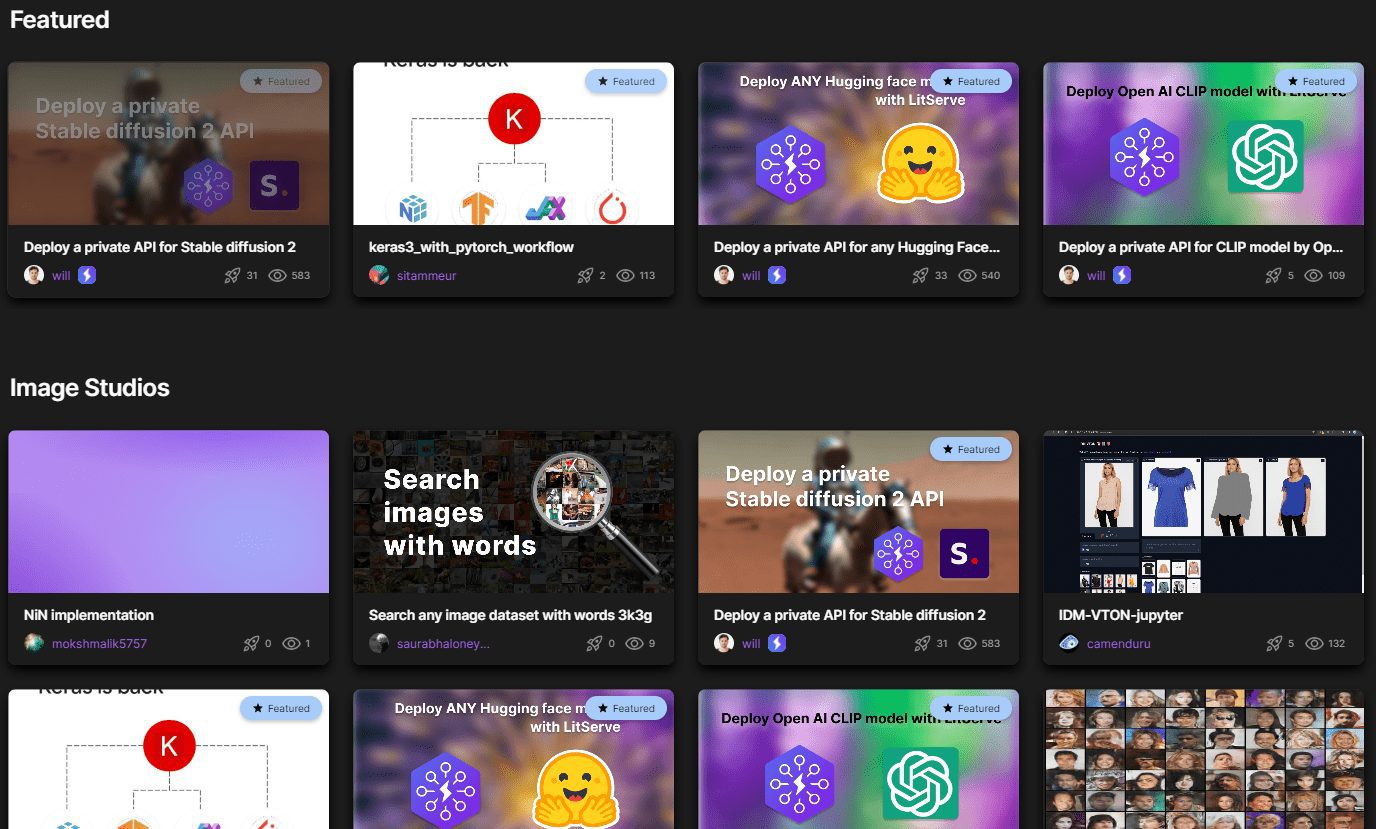
Providing AI educational resources and hands-on guides
Using Help
The Lightning AI platform does not require any software to be installed, simply visit the Lightning AI website in your browser to get started. Below are the detailed steps to use it:
- Register & LoginAfter visiting the official website, click on the "Register" button in the upper right corner and fill in the relevant information to complete the registration. If you already have an account, you can log in directly.
- Create a project: After logging in, click the "Create Project" button, enter a project name and description, select a project template (e.g. PyTorch Lightning), and then click "Create".
- code collaboration: On the project page, click the "Code" tab to invite team members to collaborate on writing code. All members can view and edit the code in real time, and version control is supported.
- prototypingClick on the "Prototype" tab to quickly create and test AI model prototypes. The platform provides a rich set of pre-trained models and datasets that can be used or fine-tuned directly.
- model trainingUnder the "Training" tab, users can configure training parameters and start training tasks. The platform supports multi-node training, and users can choose different computing resources (e.g. GPU) to accelerate the training process.
- Model deploymentAfter the training is completed, click on the "Deployment" tab, you can choose the deployment method (e.g. cloud or local), fill in the relevant configurations and click on the "Deploy" button. The platform will automatically complete the deployment process.
- AI Application HostingOnce deployed, users can manage and run AI applications under the "Applications" tab. The platform provides detailed monitoring and logging functions to help users understand the running status of the application in real time.
Functional operation flow
- code collaboration: On the project page, click the "Code" tab, select the file you want to edit, and then write and modify the code. You can invite team members to collaborate via the "Invite Members" button.
- prototypingClick the "Prototype" tab, select a pre-trained model or upload your own model, configure the dataset and training parameters, and click the "Start Training" button. After the training is completed, you can view the training results and model performance under the "Results" tab.
- model trainingUnder the "Training" tab, select the training script and dataset, configure the training parameters (e.g., learning rate, batch size, etc.), select the computational resources (e.g., GPU), and click the "Start Training" button. During the training process, you can view the training progress and logs in real time.
- Model deploymentClick the "Deployment" tab, select the deployment method (e.g. cloud or local), fill in the relevant configurations (e.g. server address, port, etc.), and click the "Deploy" button. After the deployment is completed, you can view and manage the deployed AI application under the "Application" tab.
- AI Application HostingUnder the "Applications" tab, you can view all the deployed AI applications, and click on the application name to view the details and running status. You can start the application with the "Start" button and stop it with the "Stop" button.
© Copyright notes
Article copyright AI Sharing Circle All, please do not reproduce without permission.
Related articles

No comments...


