CosyVoice: 3-second rush voice cloning open source project launched by Ali with support for emotionally controlled tags
General Introduction
CosyVoice is a multilingual large-scale speech generation model that provides full-stack capabilities from inference, training to deployment. Developed by the FunAudioLLM team, it aims to achieve high quality speech synthesis through advanced autoregressive transformers and ODE-based diffusion models.CosyVoice not only supports multi-language speech generation, but also performs emotion control and Cantonese synthesis to a level comparable to human pronunciation.
Free online experience (text-to-speech): https://modelscope.cn/studios/iic/CosyVoice-300M
Free online experience (speech to text): https://www.modelscope.cn/studios/iic/SenseVoice
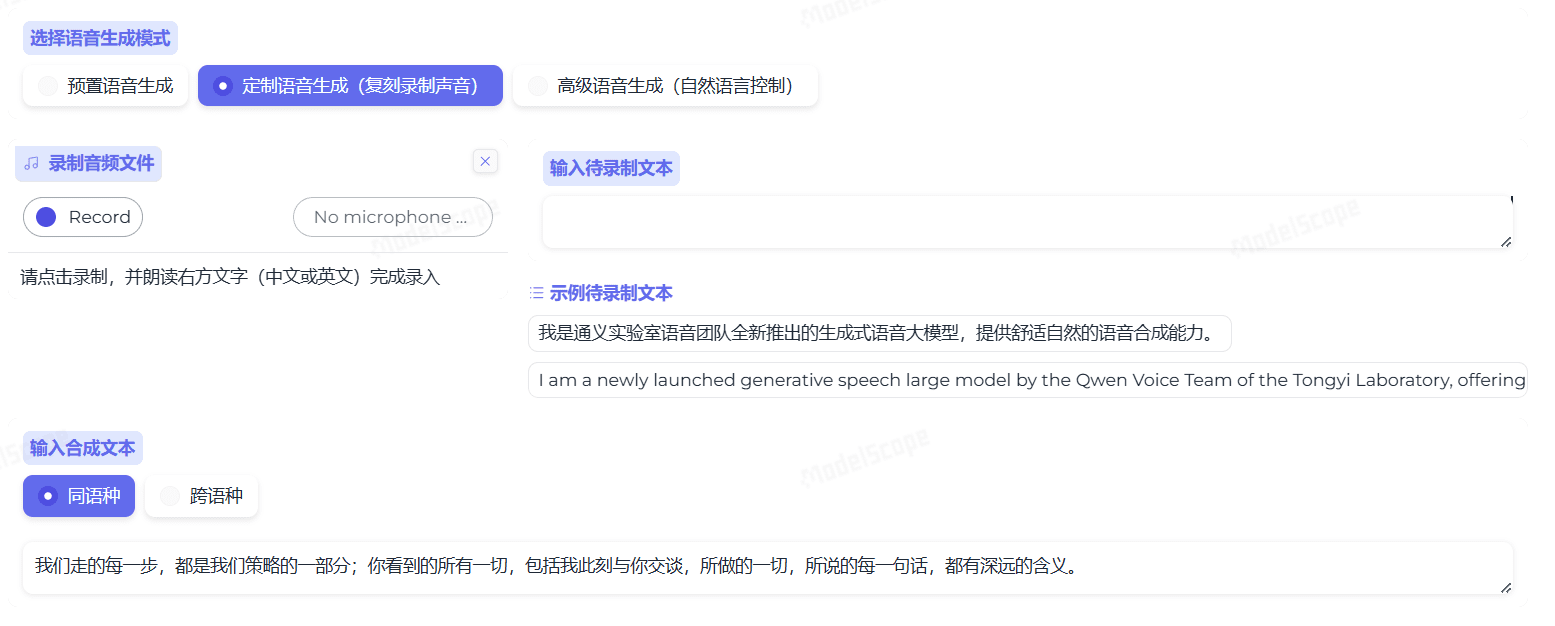
Function List
- Multi-language speech generation: supports speech synthesis in multiple languages.
- Speech cloning: the ability to clone the speech characteristics of a specific speaker.
- Text-to-Speech: Convert text content into natural and smooth speech.
- Emotion control: Adjustable emotion expression when synthesizing speech.
- Cantonese Synthesis: Supports speech generation in Cantonese.
- High-quality audio output: Synthesizes high-fidelity audio via HiFTNet vocoder.
Using Help
Installation process
Recently, Ali Tongyi Labs open-sourced the CosyVoice speech model, which supports natural speech generation, multi-language, timbre and emotion control, and excels in multi-language speech generation, zero-sample speech generation, cross-lingual sound synthesis and command execution capabilities.
CosyVoice uses a total of more than 150,000 hours of data training to support the synthesis of five languages, Chinese, English, Japanese, Cantonese and Korean, and the synthesis effect is significantly better than traditional speech synthesis models.
CosyVoice supports one-shot tone cloning: only 3~10s of raw audio is needed to generate analog tones, even including details such as rhythm and emotion. CosyVoice also performs well in cross-language speech synthesis.
Since the official version does not support Windows and Mac platforms for the time being, this time we deploy CosyVoice locally on these two platforms respectively.
Windows platform
First come to the windows platform and clone the project:
git clone https://github.com/v3ucn/CosyVoice_For_Windows
Access to the program.
cd CosyVoice_For_Windows
Generate built-in modules:
git submodule update --init --recursive
Subsequently install the dependencies:
conda create -n cosyvoice python=3.11
conda activate cosyvoice
pip install -r requirements.txt -i https://mirrors.aliyun.com/pypi/simple/ --trusted-host=mirrors.aliyun.com
The official recommended version of Python is 3.8. 3.11 actually runs, and in theory 3.11 has better performance.
Subsequently download the windows version of the deepspeed installer to install it:
https://github.com/S95Sedan/Deepspeed-Windows/releases/tag/v14.0%2Bpy311
Finally, install the gpu version of the torch: the
pip install torch torchvision torchaudio --index-url https://download.pytorch.org/whl/cu121
Here the version of cuda is selected as 12, or you can install 11.
The model was then downloaded:
# git模型下载,请确保已安装git lfs
mkdir -p pretrained_models
git clone https://www.modelscope.cn/iic/CosyVoice-300M.git pretrained_models/CosyVoice-300M
git clone https://www.modelscope.cn/iic/CosyVoice-300M-SFT.git pretrained_models/CosyVoice-300M-SFT
git clone https://www.modelscope.cn/iic/CosyVoice-300M-Instruct.git pretrained_models/CosyVoice-300M-Instruct
git clone https://www.modelscope.cn/speech_tts/speech_kantts_ttsfrd.git pretrained_models/speech_kantts_ttsfrd
It's very fast because it uses the domestic Magic Hitch warehouse
Finally, add the environment variables:
set PYTHONPATH=third_party/AcademiCodec;third_party/Matcha-TTS
Basic Usage:
from cosyvoice.cli.cosyvoice import CosyVoice
from cosyvoice.utils.file_utils import load_wav
import torchaudio
cosyvoice = CosyVoice('speech_tts/CosyVoice-300M-SFT')
# sft usage
print(cosyvoice.list_avaliable_spks())
output = cosyvoice.inference_sft('你好,我是通义生成式语音大模型,请问有什么可以帮您的吗?', '中文女')
torchaudio.save('sft.wav', output['tts_speech'], 22050)
cosyvoice = CosyVoice('speech_tts/CosyVoice-300M')
# zero_shot usage
prompt_speech_16k = load_wav('zero_shot_prompt.wav', 16000)
output = cosyvoice.inference_zero_shot('收到好友从远方寄来的生日礼物,那份意外的惊喜与深深的祝福让我心中充满了甜蜜的快乐,笑容如花儿般绽放。', '希望你以后能够做的比我还好呦。', prompt_speech_16k)
torchaudio.save('zero_shot.wav', output['tts_speech'], 22050)
# cross_lingual usage
prompt_speech_16k = load_wav('cross_lingual_prompt.wav', 16000)
output = cosyvoice.inference_cross_lingual('<|en|>And then later on, fully acquiring that company. So keeping management in line, interest in line with the asset that\'s coming into the family is a reason why sometimes we don\'t buy the whole thing.', prompt_speech_16k)
torchaudio.save('cross_lingual.wav', output['tts_speech'], 22050)
cosyvoice = CosyVoice('speech_tts/CosyVoice-300M-Instruct')
# instruct usage
output = cosyvoice.inference_instruct('在面对挑战时,他展现了非凡的<strong>勇气</strong>与<strong>智慧</strong>。', '中文男', 'Theo \'Crimson\', is a fiery, passionate rebel leader. Fights with fervor for justice, but struggles with impulsiveness.')
torchaudio.save('instruct.wav', output['tts_speech'], 22050)
Webui is recommended here for more intuition and convenience:
python3 webui.py --port 9886 --model_dir ./pretrained_models/CosyVoice-300M
Visit http://localhost:9886
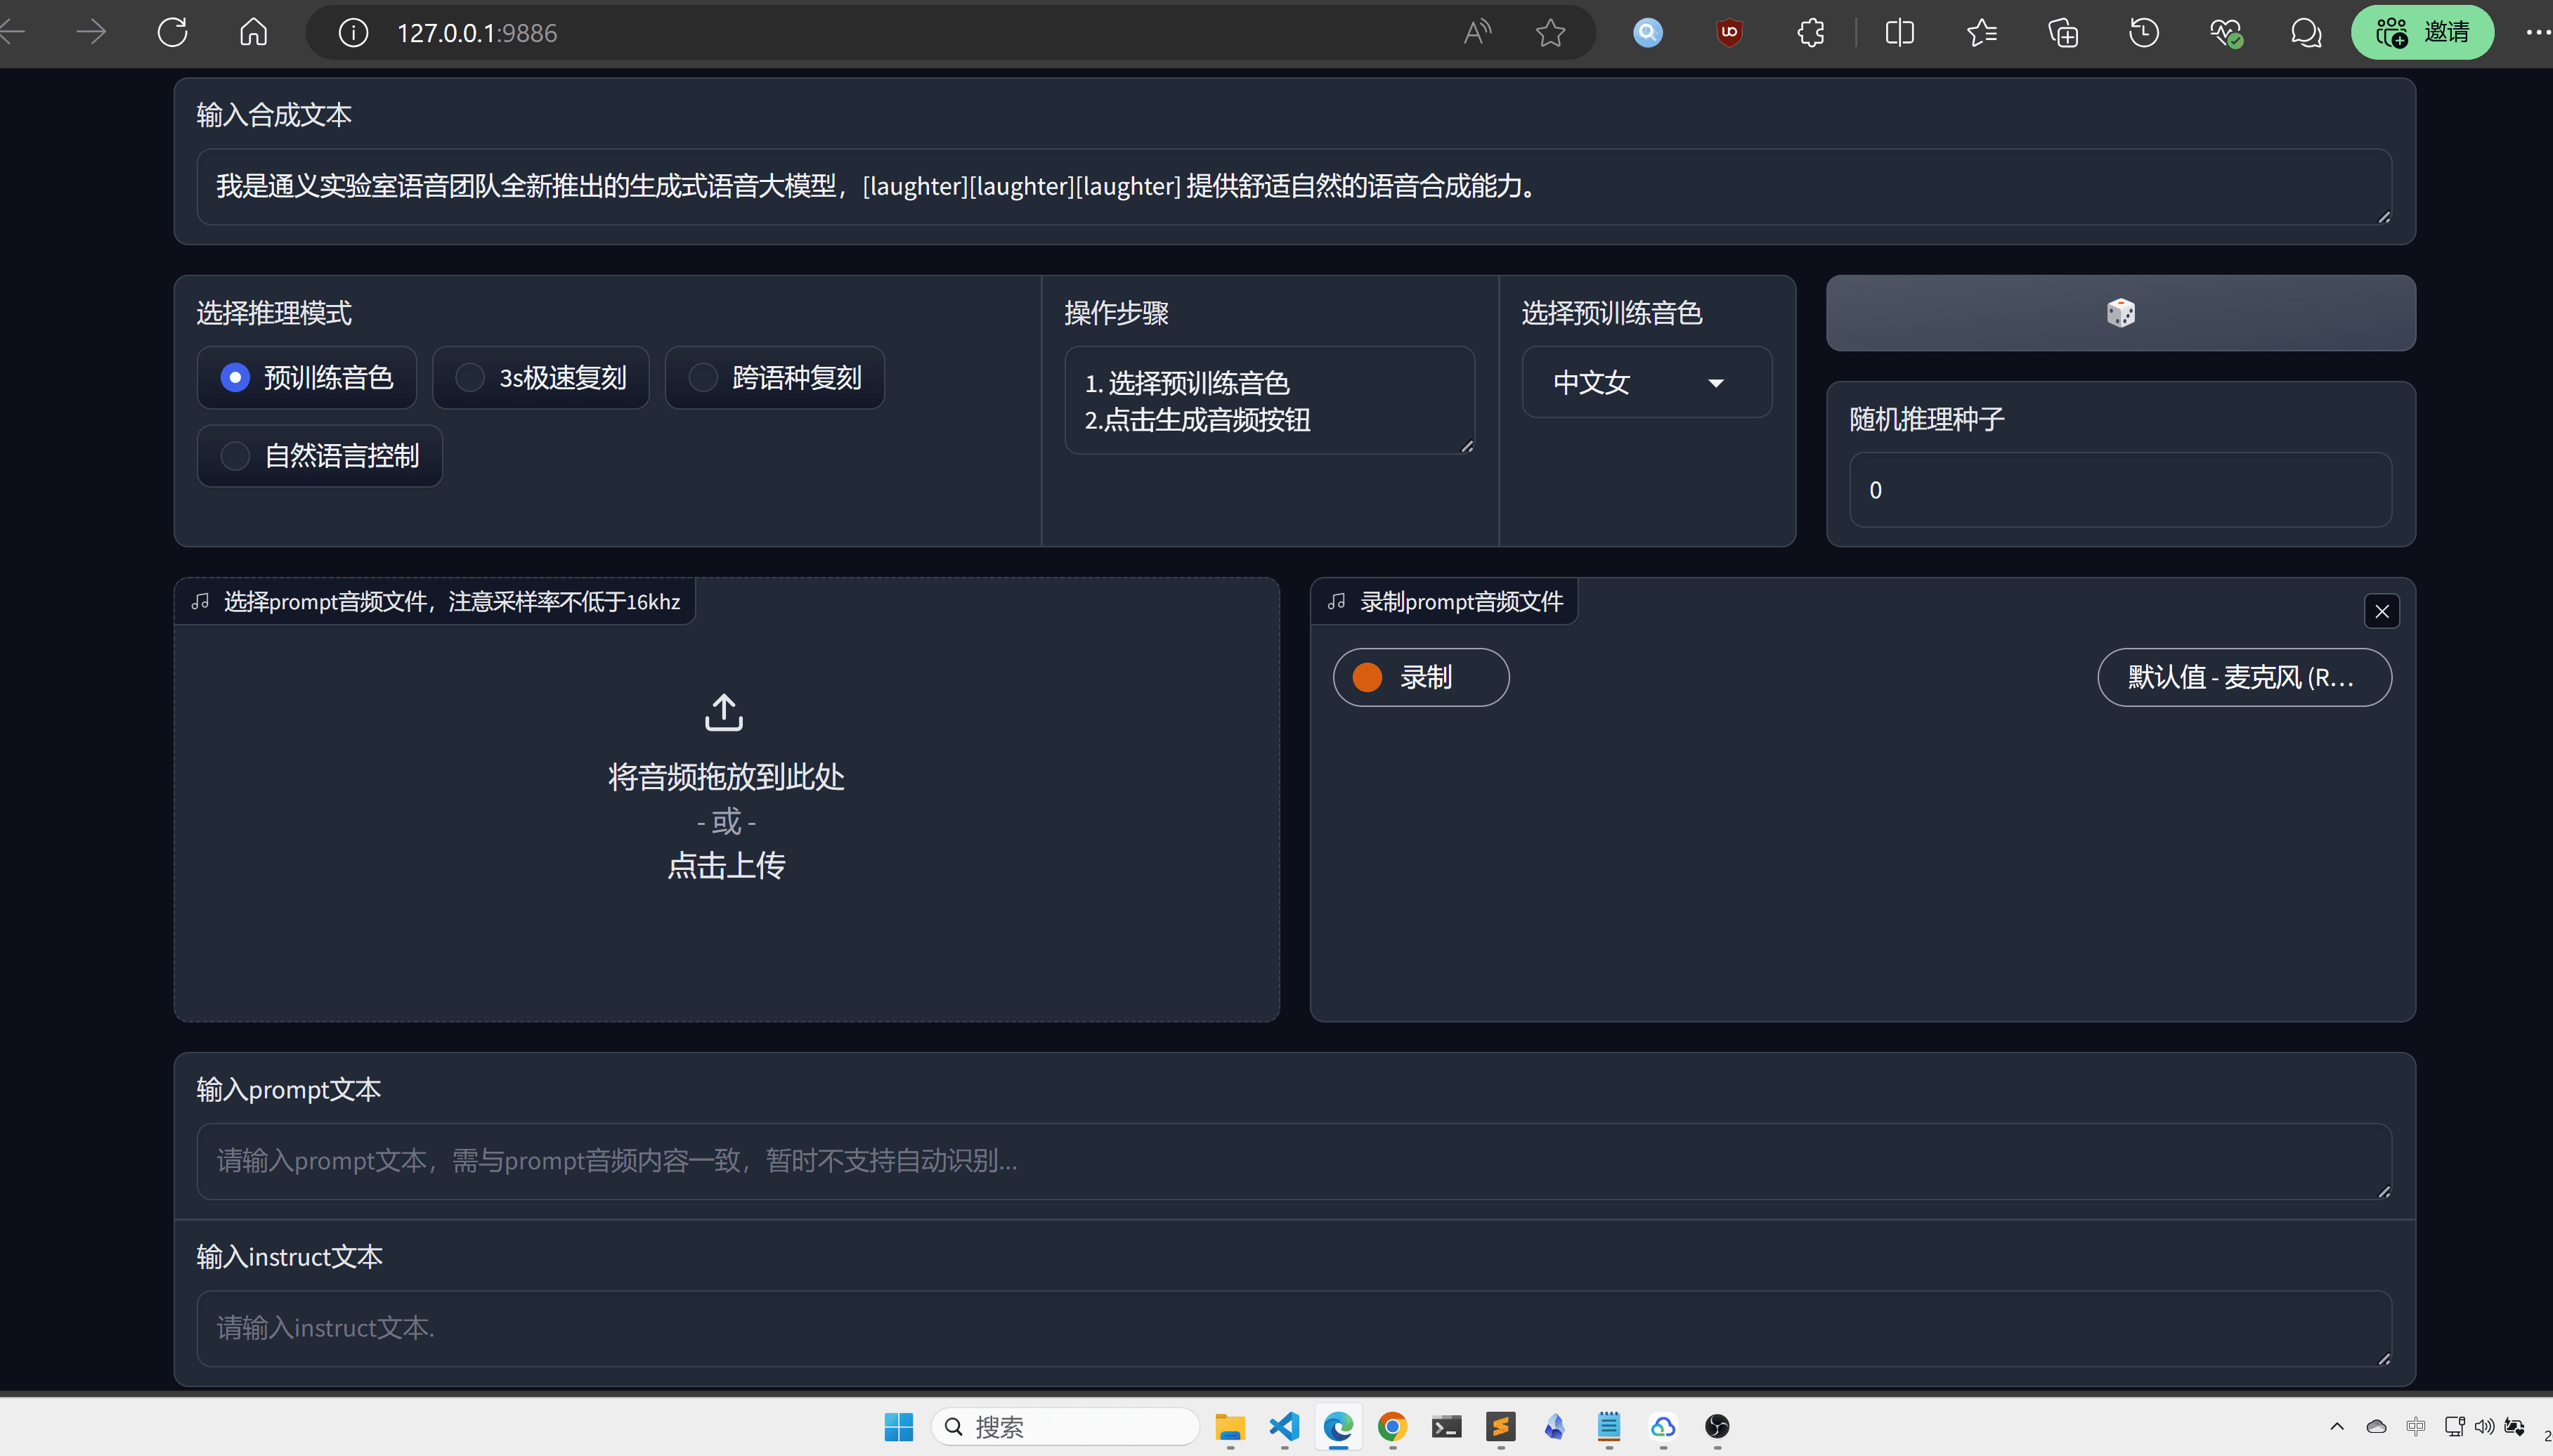
Note that the official torch uses sox for the backend, here it is changed to soundfile:
torchaudio.set_audio_backend('soundfile')
There may be some bugs, so stay tuned for official project updates.
MacOS platform
Now coming to the MacOs platform, it's better to clone the project first:
git clone https://github.com/v3ucn/CosyVoice_for_MacOs.git
Install the dependencies:
cd CosyVoice_for_MacOs
conda create -n cosyvoice python=3.8
conda activate cosyvoice
pip install -r requirements.txt -i https://mirrors.aliyun.com/pypi/simple/ --trusted-host=mirrors.aliyun.com
Subsequently, you need to install sox via Homebrew::
brew install sox
So it's configured, but don't forget to add environment variables:
export PYTHONPATH=third_party/AcademiCodec:third_party/Matcha-TTS
Usage is consistent with the Windows version.
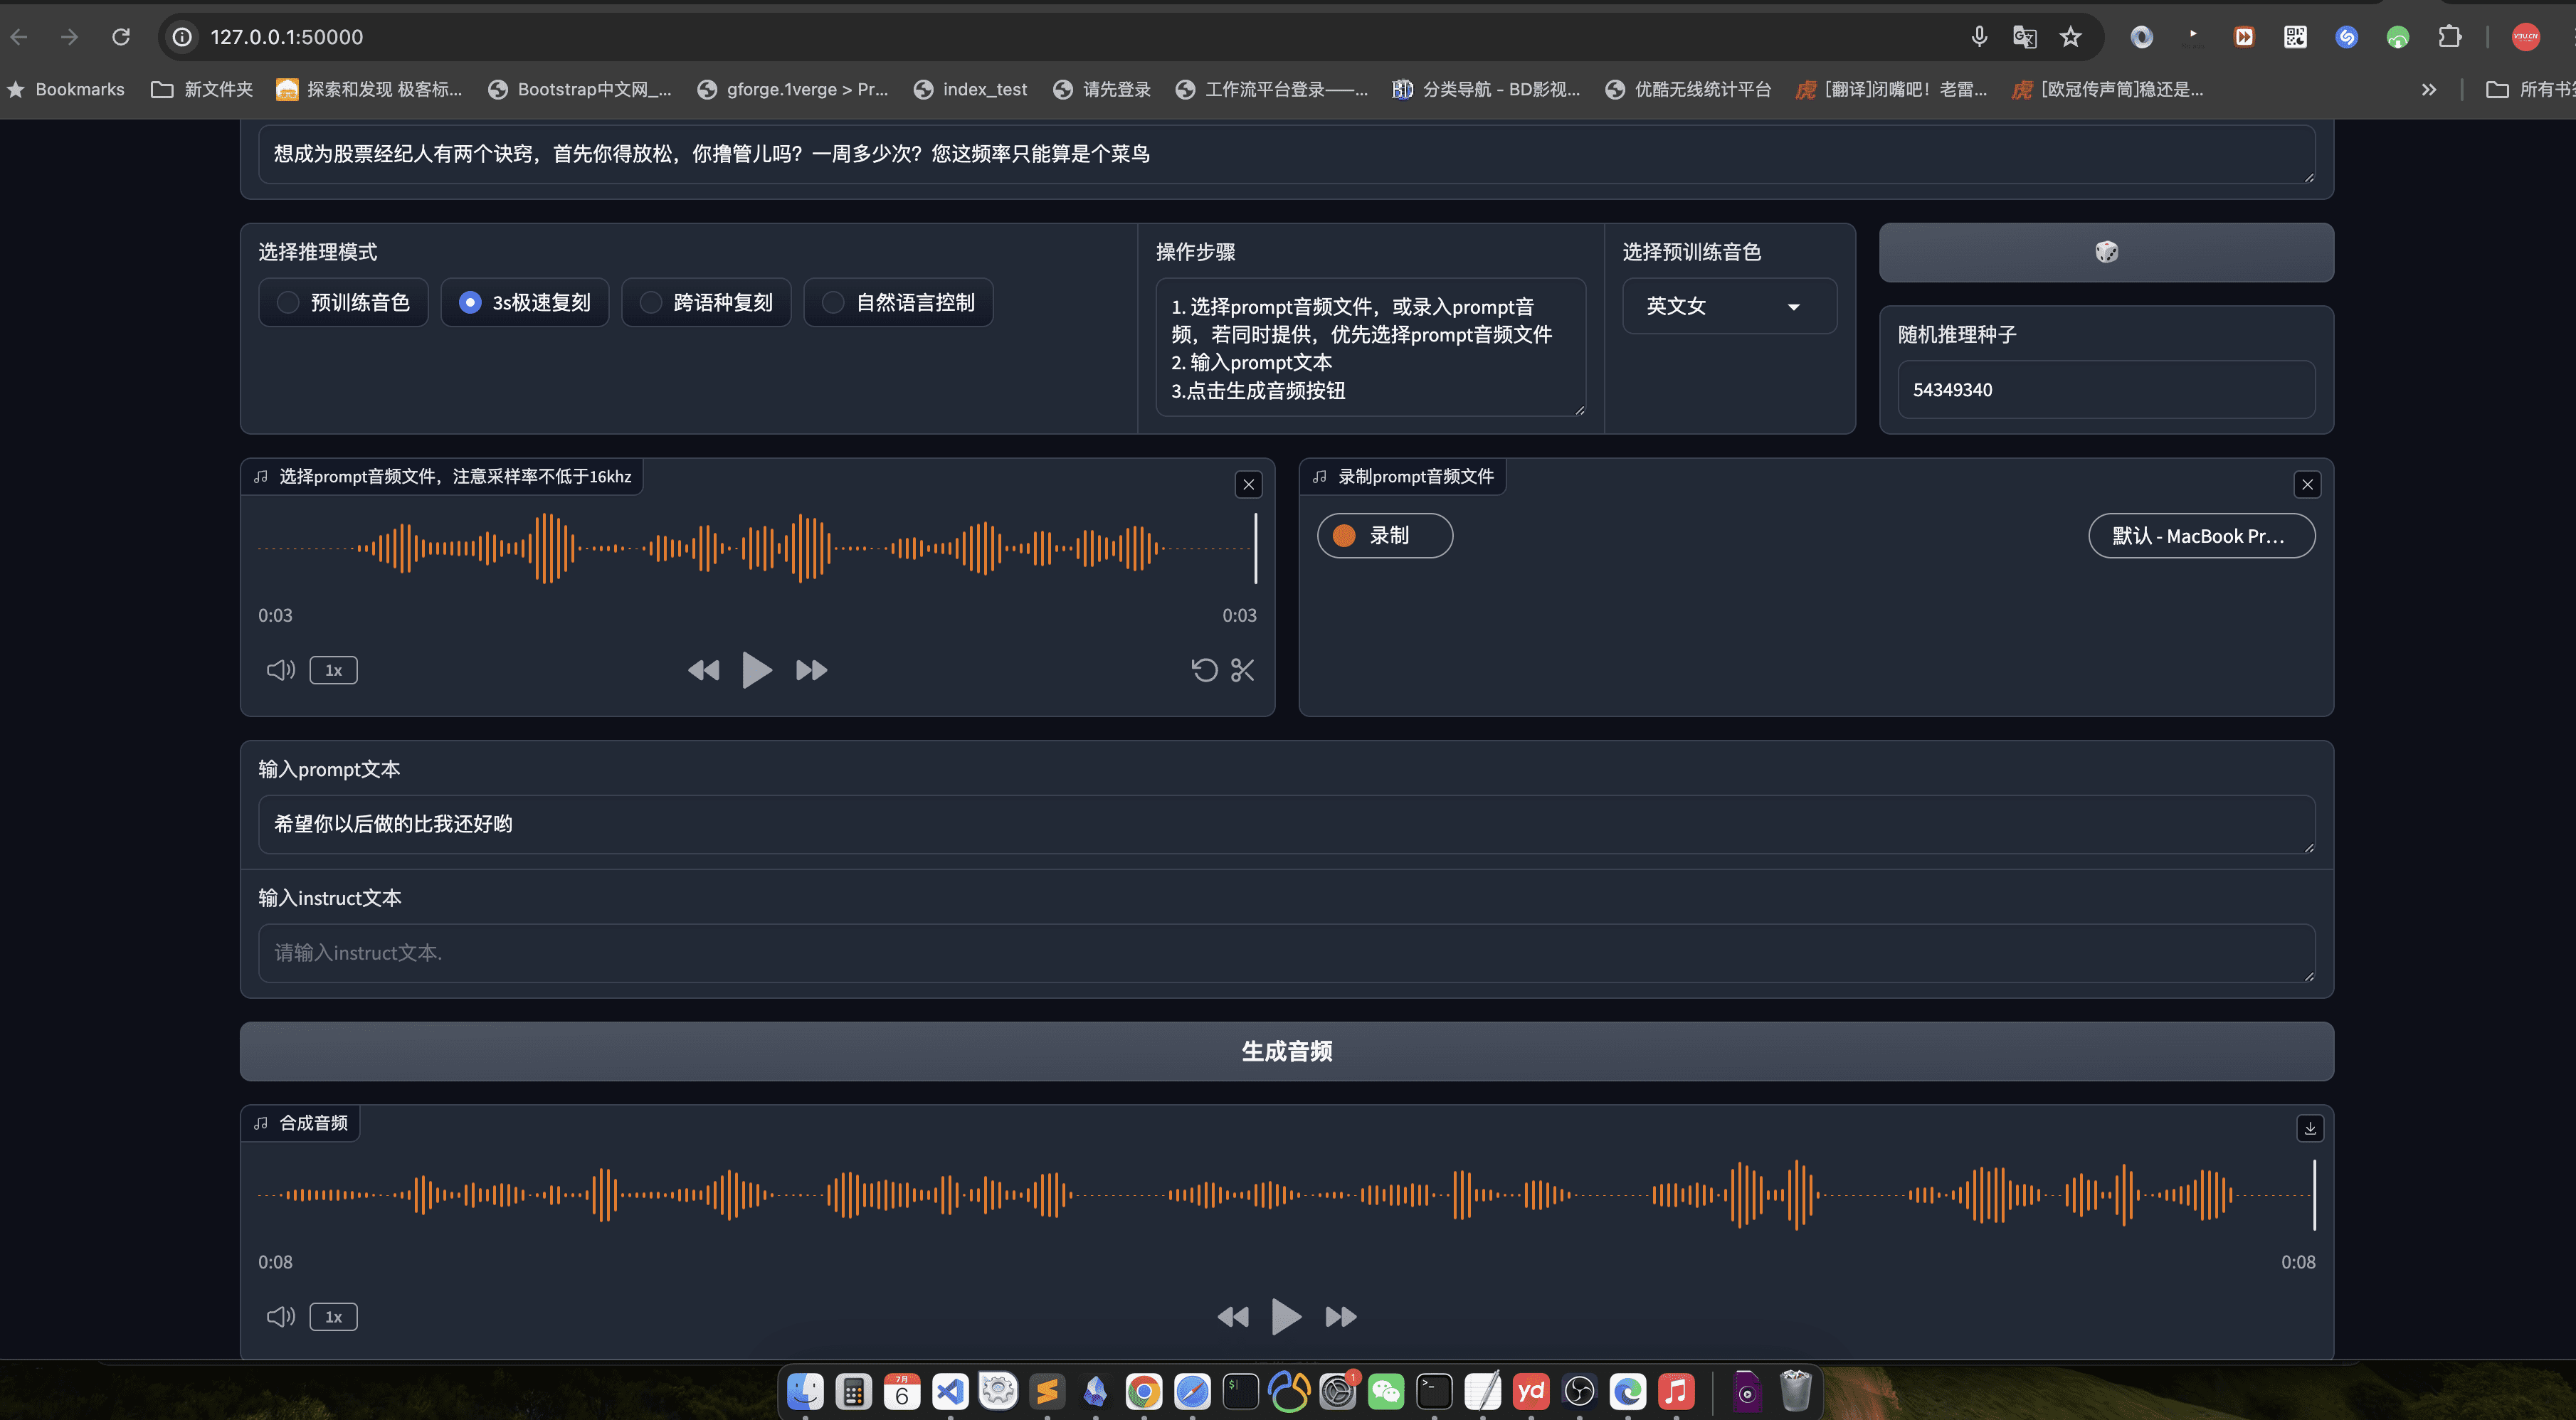
We still recommend using webui here:.
python3 webui.py --port 50000 --model_dir speech_tts/CosyVoice-300M
Visit http://localhost:50000
concluding remarks
In all fairness, CosyVoice deserves to be a big factory, the quality of the model is not to say, representing the highest level of domestic AI, Tongyi Labs name is not false, of course, if you can also open source the code after engineering, it would be better, I believe that after the optimization of libtorch, this model will be the open source TTS of choice.
Usage Process
- speech production::
- Prepare the input text file (e.g. input.txt) with one sentence per line.
- Run the following command for speech generation:
python generate.py --input input.txt --output output/ - The generated voice files will be saved in the
output/Catalog.
- voice cloning::
- Prepare a sample speech file (e.g., sample.wav) of the target speaker.
- Run the following command for voice cloning:
python clone.py --sample sample.wav --text input.txt --output output/ - The cloned voice files will be saved in the
output/Catalog.
- emotional control::
- Emotions can be adjusted with command line parameters when generating speech:
python generate.py --input input.txt --output output/ --emotion happy - Supporting emotions include: happy, sad, angry, neutral.
- Emotions can be adjusted with command line parameters when generating speech:
- Cantonese synthesis::
- Prepare a Cantonese text file (e.g., cantonese_input.txt).
- Run the following command for Cantonese speech generation:
python generate.py --input cantonese_input.txt --output output/ --language cantonese - The generated Cantonese voice files will be saved in the
output/Catalog.
Detailed Operation Procedure
- Text preparation::
- Make sure the input text file is formatted correctly, one sentence per line.
- The text should be as concise and clear as possible, avoiding complex sentences.
- Voice sample preparation::
- The voice sample should be a clear single voice with as little background noise as possible.
- Sample length is recommended to be less than 1 minute to ensure optimal cloning.
- parameterization::
- Adjust the parameters of the generated speech, such as emotion, language, etc., as needed.
- Personalization can be achieved by modifying configuration files or command line parameters.
- Validation of results::
- The generated voice files can be auditioned with an audio player.
- If the results are not satisfactory, the input text or speech samples can be adjusted and regenerated.
© Copyright notes
Article copyright AI Sharing Circle All, please do not reproduce without permission.
Related posts

No comments...

