Browse AI Builds Robots in Robot Studio
Browse AI A new tool, Robot Studio, has been launched, which is a different solution from Chrome extensions. The highlight of it is that it doesn't require any browser extensions to be installed, which means you can use it on browsers other than Chrome! ✨ Also as a reminder, it's still in beta and we're constantly tweaking the details to ensure the highest stability of the system. You can find all of our beta features at Future Labs. Let's take a look at how to enable this feature and how to use Robot Studio:
How to access Future Labs:
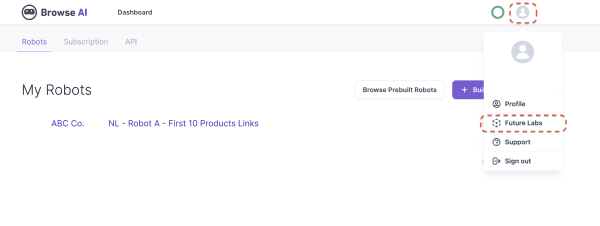
1. Log in to your Browse AI dashboard, click on your user avatar in the top right corner, and then select Future Labs as shown in the image below:
2. Then, turn on the "Customize your robot model in the new Robot Studio" option:
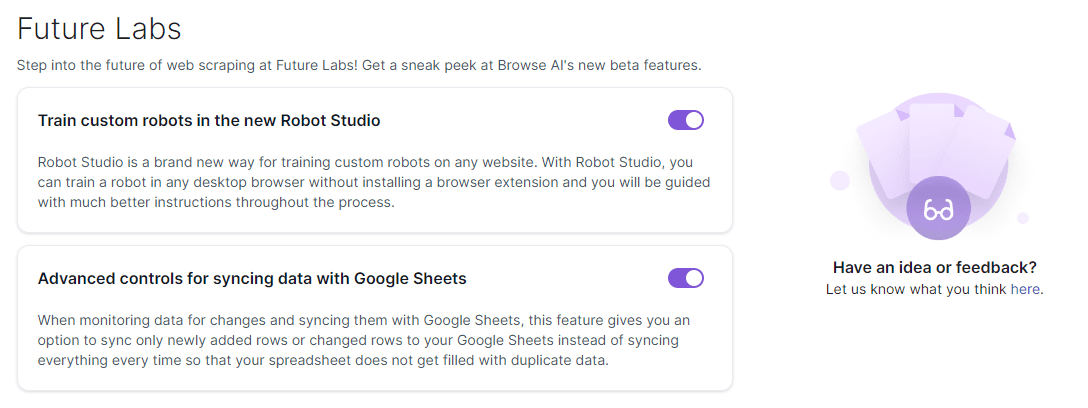
3. Done! Now you have successfully activated this feature.
Use Robot Studio:
1. After activating Robot Studio in Future Labs, go to Dashboard > Create New Robot:

2. If you have not created a robot yet, you can choose "**Monitor website changes**" or "**Extract structured data**" according to your personal preference:
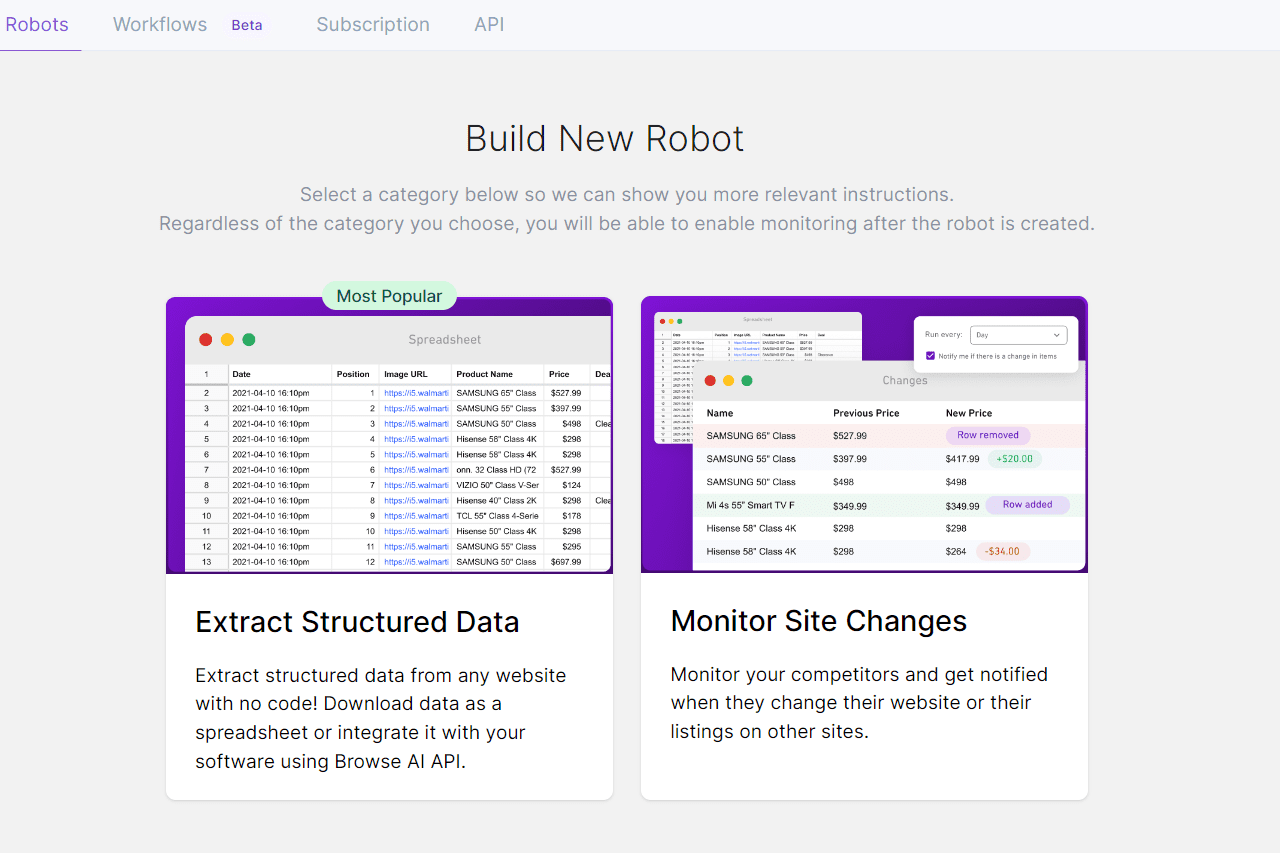
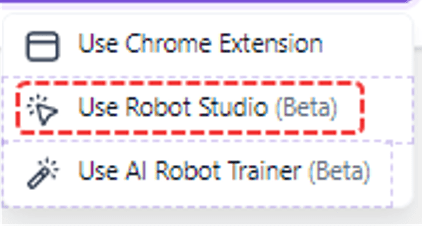
3. Next, insource URLEnter the link you specified in the text box and select "Try the new version of Robot Studio (Beta)"Like this:

**Or you may see the following screen:**
4. A new window will pop up as shown below:
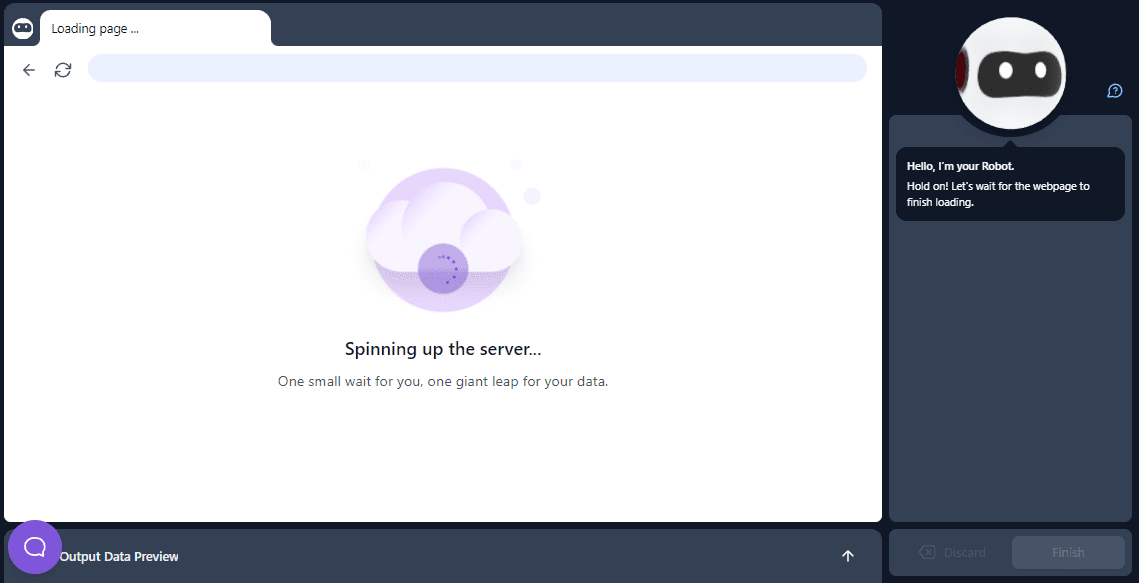
5. Once the page has loaded, you can grab as much data as you need, eitherGet from listneverthelessExtract text onlyThe
Here's a sample screenshot of the dataset capture processFrom the list::
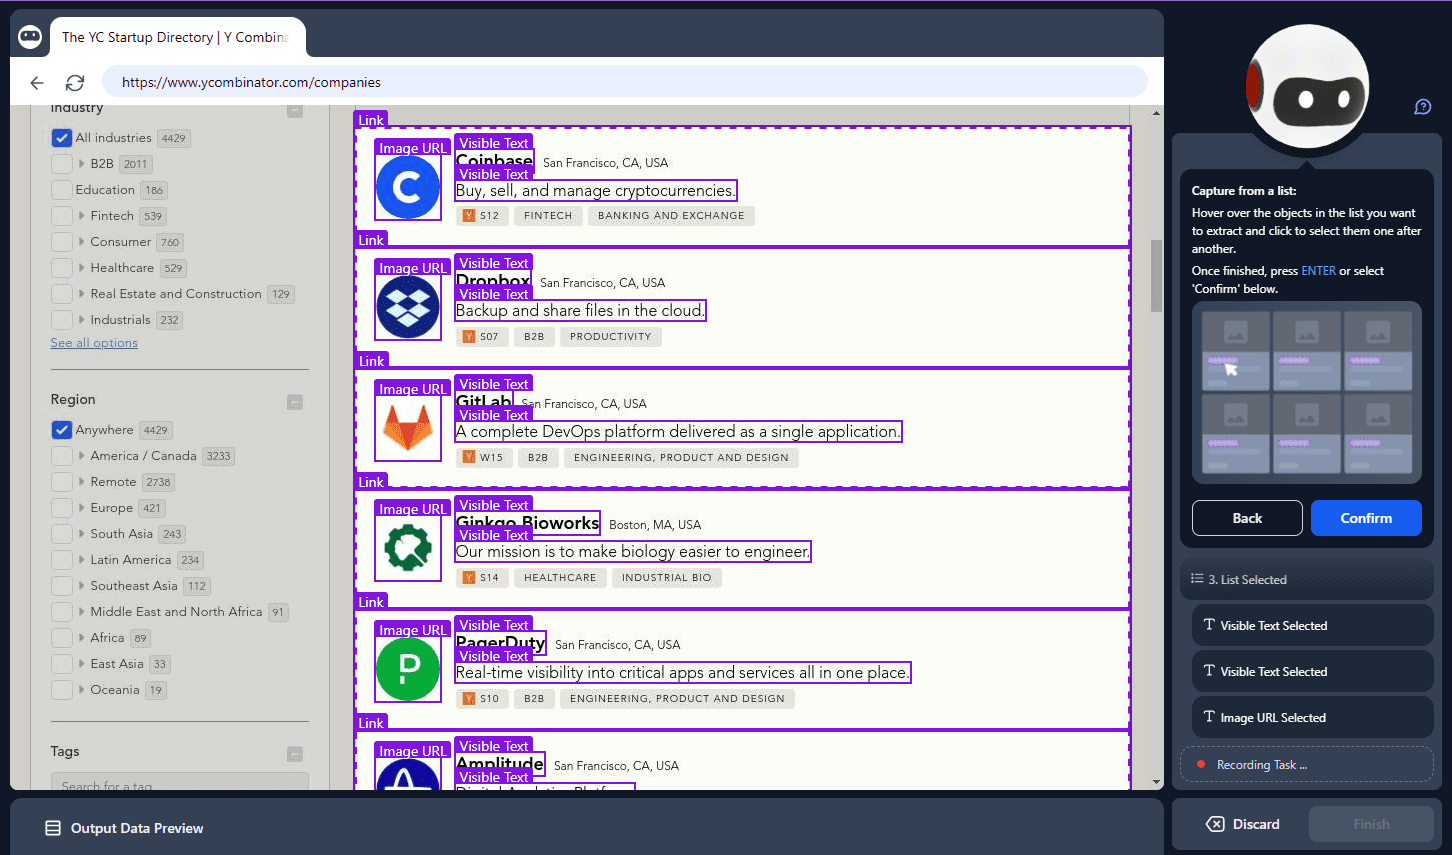
1. While capturing the list, hover over the area containing the data and the robot will automatically perform intelligent detection. Afterwards, select the specific data content you wish to extract, such as title or name, description, or even the URL of the image. you can cancel the capture and make changes by pressing the Escape key.
When you're done, press Enter to label your data points, and you can give them any name you like:

After adding the labels for the data items, a window will appear giving you the opportunity to check how your data is composed. In addition, we offer three sections that can be adjusted:
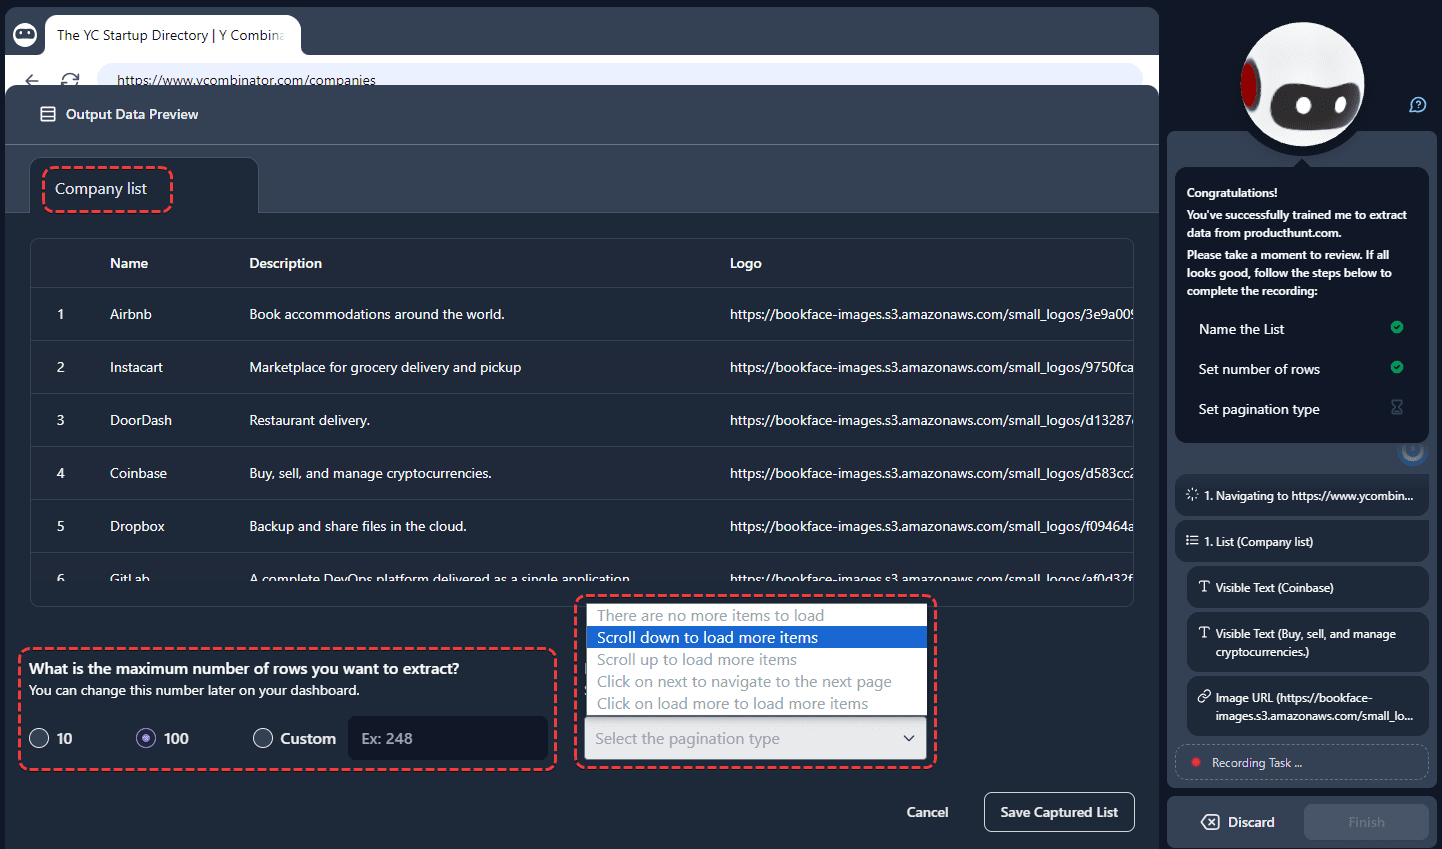
a. Initially, from top to bottom is the name of your list, and you can name it whatever you want.
b. Then, at the bottom left of the window, you can set the number of lines you wish to extract.
c. Third, at the bottom right, select a [paging type] that matches the site you are viewing. In this example, the site loads more content as you scroll down the page.
d. Then, click on "Save Capture List"Button.
When everything is ready, click on the yellow bordered "Finish recording" button. If you need to capture more datasets, you can select the turquoise borderedCapture TextContinue to operate:
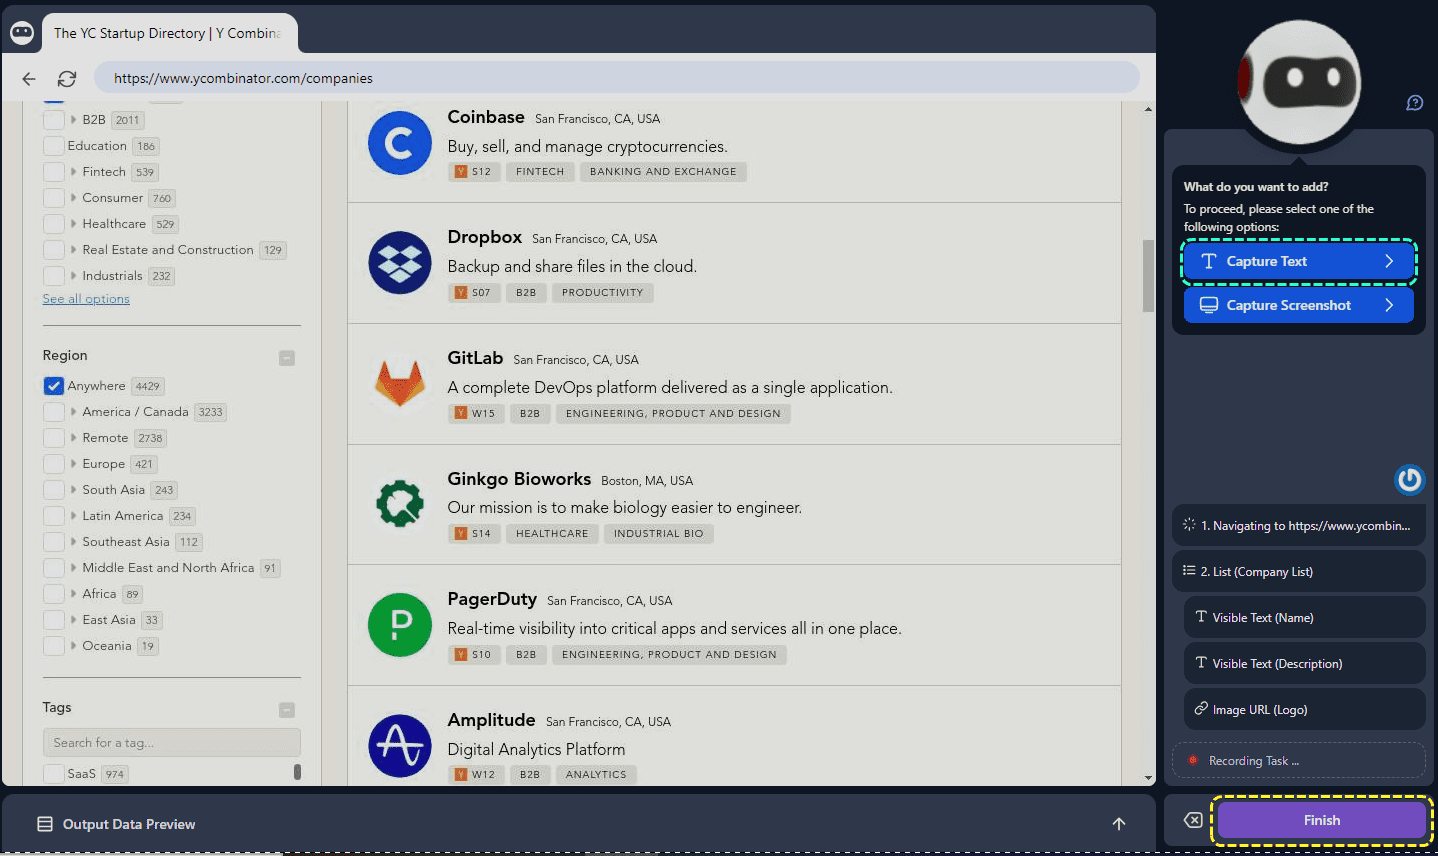
e. If you want to extract more of the dataset, you can either choose to capture another list or capture the text content. 🙌
f. The next example shows how to capture a set of data through text only. You can select more specific data points such as headings, body text, etc:
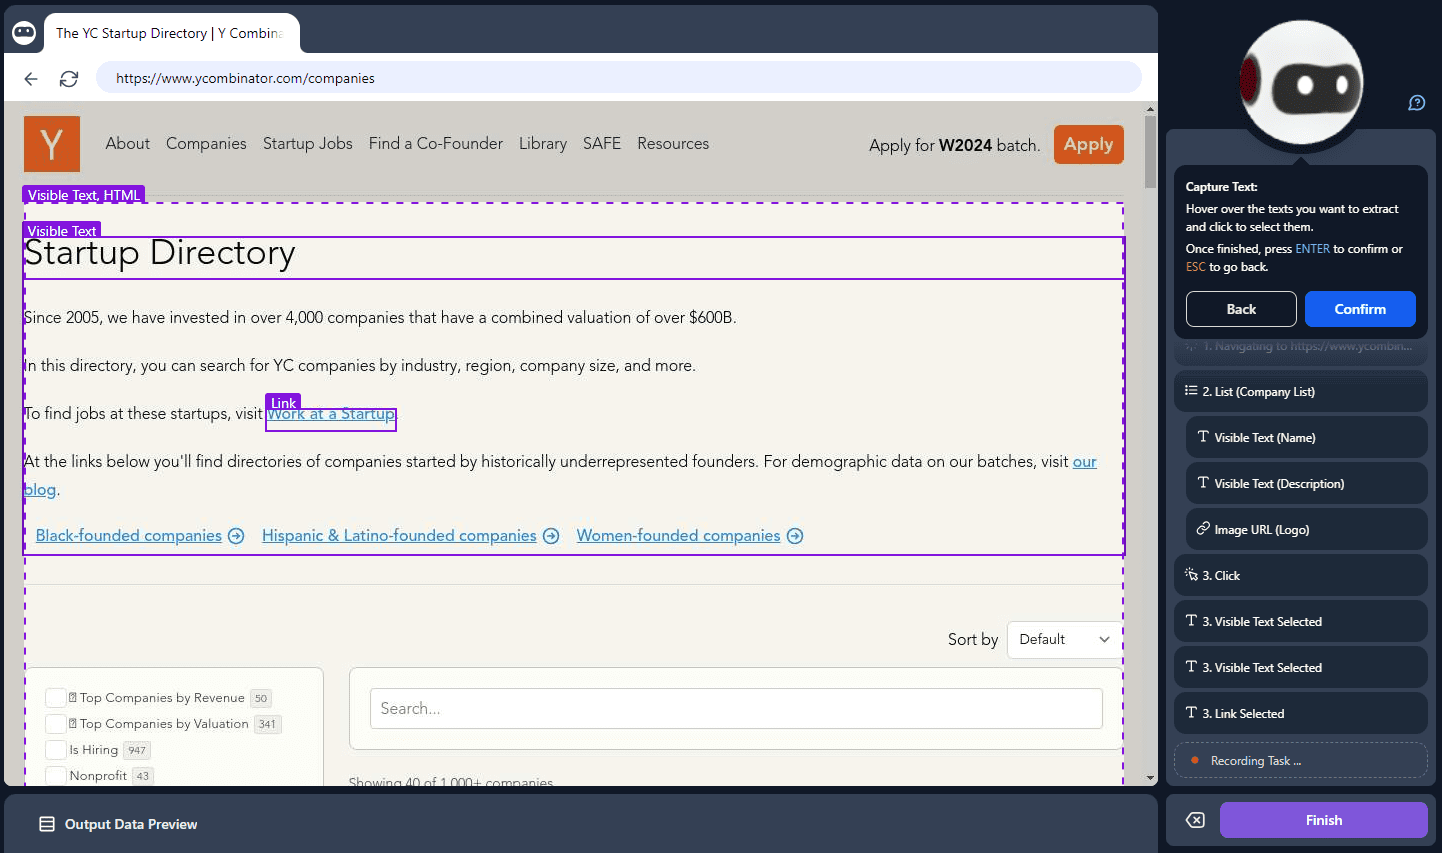
g. After capturing your desired text, press the Enter key directly when you are ready to annotate the text:

h. Next, a new tab will appear and you can switch between this new dataset and the previous one. After confirming that the data is correct, click on the red box "Save Captured Texts"Save text:
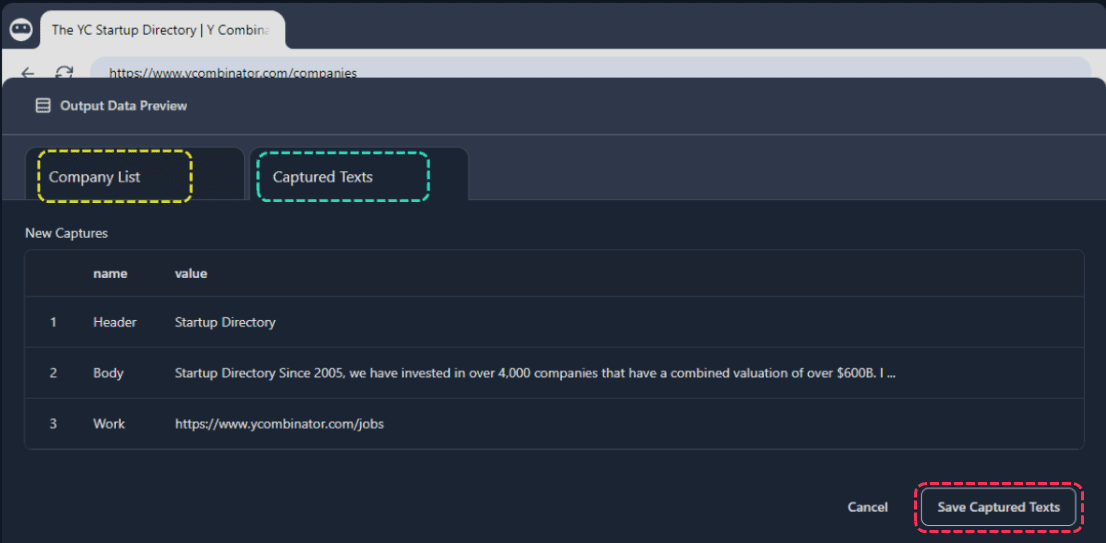
i. Once you have done so, you can access the information by clicking on the "Capture Texts" to extract a new dataset, or click in the lower right corner of the Finish End and save your data capture process:
Click "Finish" button, you will be prompted to name your robot. Set any name that is easy to remember, then select the Save Save:

After that, you can view the extracted data on the final screen with the steps listed next to it. Below is an example of the last batch of data extracted:
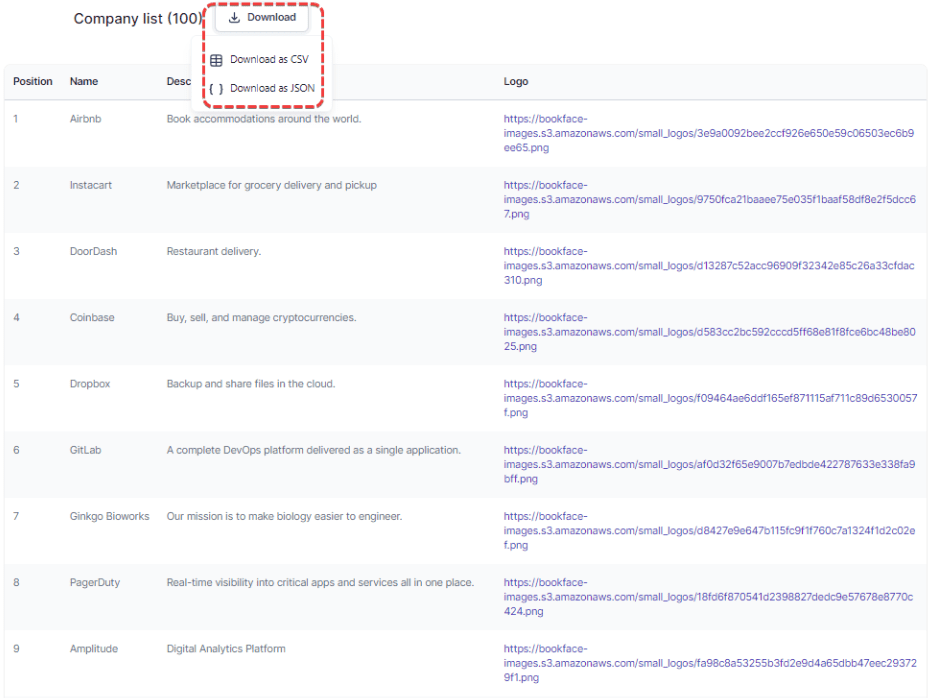
- Tips: You can download the extracted data in CSV or JSON format for backup.
2. If the check is correct, scroll to the bottom of the page and click "[Yes, looks good]" to confirm that it is correct, as shown in the figure below:

That's great! You have successfully manipulated Robot Studio for data capture. 🎉
© Copyright notes
Article copyright AI Sharing Circle All, please do not reproduce without permission.
Related posts

No comments...


