Install Google Site Kit on Aliyun ECS Server
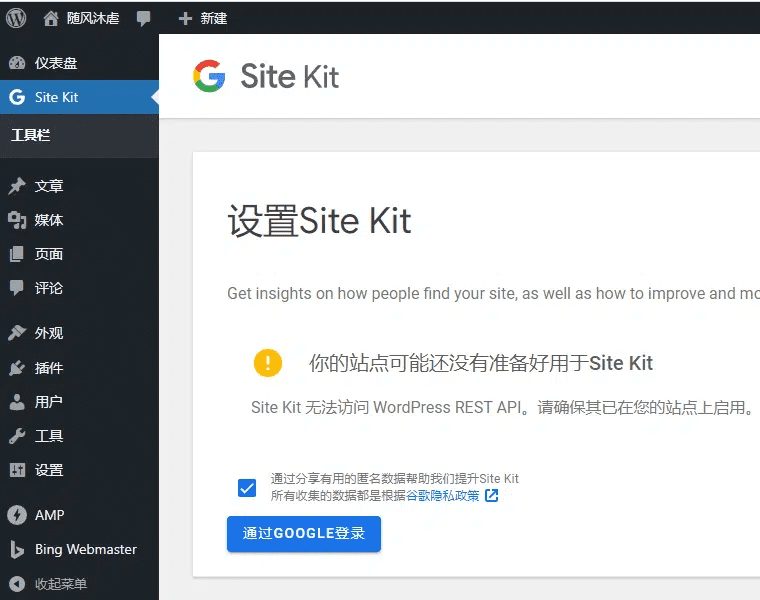
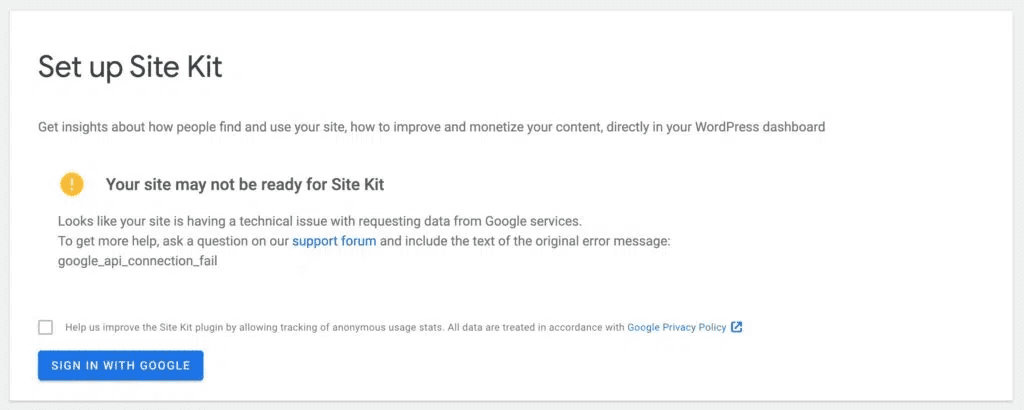
Previously my site was on a server above Siteground, which is supposed to use the Singapore server room, so Google Site KitInstallation and use was no problem; since I moved the site back to the Aliyun ECS cloud server, installing the Google Site Kit After that it doesn't work and keeps reporting an error: because the Google Site Kit Services need to access Google's servers, so in the domestic servers can not be connected, so the general will be reported as a proxy problem ah, Rest API and so on, network anomalies can not be connected and so on, the core is actually unable to connect to Google's servers.
- Your site may not be ready for Site Kit, Site Kit does not have access to the WordPress REST API. Please make sure it is enabled on your site.
If you need to use Google Site Kit in domestic server, you can refer to the following tutorial.
Google Site Kit, the secret weapon for overseas WordPress bloggers.
To do a good job, you must first make a good tool.
If you don't know what Google Site Kit I'll help you with a simple science.
This plugin is described as::
In this digital age, Google Site Kit is to webmasters using WordPress what a Chief Data Officer is to the Chairman of the Board of a company.Google Site Kit is a powerful WordPress plugin that integrates with a variety of Google's services like Google Analytics, AdSense , PageSpeed Insights and Search Console to help you get key site performance data from a clean, intuitive dashboard.
You don't need to understand what each of these words really means, all you need to do is click through a few times to get a complete picture of your website's visitor behavior, revenue potential, page load speed, and how your site performs in Google's search engine results. site Kit not only provides this information, but also presents it in an easy-to-understand format that doesn't require the slightest bit of programming skills. This digital cockpit is easy to navigate without the slightest programming skills. This means that whether you're a blogger just starting out or running a complex e-commerce site, Site Kit can be your most trusted digital assistant to help you achieve online success.
With Google Site Kit, you can quickly make data-driven decisions to optimize your site, attract more visitors, and enhance their experience. It all starts with this simple, straightforward, and powerful plugin.Google Site Kit is every WordPress site blogger's secret weapon!
How domestic WordPress bloggers use Google Site Kit
Due to well-known reasons, bloggers who use domestic cloud servers to build websites cannot directly connect to Google through cloud servers, and therefore have no access to Google site kit. in other words, as long as the problem of scientific Internet access on cloud servers is solved, the ideal wings for WordPress can also be inserted!
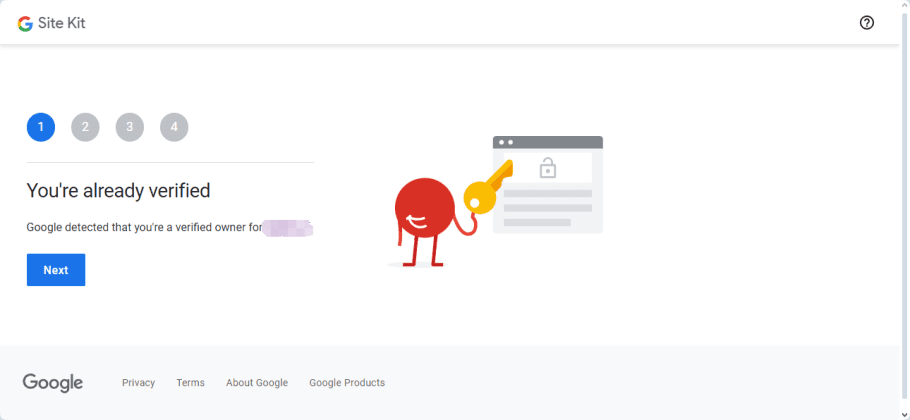
Actual finished effect
Straight to the picture. In fact, in addition to the free use of Google Site Kit, almost all WordPress plugins that you have you are able to freely access, download and install.
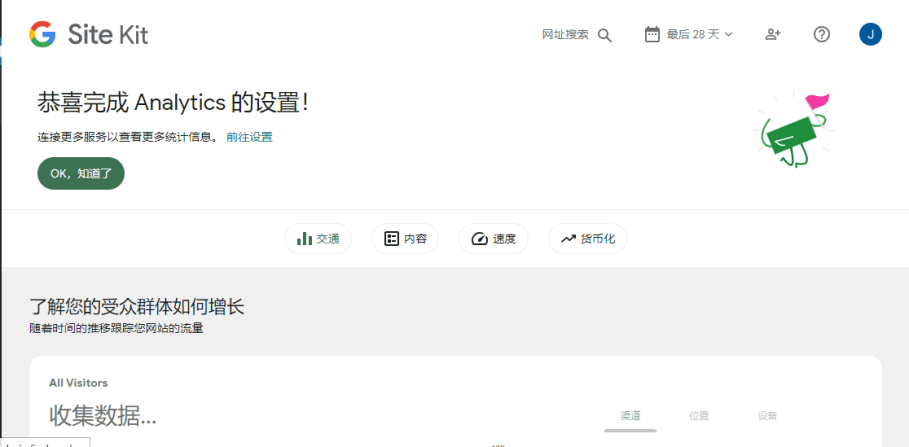
step by step instructions
Here we utilize v2ray, a scientific internet tool, to make Google site kit work for me!
Environmental reference
The server environment is as follows:
- Server: AliCloud Lightweight
- Operating system: CentOS 7
- Management tool: Pagoda Panel
- Tools for connecting to servers: XShell 7, XFtp7
Download and install v2ray on your cloud server
downloading
For those who have scientific internet access, please download it from the official website:Click to go directly to the download addressPlease select the appropriate zip package for you, I am using CentOS 7, please select it according to your server environment.
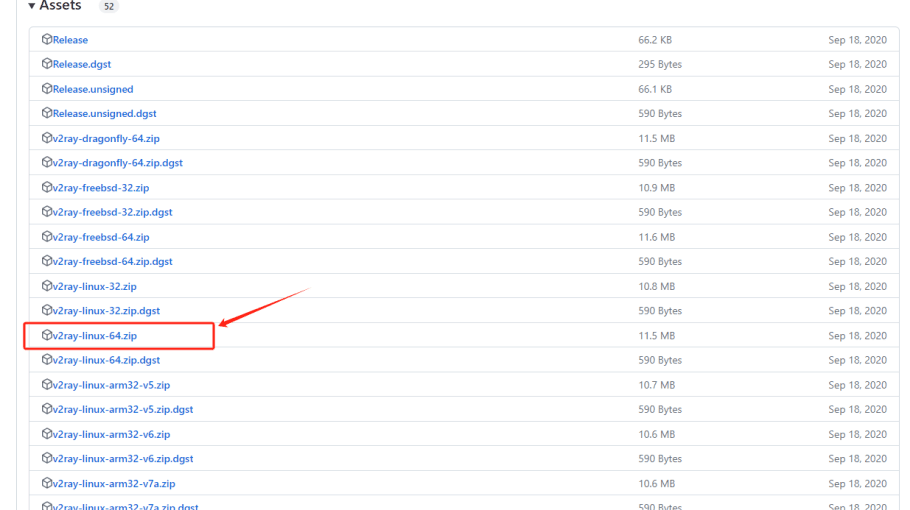
For those of you who can't access it, you can also download it directly from this site.
mounting
After downloading and unzipping locally, the list of files is shown below.
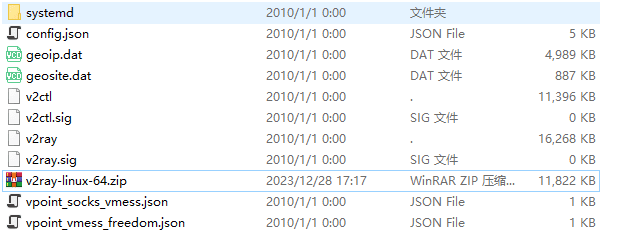
Upload all these files to the server, or use the cp or mv commands, or use file transfer tools such as XFtp, Putty, etc., to move each file to the appropriate server path, and create folders if there are no folders, as shown in the following table.
v2ray            移动到 /usr/local/bin/v2ray
v2ctl            移动到 /usr/local/bin/v2ctl
geoip.dat        移动到 /usr/local/share/v2ray/geoip.dat
geosite.dat      移动到 /usr/local/share/v2ray/geosite.dat
config.json      移动到 /usr/local/etc/v2ray/config.json
access.log       移动到 /var/log/v2ray/access.log
error.log        移动到 /var/log/v2ray/error.log
v2ray.service    移动到 /etc/systemd/system/v2ray.service
v2ray@.service   移动到 /etc/systemd/system/v2ray@.servicez
point of attention
- 1 Log files should be read/write for all people
- 2 v2ray.service, v2ray@.service It's also a good idea to make sure that everyone has read and write permissions
- 3 You can specify the log path in the configuration file config.json (optional).
- 4 After the move is complete, it's a good idea to check the configuration config.json file once.
From our local Windows v2ray client, export the configuration file and name the exported file config.json (please note that the filename is all lowercase).
When exporting, select: Export selected server as client configuration.
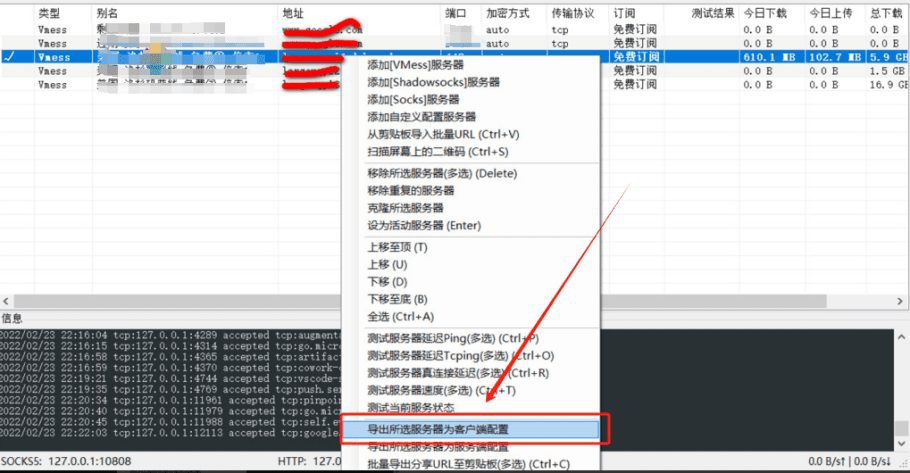
Overwrite this file with the server's /usr/local/etc/v2ray/config.json file.
Confirm the config.json file information
Use a file editor, or vim to open the config.json file, check the address of the v2ray listener, as well as the port number, protocol type, you can record it, back up later, and then according to personal needs you can fill in the address of the v2ray's access and error logs.
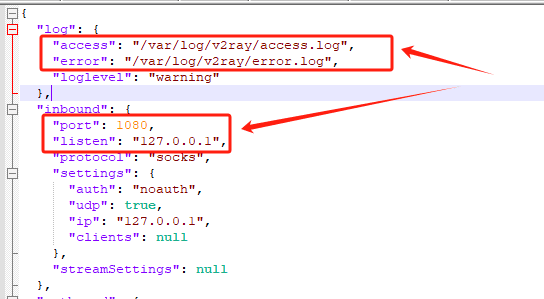
Using v2ray
Launch v2ray
If it succeeds, nothing returns to the display.
# 启动V2ray
sudo systemctl start v2ray
Checking the status of a v2ray
# 检查V2ray状态
sudo systemctl status v2ray
If successful, it will return a green active (running) highlight.
- If it fails, it will return a red prompt, at this time, please pay attention to check the path of each file copied, whether it is correct, each file has the corresponding read and write permissions, if you are not sure, it is recommended that all the uploaded files are set to 777 permissions.
Setting up v2ray boot-up
# 设置V2ray开机自启动
sudo systemctl enable v2ray
If it succeeds, nothing returns to the display.
Test if v2ray is already working
curl -x socks5://127.0.0.1:1080 https://www.google.com -vIf it works correctly, it will return the source code of the Google home page as shown below .
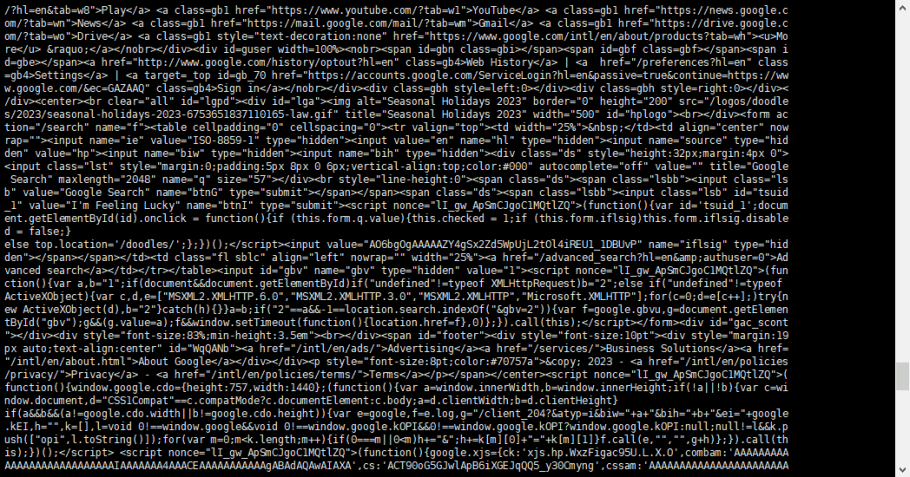
- It is important to note here that the address and port number of the access will need to be adjusted according to the contents of your configuration file, which is config.json, especially the port number.
- If it shows a timeout or fails to establish a connection, it means that there is a configuration error, you can check the logs to find out the reason.
If you have completed this step, then congratulations, you are one step away from success.
Configuring WordPress Settings Proxy
At the end of the WordPress file wp-config.php, add the following settings:
//WordPress 代理服务器配置
define('WP_PROXY_HOST', 'socks://127.0.0.1'); //代理服务器地址
define('WP_PROXY_PORT', '1080'); //代理服务器端口

// 屏蔽通过代理的地址列表(可选)
define('WP_PROXY_BYPASS_HOSTS', '*.wordpress.org');
Attention:
- Check your config.json file, if the protocol of inbound in your config is socks as mine, then the address of the proxy server needs to be the same as mine. If your protocol is http, then you need to change it to: http://127.0.0.1
- The port number should be changed according to your config.json file
- Access does not need to go to the address list (such as the domestic Web site) according to your actual situation to fill in, between multiple URLs, separated by commas, such as: define ( 『WP_PROXY_BYPASS_HOSTS』, 『*.wordpress.org, *.baidu.com, *.qq.com』);; 『*.wordpress.org, *.baidu.com, *.qq.com』); 『*.wordpress.org, *.baidu.com, *.qq.com』)
Congratulations, great job!
© Copyright notes
Article copyright AI Sharing Circle All, please do not reproduce without permission.
Related posts

No comments...


