Simba: Knowledge management system for organizing documents, seamlessly integrated into any RAG system
General Introduction
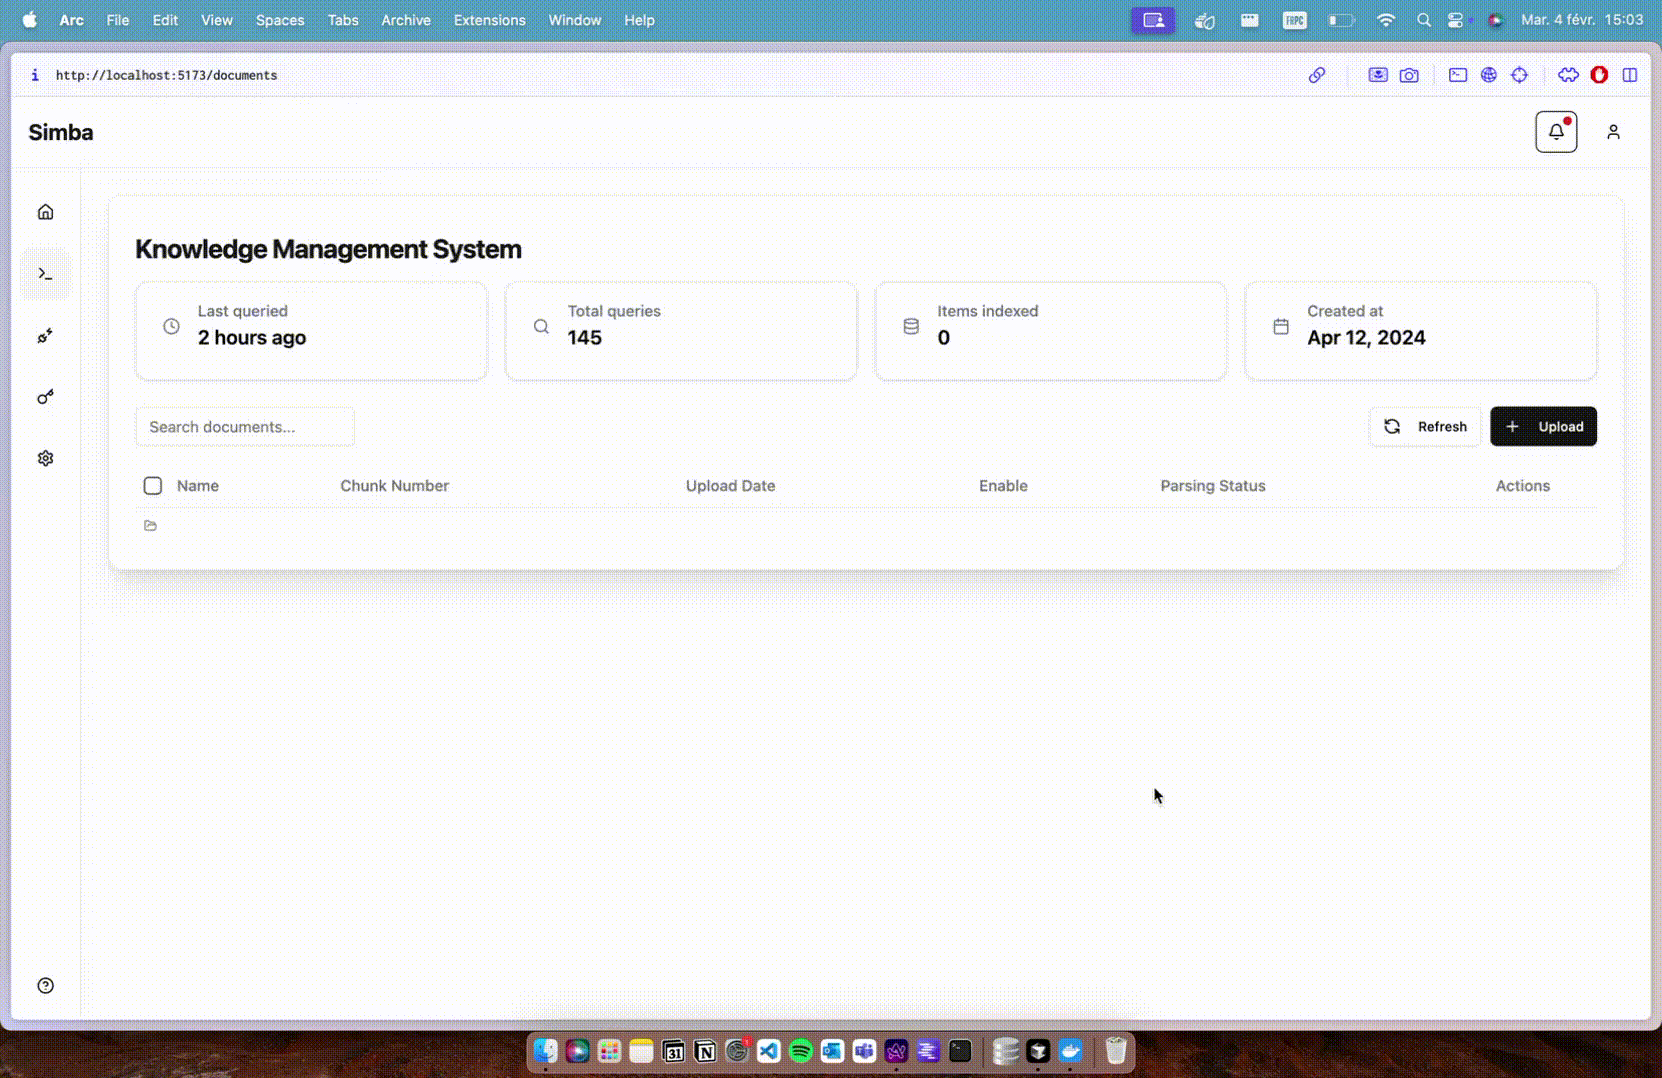
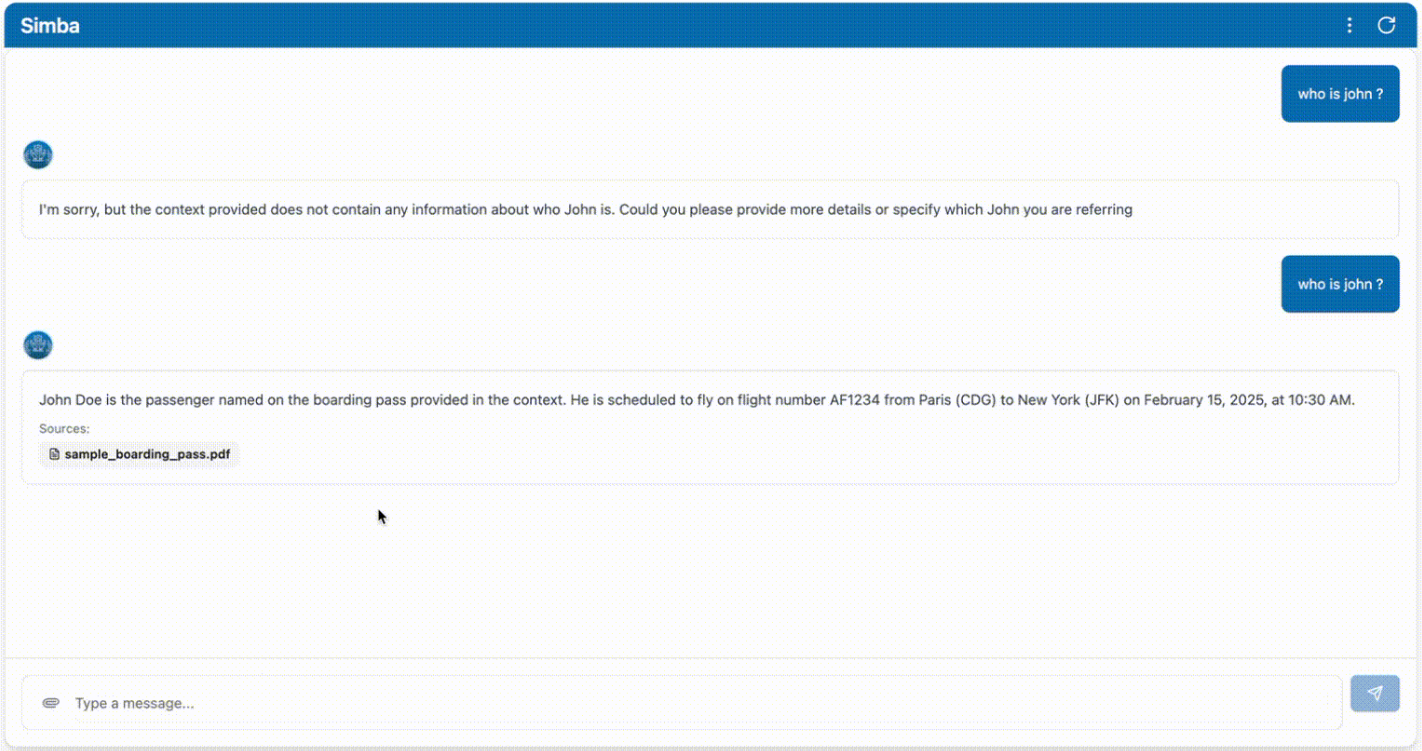
Simba is a portable Knowledge Management System (KMS) designed to integrate seamlessly with any Retrieval Augmented Generation (RAG) system. Created by GitHub user GitHamza0206, the project provides an efficient knowledge management solution for a variety of application scenarios.Simba is designed with the goal of simplifying the knowledge management process and improving the accuracy and efficiency of information retrieval and generation. By integrating with the RAG system, Simba is able to provide powerful support in handling complex data and generating content.


Function List
- knowledge management: Provide comprehensive knowledge management features that support storage, categorization and retrieval of knowledge.
- RAG Systems Integration: Seamless integration with the retrieval enhancement generation system to improve the accuracy of information generation.
- portability: Designed as a portable system that is easy to deploy and use.
- open source project: As an open source project, users can freely access the source code and customize it.
- Efficient retrieval: Optimized information retrieval to quickly find the knowledge you need.
- user-friendly interface: Provides an intuitive user interface to simplify the operation process.
Using Help
Installation process
- clone warehouse: First, clone the Simba project's GitHub repository using the Git command.
git clone https://github.com/GitHamza0206/simba.git
- Installation of dependencies: Go to the project directory and install the required dependency packages.
cd simba
local development
- back-end configuration::
- Go to the back-end catalog:
cd backend- Ensure that Redis is installed in your operating system:
redis-server- Setting environment variables:
cp .env.example .envThen edit the .env file and fill in your values:
OPENAI_API_KEY="" LANGCHAIN_TRACING_V2= #(optional - for langsmith tracing) LANGCHAIN_API_KEY="" #(optional - for langsmith tracing) REDIS_HOST=redis CELERY_BROKER_URL=redis://redis:6379/0 CELERY_RESULT_BACKEND=redis://redis:6379/1- Install the dependencies:
 poetry install
poetry shell
Or on Mac/Linux:
source .venv/bin/activateOn Windows:
.venv\Scripts\activate- Run the back-end service:
python main.pyOr use auto-reloading:
uvicorn main:app --reloadThen navigate to
http://0.0.0.0:8000/docsAccess to the Swagger UI (optional).- Run the parser using Celery:
celery -A tasks.parsing_tasks worker --loglevel=info- Modify as necessary
config.yamlDocumentation:
project: name: "Simba" version: "1.0.0" api_version: "/api/v1" paths: base_dir: null # Will be set programmatically markdown_dir: "markdown" faiss_index_dir: "vector_stores/faiss_index" vector_store_dir: "vector_stores" llm: provider: "openai" #or ollama (vllm coming soon) model_name: "gpt-4o" #or ollama model name temperature: 0.0 max_tokens: null streaming: true additional_params: {} embedding: provider: "huggingface" #or openai model_name: "BAAI/bge-base-en-v1.5" #or any HF model name device: "cpu" # mps,cuda,cpu additional_params: {} vector_store: provider: "faiss" collection_name: "migi_collection" additional_params: {} chunking: chunk_size: 512 chunk_overlap: 200 retrieval: k: 5 #number of chunks to retrieve features: enable_parsers: true # Set to false to disable parsing celery: broker_url: ${CELERY_BROKER_URL:-redis://redis:6379/0} result_backend: ${CELERY_RESULT_BACKEND:-redis://redis:6379/1} - Front-end settings::
- Make sure it's in the Simba root directory:
bash
cd frontend - Install the dependencies:
bash
npm install - Run the front-end service:
bashThen navigate to
npm run devhttp://localhost:5173Access the front-end interface.
- Make sure it's in the Simba root directory:
Booting with Docker (recommended)
- Navigate to the Simba root directory:
   export OPENAI_API_KEY="" #(optional)
docker-compose up --build
Project structure
simba/
├── backend/              # 核心处理引擎
│   ├── api/              # FastAPI端点
│   ├── services/         # 文档处理逻辑
│   ├── tasks/            # Celery任务定义
│   └── models/           # Pydantic数据模型
├── frontend/             # 基于React的UI
│   ├── public/           # 静态资源
│   └── src/              # React组件
├── docker-compose.yml    # 开发环境
└── docker-compose.prod.yml # 生产环境设置
configure
config.yamlfile is used to configure the back-end application. You can change the following:
- embedding model
- vector storage
- chunking
- look up
- functionality
- resolver
For more information, please navigate tobackend/README.mdThe
© Copyright notes
Article copyright AI Sharing Circle All, please do not reproduce without permission.
Related posts

No comments...


