OAK: open source project to visually build intelligent body applications
General Introduction
OAK (Open Agent Kit) is an open source tool that helps developers quickly build, customize and deploy AI intelligences. It can connect to any Large Language Model (LLM), such as those from OpenAI, Google, or Anthropic, and also supports adding functionality via plugins.OAK is designed with a clear goal in mind: to make AI integration easy. It provides a modular structure, intuitive APIs, and easy-to-use interface components that allow developers to move quickly from idea to production environment. Whether you're building an intelligent assistant or developing AI-powered customer services, OAK offers flexibility and scalability. The site is driven by the developer community, the code is public and users are free to modify it, making it suitable for projects of all sizes.

Function List
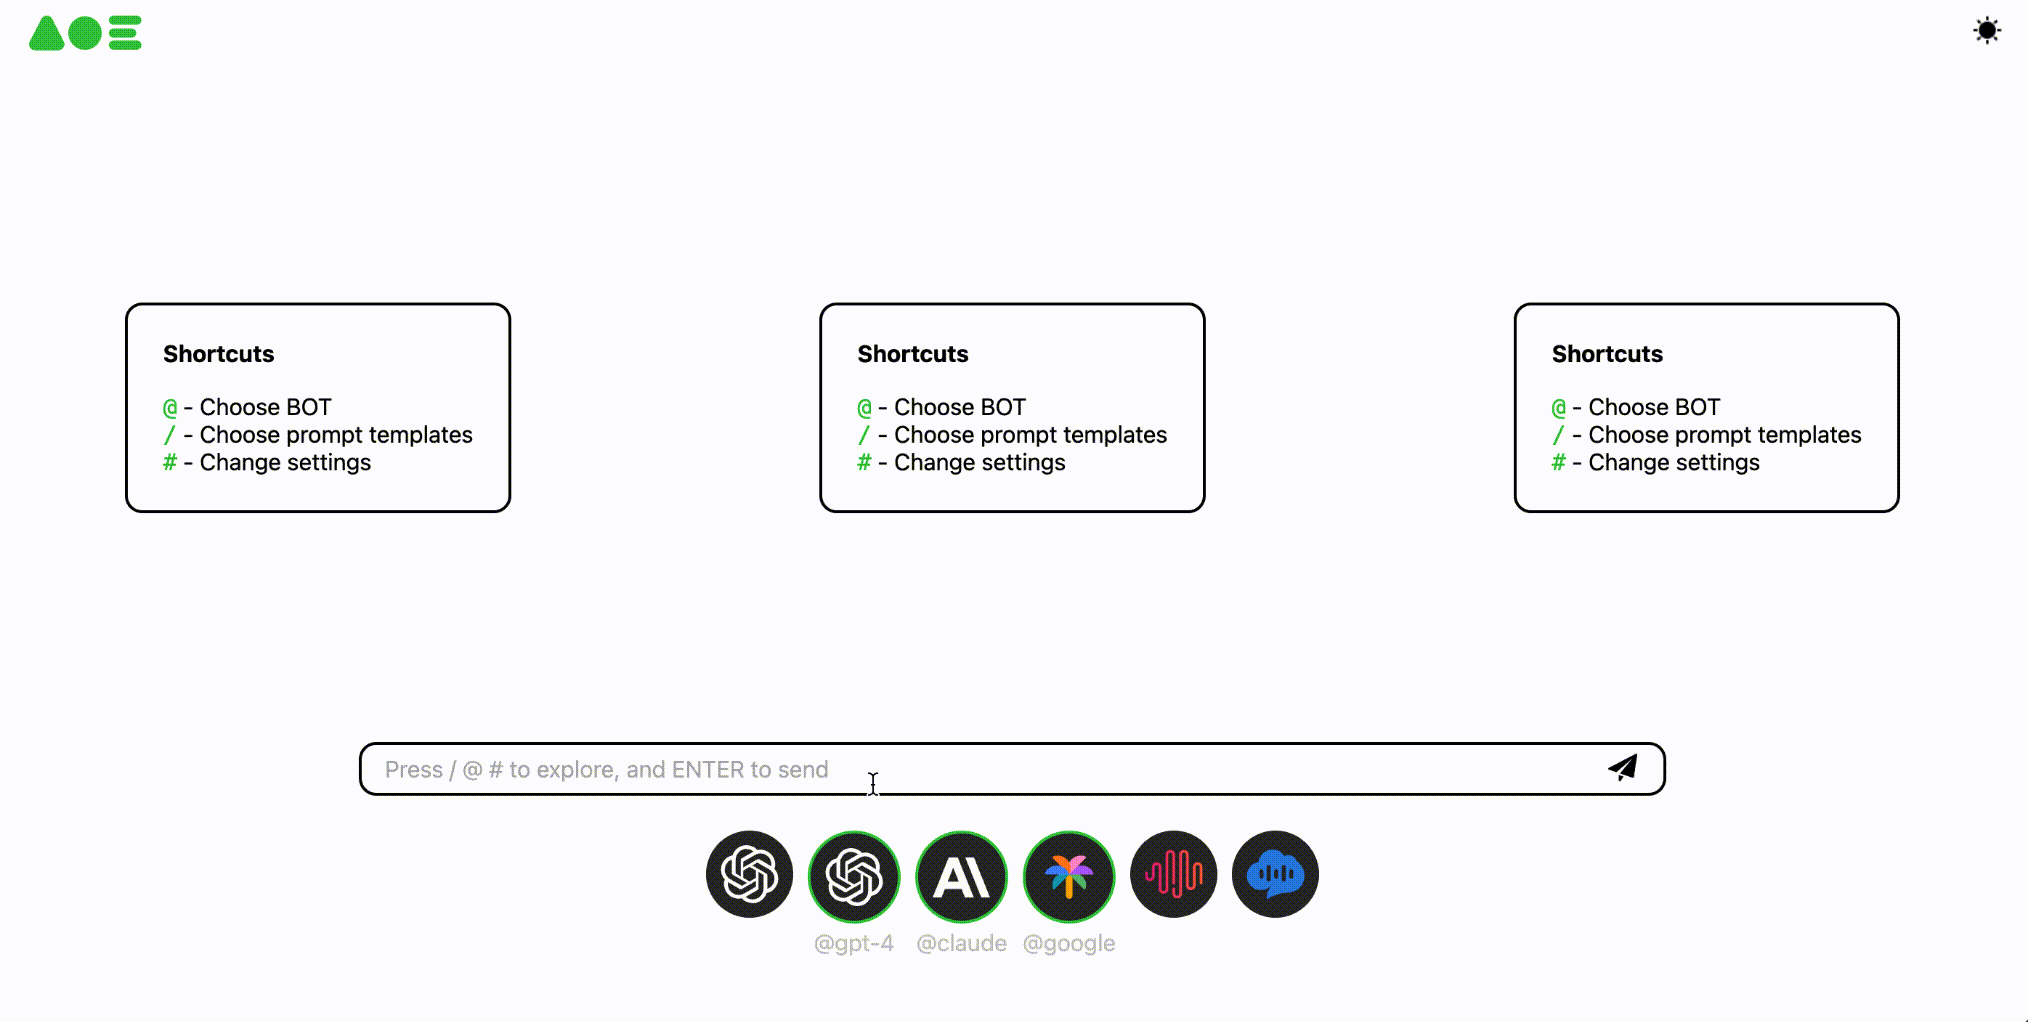
- Support arbitrary LLM connections: compatible with OpenAI, Google, Anthropic and other models, also supports self-hosted models.
- Plugin extensions: add functionality via plugins, such as data processing or real-time search.
- Modular design: provides adjustable components for easy customization of AI functions.
- One-Click Run: Quickly launch native apps with commands without complex configuration.
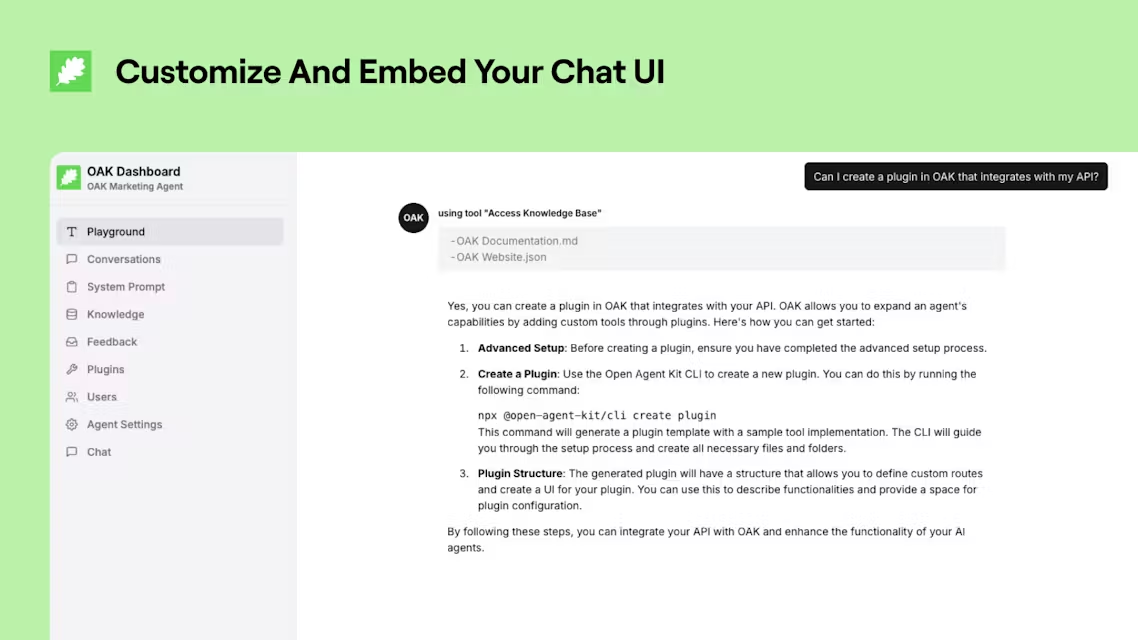
- Interface Component: Built-in chat interface that can be embedded in a website or application.
- Open source and transparent: the code is publicly available on GitHub and can be modified or contributed to by users.
- Database support: optional set into PostgreSQL, store data more convenient.
- Community driven: get support or share experiences through Discord.
Using Help
OAK is simple and straightforward, and is suitable for both quick start-up and in-depth development support. Below are detailed installation and usage instructions.
Basic Installation Process
If you want to run OAK directly without changing the code or developing plug-ins, you can follow the steps below:
- launch an application
Open a terminal and enter the command:
npx @open-agent-kit/cli run docker
This will automatically download and launch OAK.
- configuration model
The command line will prompt to select a model (e.g. OpenAI's GPT-4o) and enter the API key. Fill in the key as prompted, e.g.OPENAI_API_KEY=你的密钥, and then enter. - Access to applications
After a successful launch, open your browser and type:
http://localhost:3000
You will see the OAK chat screen.
- test run
Enter "What day of the week is today" in the interface, if the correct answer is returned, the installation is successful.
Advanced Installation Process
If you want to change the default model, add plug-ins or develop new features, you can follow the steps below:
Create a project
- Generate Project
Enter it in the terminal:
npx @open-agent-kit/cli create project
This will create a project folder with a default configuration.
- Access to the catalog
importationcd 项目名, enter the project catalog.
Setting up the database (optional)
- Running PostgreSQL
Start the database with Docker and enter:
docker run --name oak-db
-e POSTGRES_USER=你的用户名
-e POSTGRES_PASSWORD=你的密码
-e POSTGRES_DB=oak
-p 5432:5432 -d pgvector/pgvector:pg17
interchangeability你的用户名cap (a poem)你的密码The
- Configuring Connections
Copy the project's.env.examplebecause of.env, edit the file and fill in the database information, for example:
DATABASE_URL=postgresql://你的用户名:你的密码@localhost:5432/oak?schema=public
Configuration environment
- Getting the API key
- OpenAI: AccessOpenAI official website, create the key.
- Google: referenceGemini DocumentationThe
- Anthropic: ViewAnthropic DocumentationThe
- XAI: SeeXAI documentsThe
- Generate application key
interviewshttps://api.open-agent-kit.com/generate-secret.htmlGenerateAPP_SECRET, for example:
APP_SECRET=生成的32位密钥
- Setting environment variables
exist.envFill in the key and other configurations, for example:
APP_URL=http://localhost:5173
OPENAI_API_KEY=你的密钥
APP_SECRET=你的应用密钥
local development
- Installation of dependencies
Input:
npm install
- operational migration
If a database is used, execute:
npm run generate
npm run migrate:deploy
- launch an application
Input:
npm run dev
interviewshttp://localhost:5173, enter the administration interface.
Main Functions
Connecting LLM
- Click on "Settings" in the interface and select a model (e.g. Google Gemini).
- Enter the API key and save.
- Test by typing a question in the chat box, such as "How many times does 1+1 equal?".
Adding Plug-ins
- In the project folder of the
pluginsdirectory, add the plugin code (refer to the(computer) file). - (of a computer) run
npm run buildPacking. - Restart the app and the plugin takes effect automatically.
Customized Interface
- In the administration interface, adjust the colors and fonts.
- make a copy of
<iframe>Code to embed in your website.
Featured Function Operation
Modular development
- OAK's modular design allows you to individually tweak features, such as changing chat logic.
- Find in the code
src/modules, modified as needed.
Cloud Deployment
- Deploying with Vercel: In the terminal type
vercel deploy, follow the prompts. - Access the returned URL after deployment.
These steps make OAK clear and maneuverable from installation to use. For more details seeofficial documentThe
application scenario
- intelligent assistant
Users can build personal assistants with OAK to answer questions or handle tasks after connecting to LLM. - client service
Enterprises embed OAK into their websites to automate responses to common inquiries and improve efficiency. - Educational support
Teachers use OAK to create question-answering tools where students enter questions and the system returns answers. - data analysis
Developer plus data plugin to analyze business data and generate reports.
QA
- What models does OAK support?
Support OpenAI, Google, Anthropic and other mainstream LLM, also supports self-built models. - Need to know how to program?
Basic use is not required, just configure the interface. JavaScript base is required for developing plugins or changing code. - Is there a cost to running it locally?
Totally free, only cloud deployments or API calls may be charged. - How to update OAK?
Just pull the latest code from GitHub and re-run the install command.
© Copyright notes
Article copyright AI Sharing Circle All, please do not reproduce without permission.
Related posts

No comments...


