Napkin AI Chinese Beginner's Guide
How to get started Napkin AI Generate visual content ? (Account creation, visual generation, export to pdf or image file...)
Welcome Napkin AI, a tool that makes it easy to convert your text into beautiful visuals. This guide will walk you through the basic steps to get started and maximize the potential of Napkin AI.
To unlock additional features and functionality for you and your team, we recommend prioritizing the following steps to get the best experience with Napkin AI.
We have divided it into several parts:
- Account Creation
- Onboarding Tutorial
- visual generation
- Export as PDF, PNG or SVG
Account Creation
If you already have an account, feel free to skip to the next section.
To create an account, simply click on this link: https://app.napkin.ai. You can use your Google AccountQuick Registration, or select Email and PasswordOptions.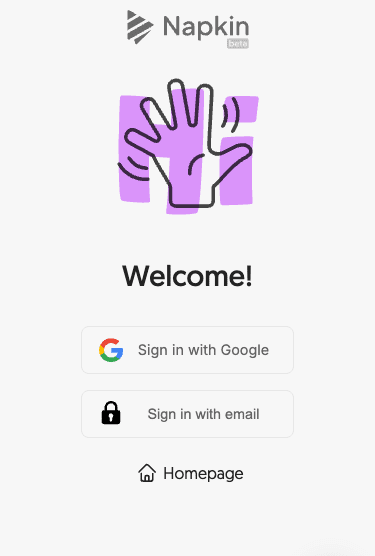
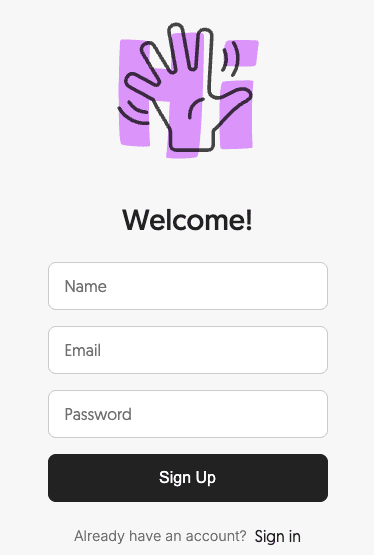
IMPORTANT: Please note that account creation is only available on desktop computers and not on mobile devices or tablets.
primer
After creating an account, you can follow our onboarding tutorial to learn how to generate visual content using Napkin AI.
1- Click Create my first Napkin buttons
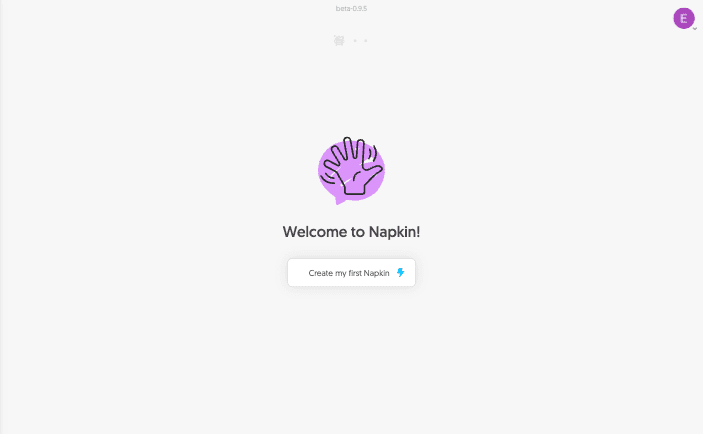
2- To get started, you can paste your existing text content or create content from scratch using our generative AI features.
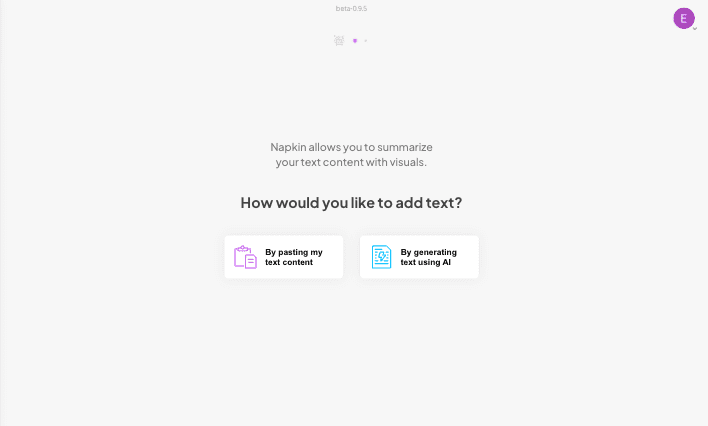
3- If you choose the Paste option, simply copy and paste your text into the interface. If you choose the Generative AI feature, enter a short sentence to create a sample document, or choose from pre-populated examples.
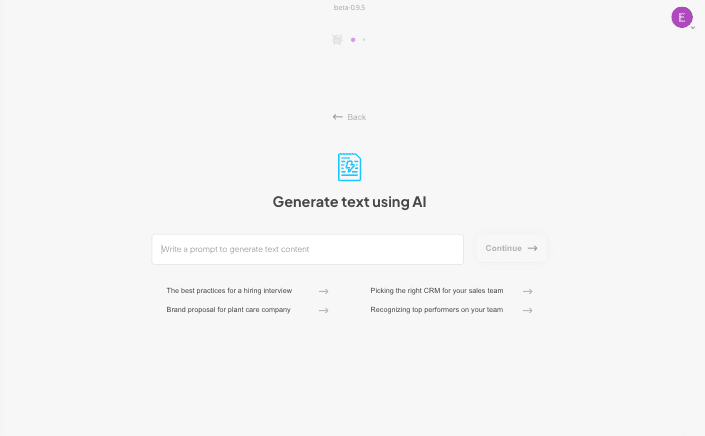
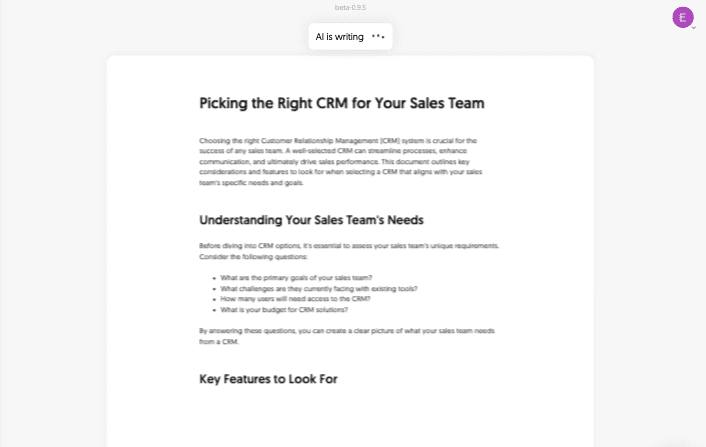
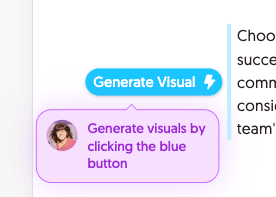
4- After the document is generated, clickblue (color) Generate Visual buttonsBegin the visual creation process.

5- After a few seconds, a list of visuals generated from your text will appear on the screen. Scroll through the options to select your favorite one, and then choose a style for the visual effect of your choice.
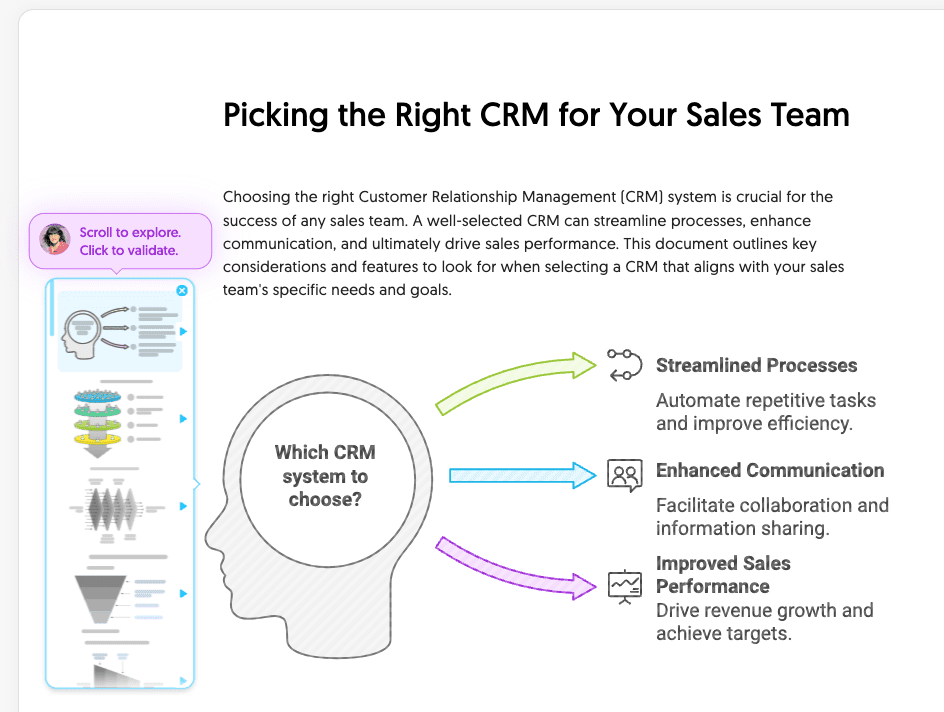
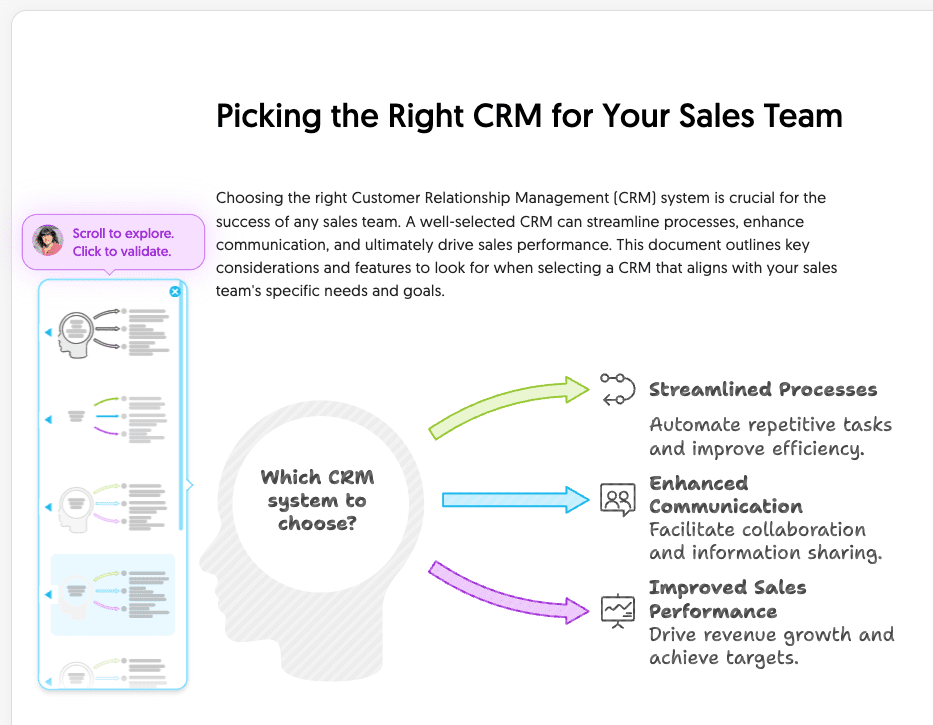
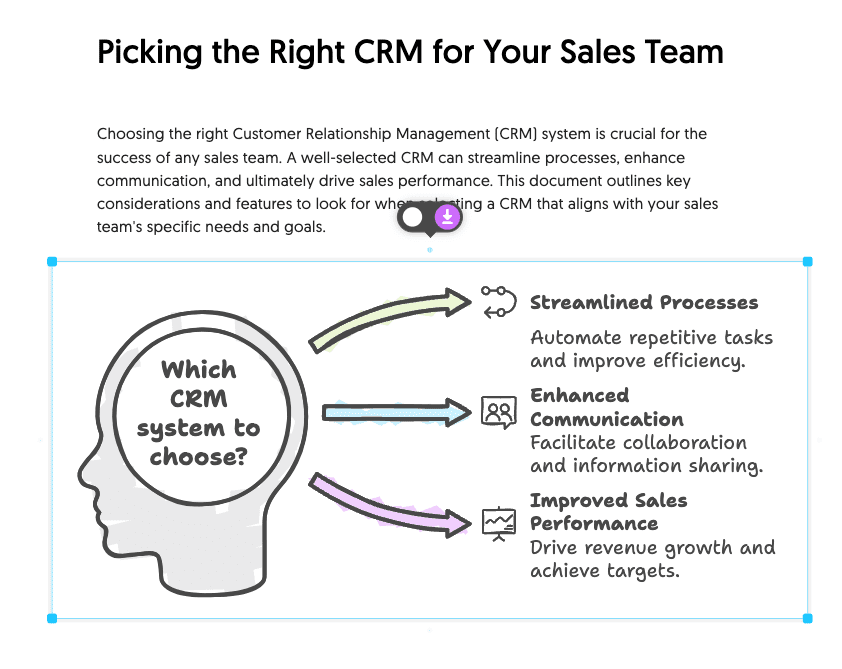
6- To confirm your selection, click on the visual effect you want to use. It will be added to your document and you can export it as a PNG, SVG or PDF if desired. This concludes the tutorial - feel free to create a new document and generate more visuals for your content.
visual generation
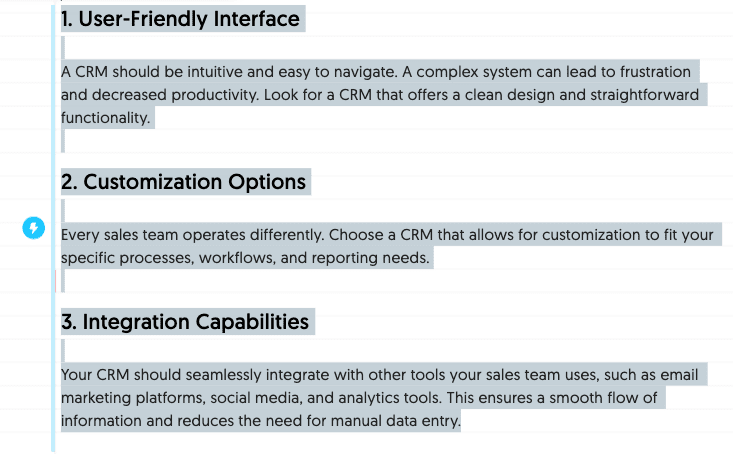
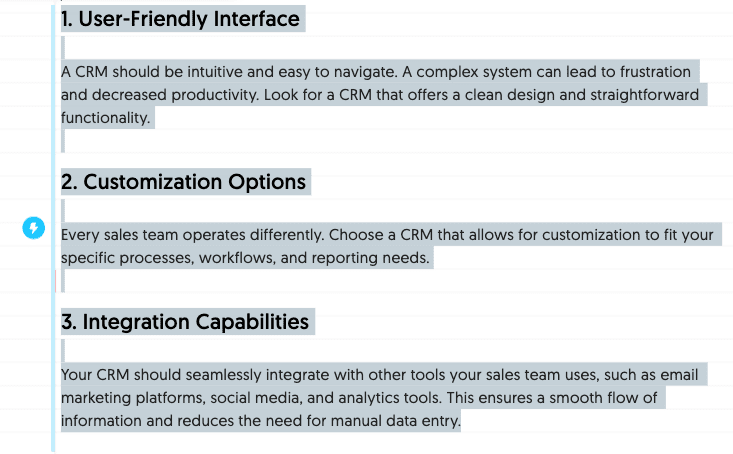
To generate a visual from your text, simply paste the text into your document. Then, hover over the text block and click on the blue color that appears on the left side Generate Visual Button.

You can also select the text and click on the blue colored Generate Visual button to generate visuals from specific parts of the document.
Export as PDF, PNG or SVG
After creating a new document and generating visuals, you may want to export your work for use in other software such as PowerPoint or Word.
Here are your export options:
1- Export the entire document to PDF
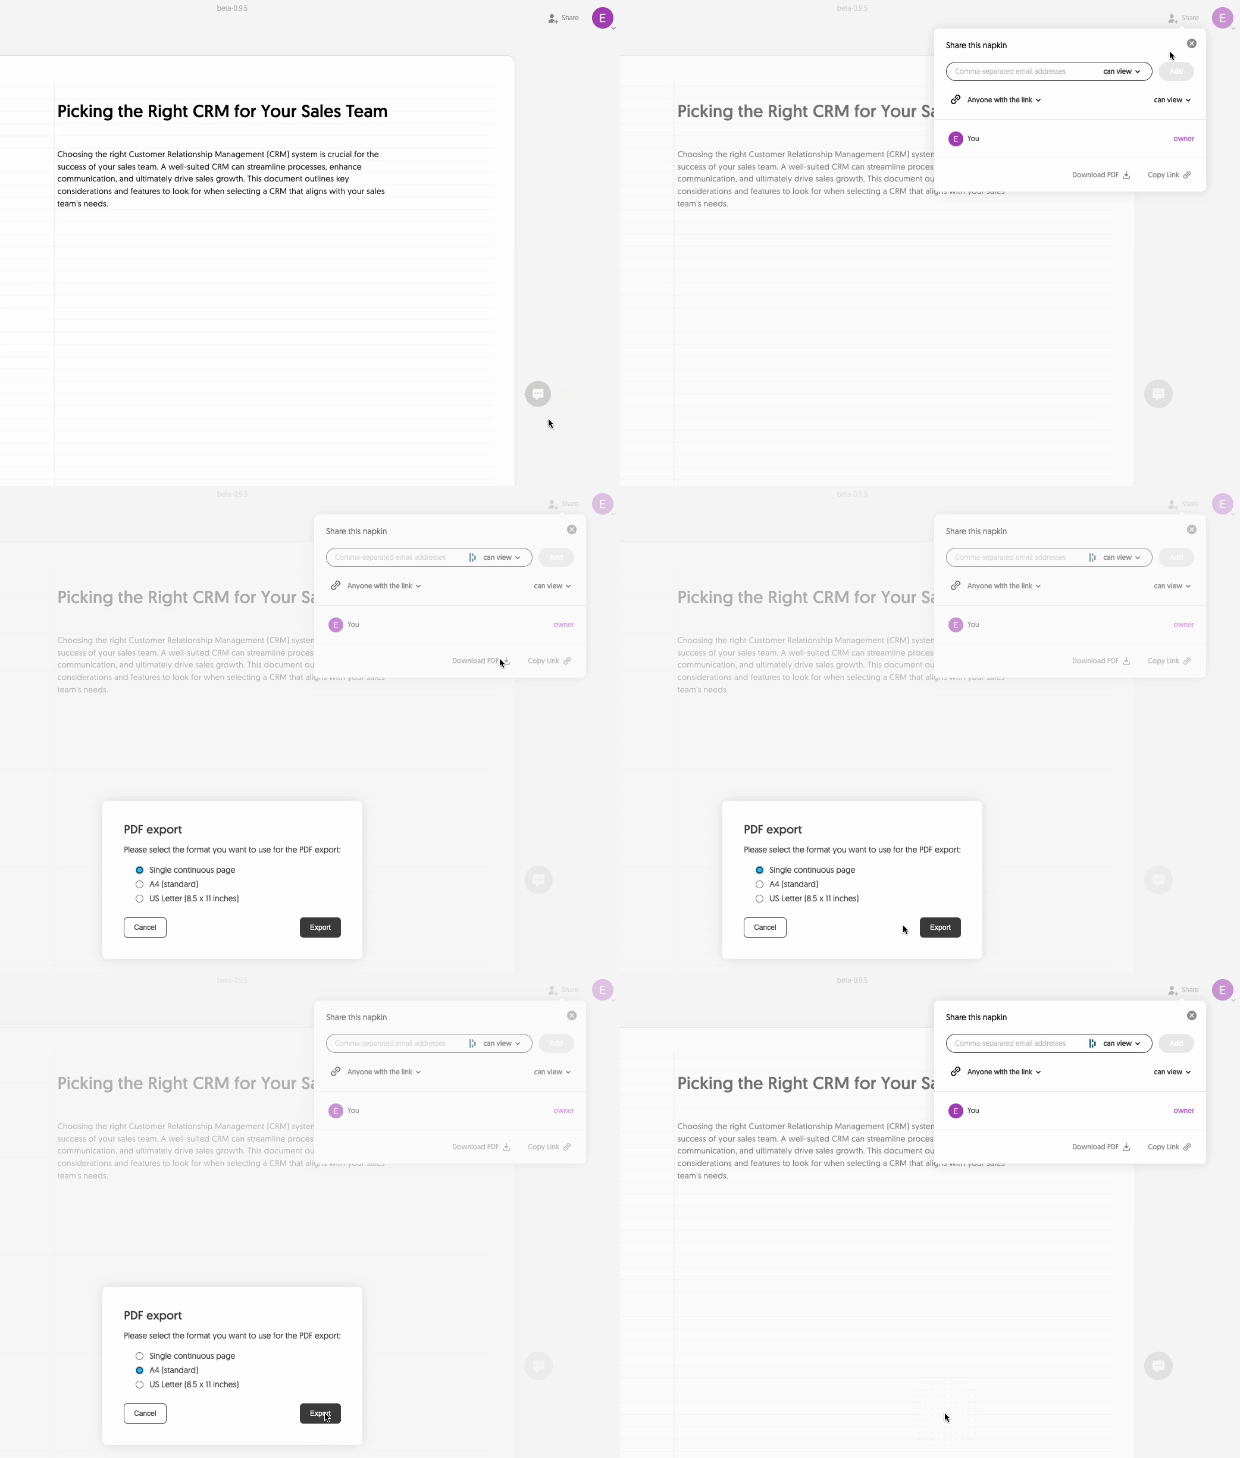
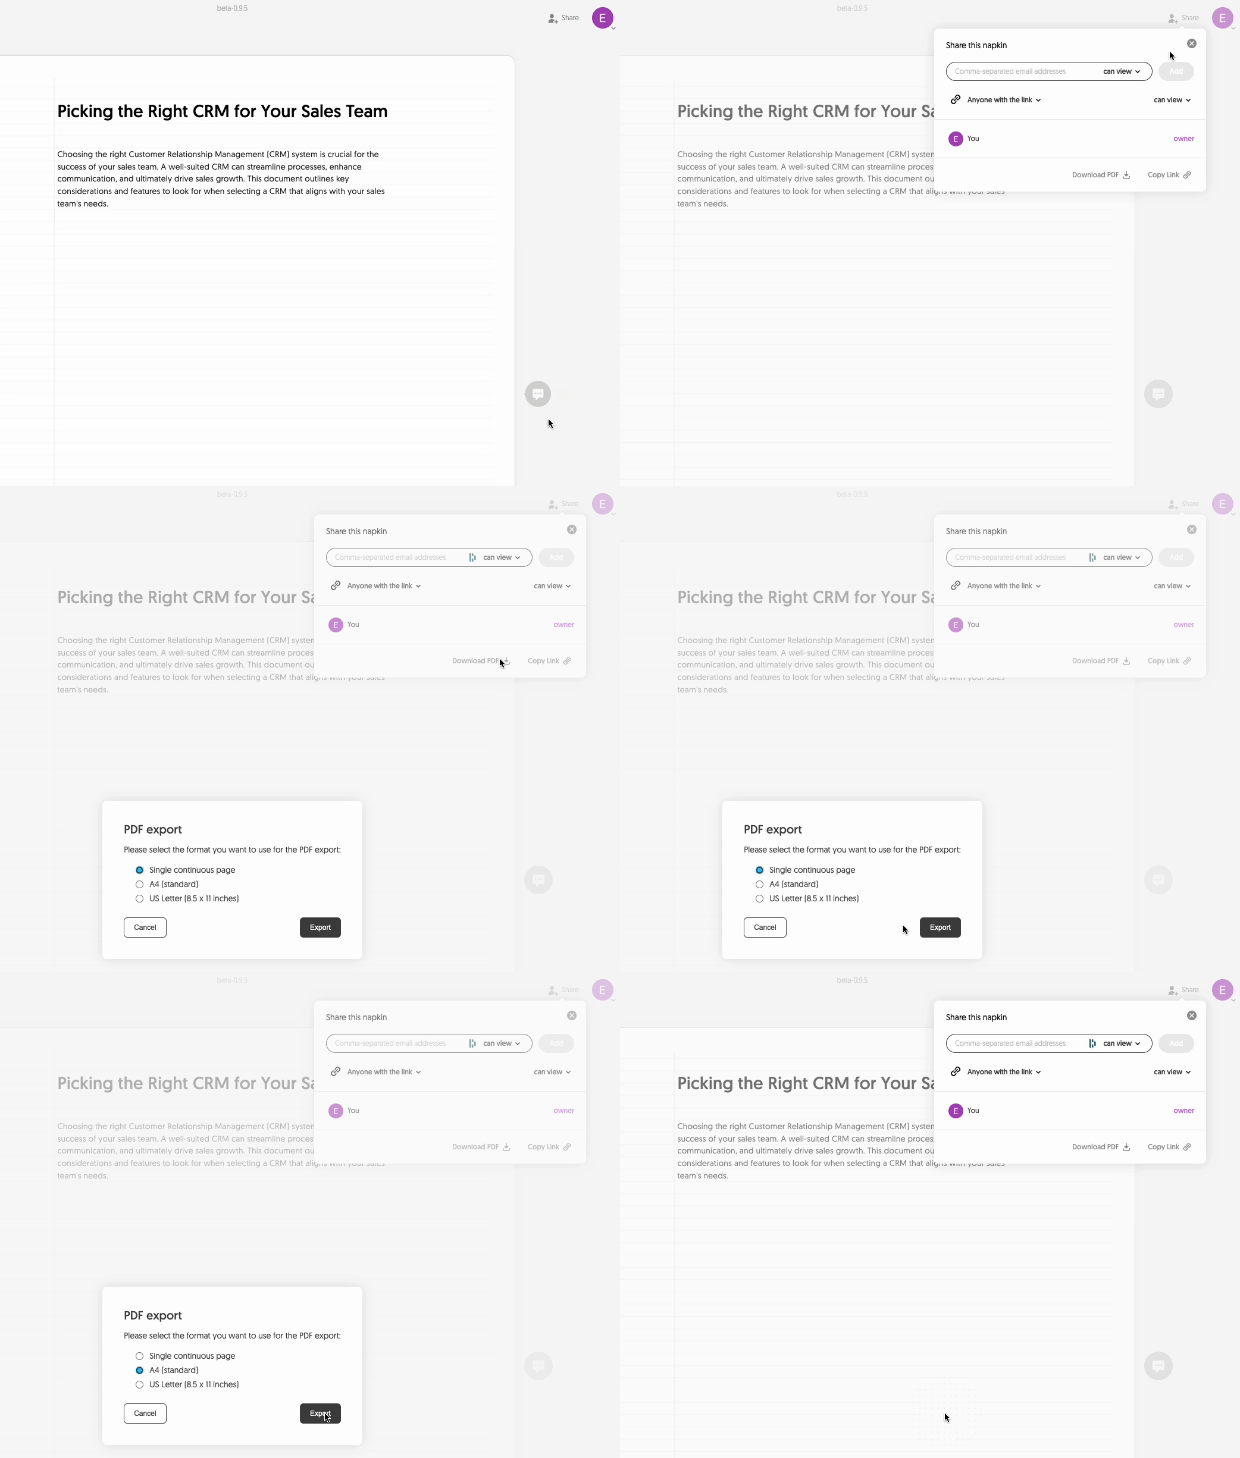
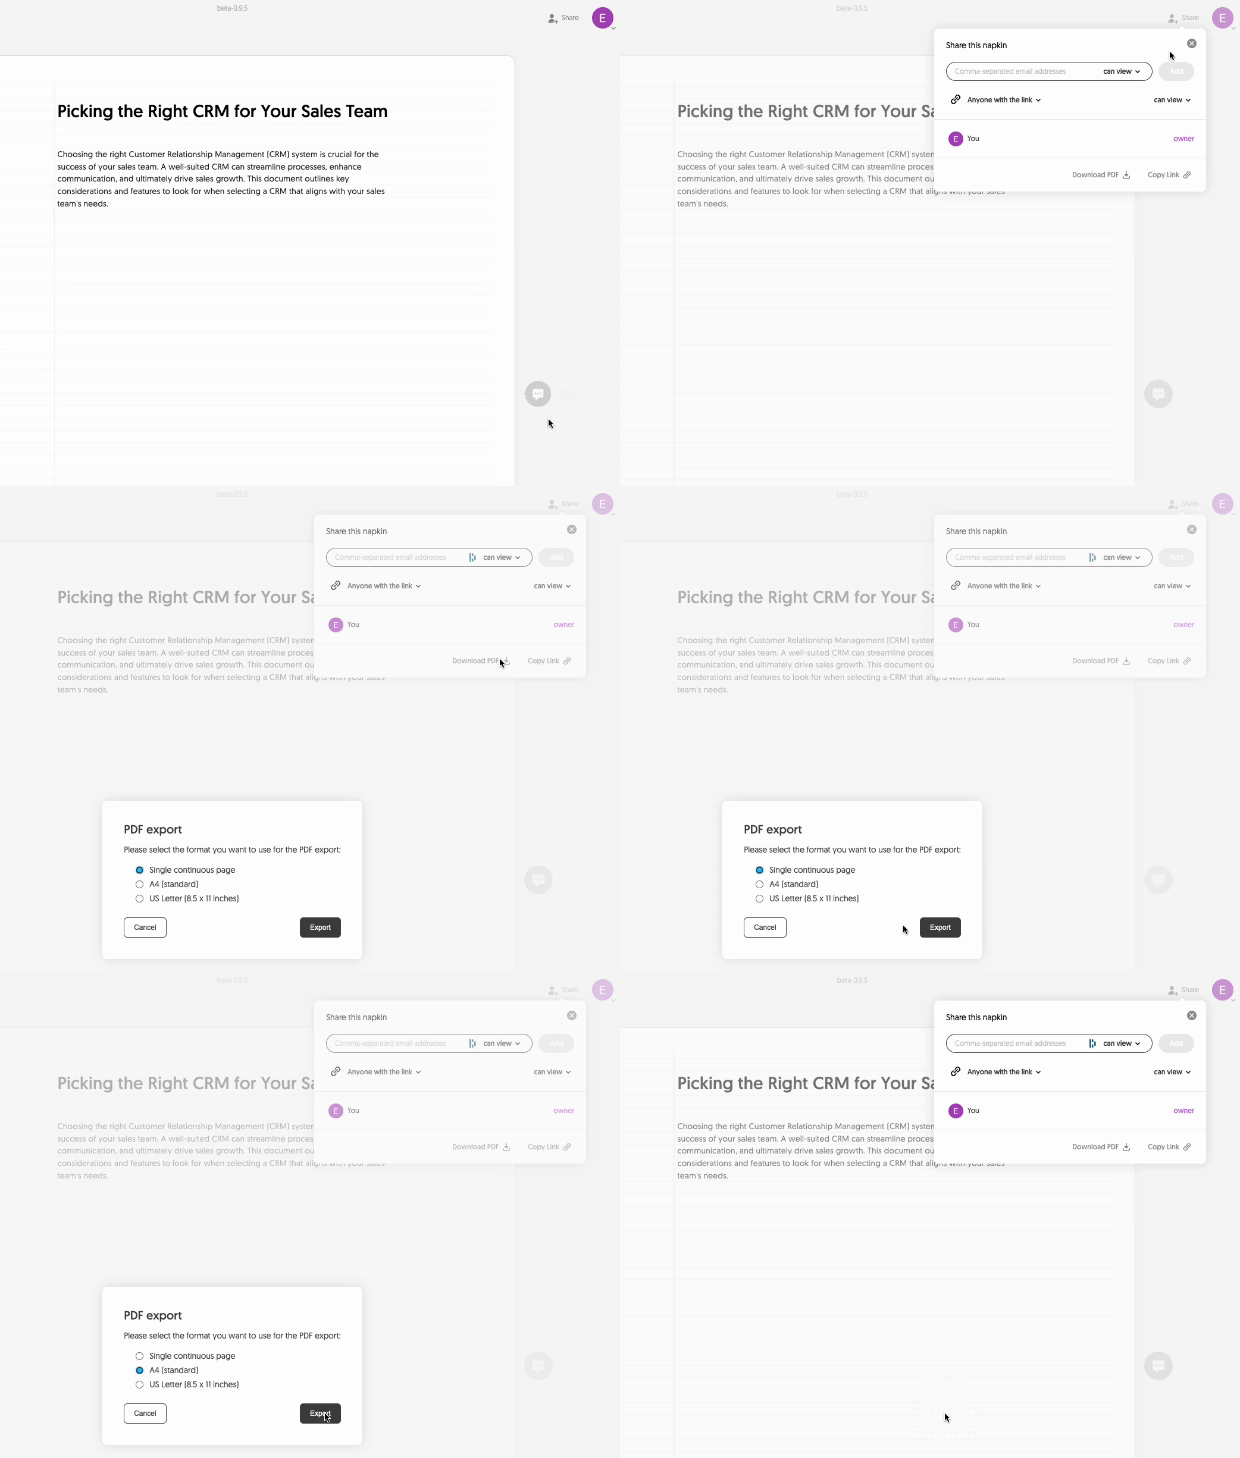
You can find out how to do this by clicking on the top right corner of the 'Share' button and select 'Download PDF' The PDF file can be used to export the entire document as a PDF file. You can then choose between two export formats:
- Single continuous page: This option creates a long page with no breaks, perfect for maintaining consistency between text and visuals.
- A4 page: This option formats the document into A4-sized pages, which are ideal for printing.
2- Export visuals as PNG, SVG or PDF
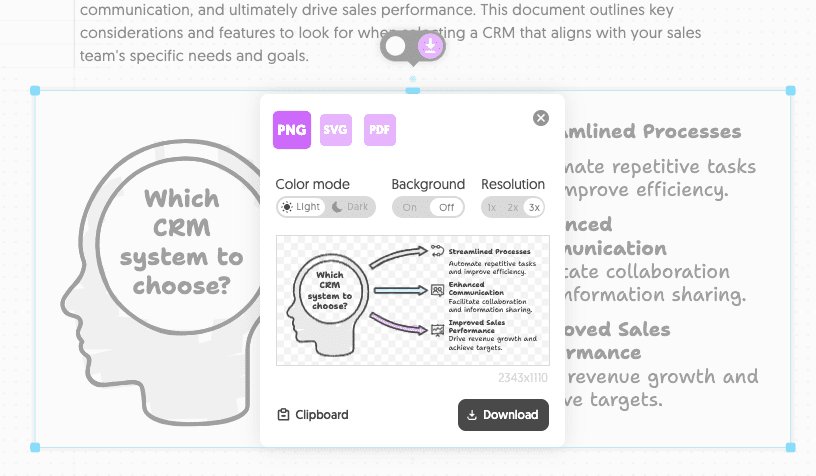
To export a specific visual, click the visual to display a purple button.
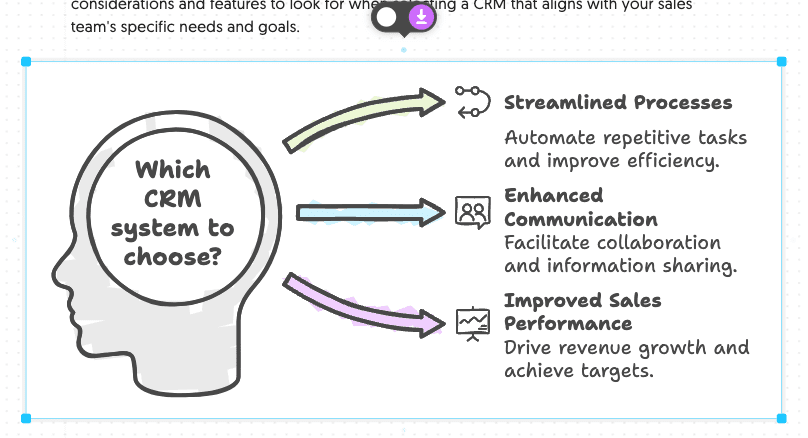
This will open a preview modal box where you can choose to export the visual as a PNG, SVG, or PDF.You will also have some additional options such as color settings.
How are the visuals generated?
Learn how to use Napkin AI to generate visuals from your content.
1- To generate visuals from your text, simply paste the text into your document. Then, hover your mouse over the text block and click on the left-hand side of the appearingBlue Generate Visual buttonThe

You can also select the text and click on the blue colored Generate Visual button to generate visuals from specific parts of the document.
2- After a few seconds, a list of visuals generated from your text will appear on the screen. Scroll through the options to select your favorite one, and then choose a style for the visual effect of your choice.
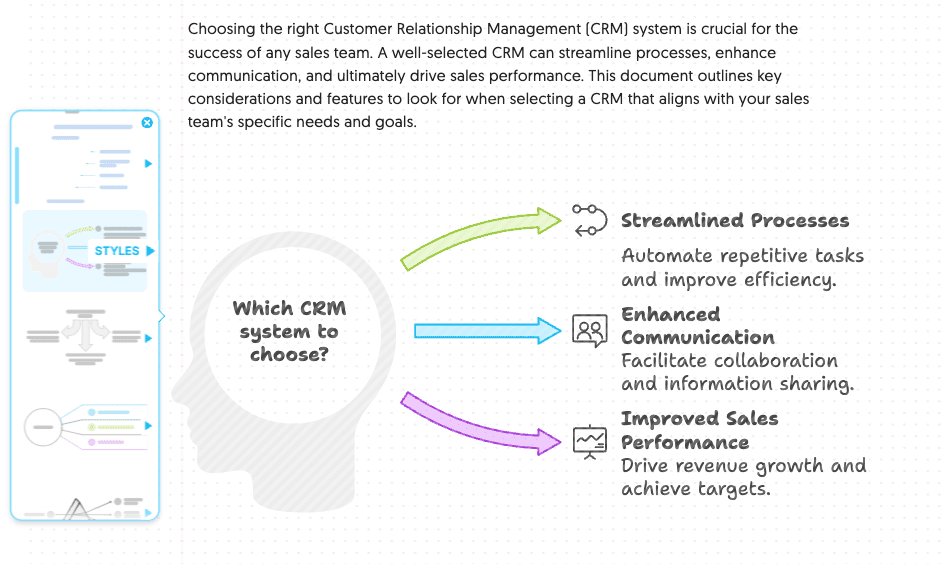
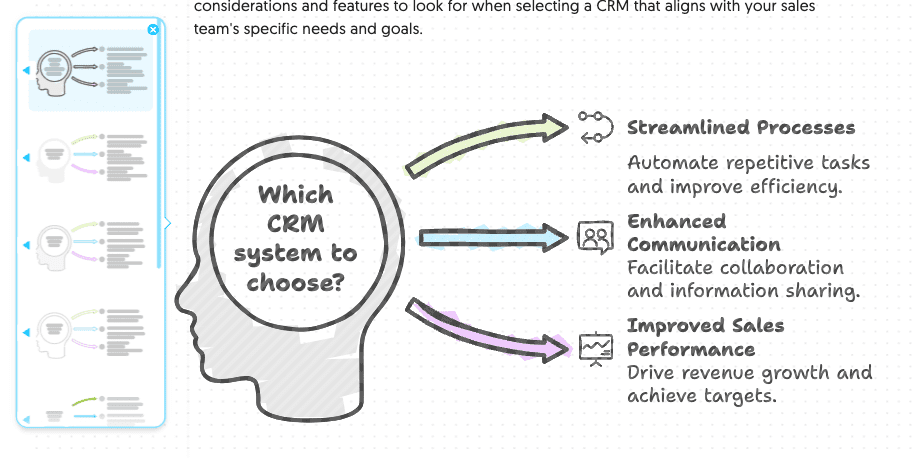
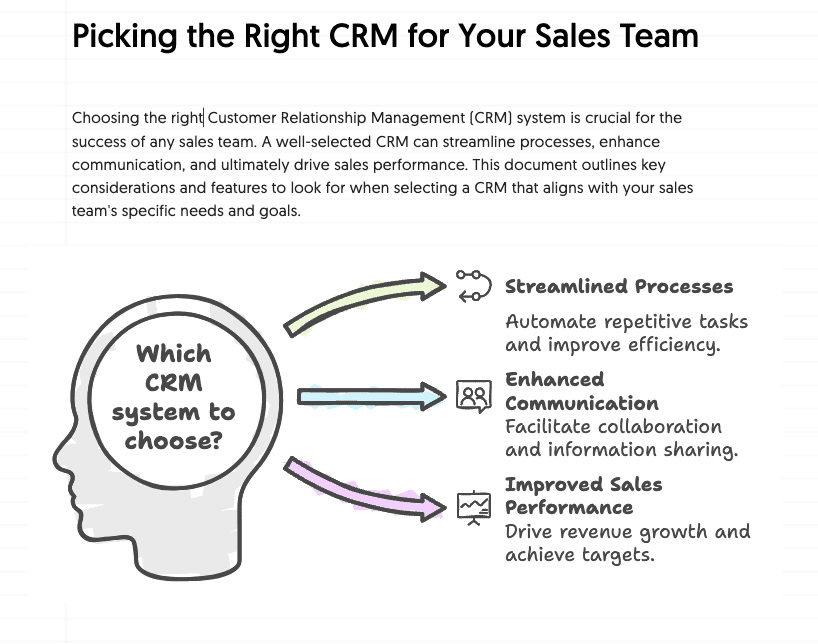
3- To confirm your selection, click on the visual effect you want to use and it will be added to your document.
How to export visuals as PNG, SVG or PDF?
Learn how to export your visuals in PNG, SVG or PDF format.
After creating a new document and generating visuals, you may want to export your work for use in other software such as PowerPoint or Word.
Here are your export options:
1- Export visuals as PNG, SVG or PDF
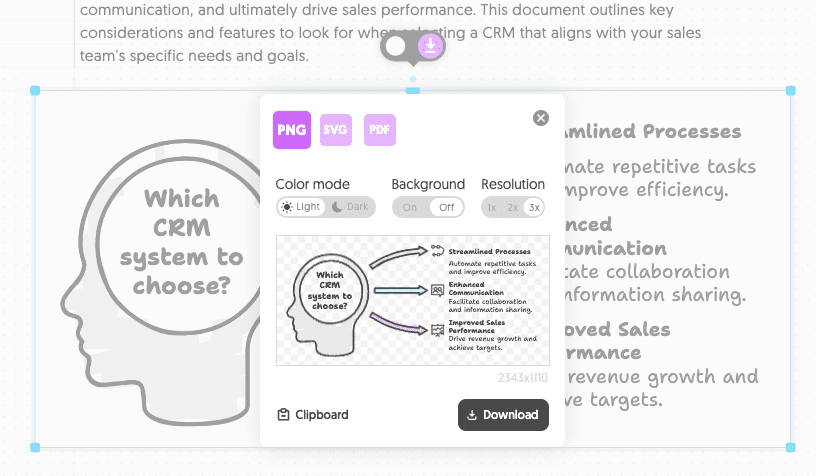
To export a specific visual, click the visual to display a purple button.
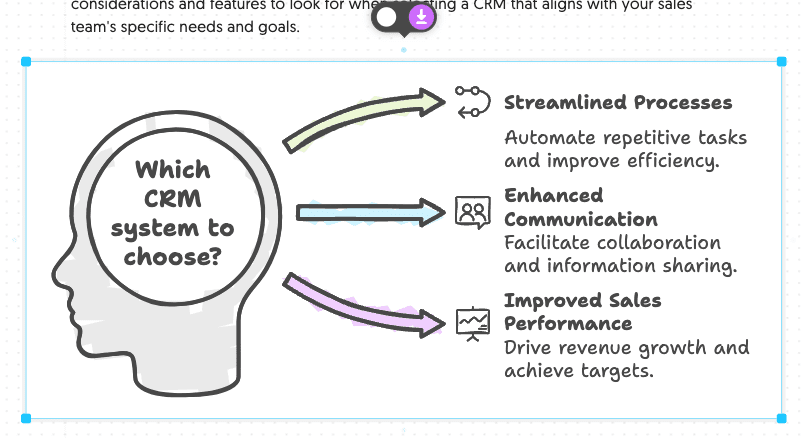
This will open a preview modal box where you can choose to export the visual as a PNG, SVG, or PDF.You will also have some additional options such as color settings.
2- Export the entire document to PDF
You can find out how to do this by clicking on the top right corner of the 'Share' button and select 'Download PDF' The PDF file can be used to export the entire document as a PDF file. You can then choose between two export formats:
- Single continuous page: This option creates a long page with no breaks, perfect for maintaining consistency between text and visuals.
- A4 page: This option formats the document into A4-sized pages, which are ideal for printing.
How do I export a document to PDF?
Learn how easy it is to export your document as a PDF file for sharing or printing.
You can find out how to do this by clicking on the top right corner of the 'Share' button and select 'Download PDF' The PDF file can be used to export the entire document as a PDF file. You can then choose between two export formats:
- Single continuous page: This option creates a long page with no breaks, perfect for maintaining consistency between text and visuals.
- A4 page: This option formats the document into A4-sized pages, which are ideal for printing.
© Copyright notes
Article copyright AI Sharing Circle All, please do not reproduce without permission.
Related posts

No comments...

