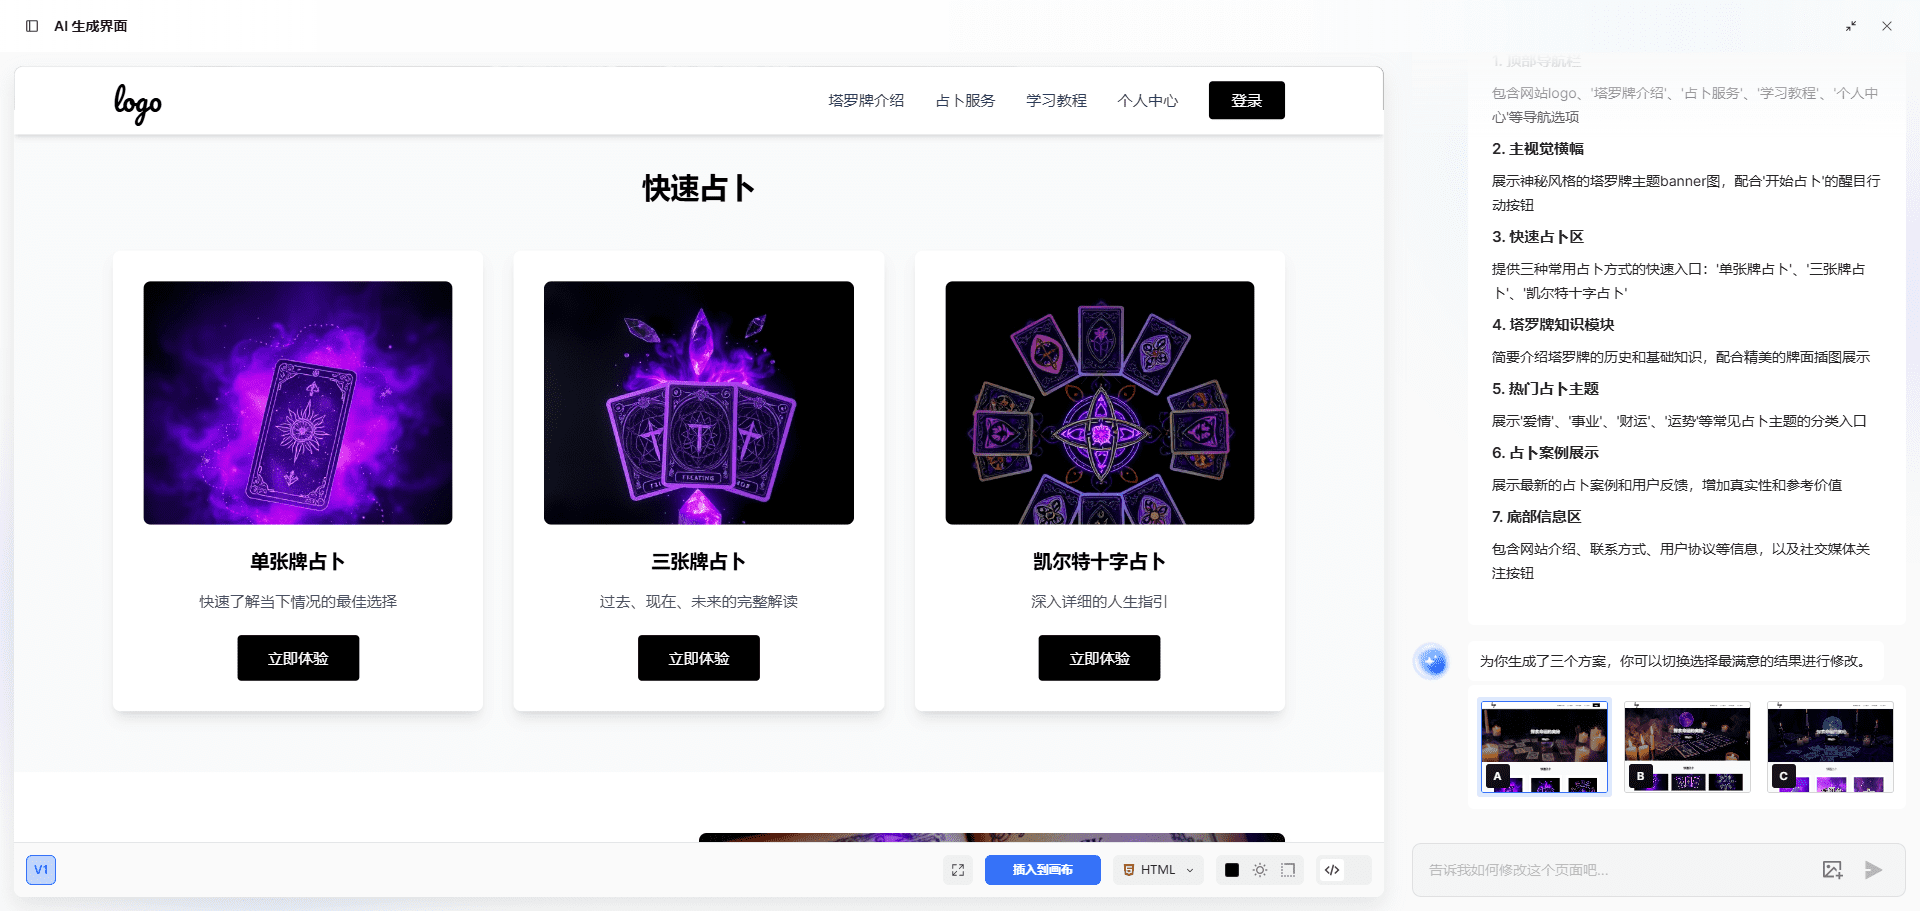
MasterGo: AI one-click to generate UI prototype design, design to highly usable code in seconds!
General Introduction
MasterGo (Mogo Design) is a team-oriented professional UI/UX design tool, which is specially built for improving design efficiency and team collaboration. As an enterprise-level product design platform in the AI era, MasterGo runs through the whole chain of product design and development, providing online product design, prototyping, web development and design, product interaction design and other functions. MasterGo not only improves individual design efficiency, but also greatly improves team collaboration and multi-scenario office efficiency, which is worth experiencing online collaborative design software.
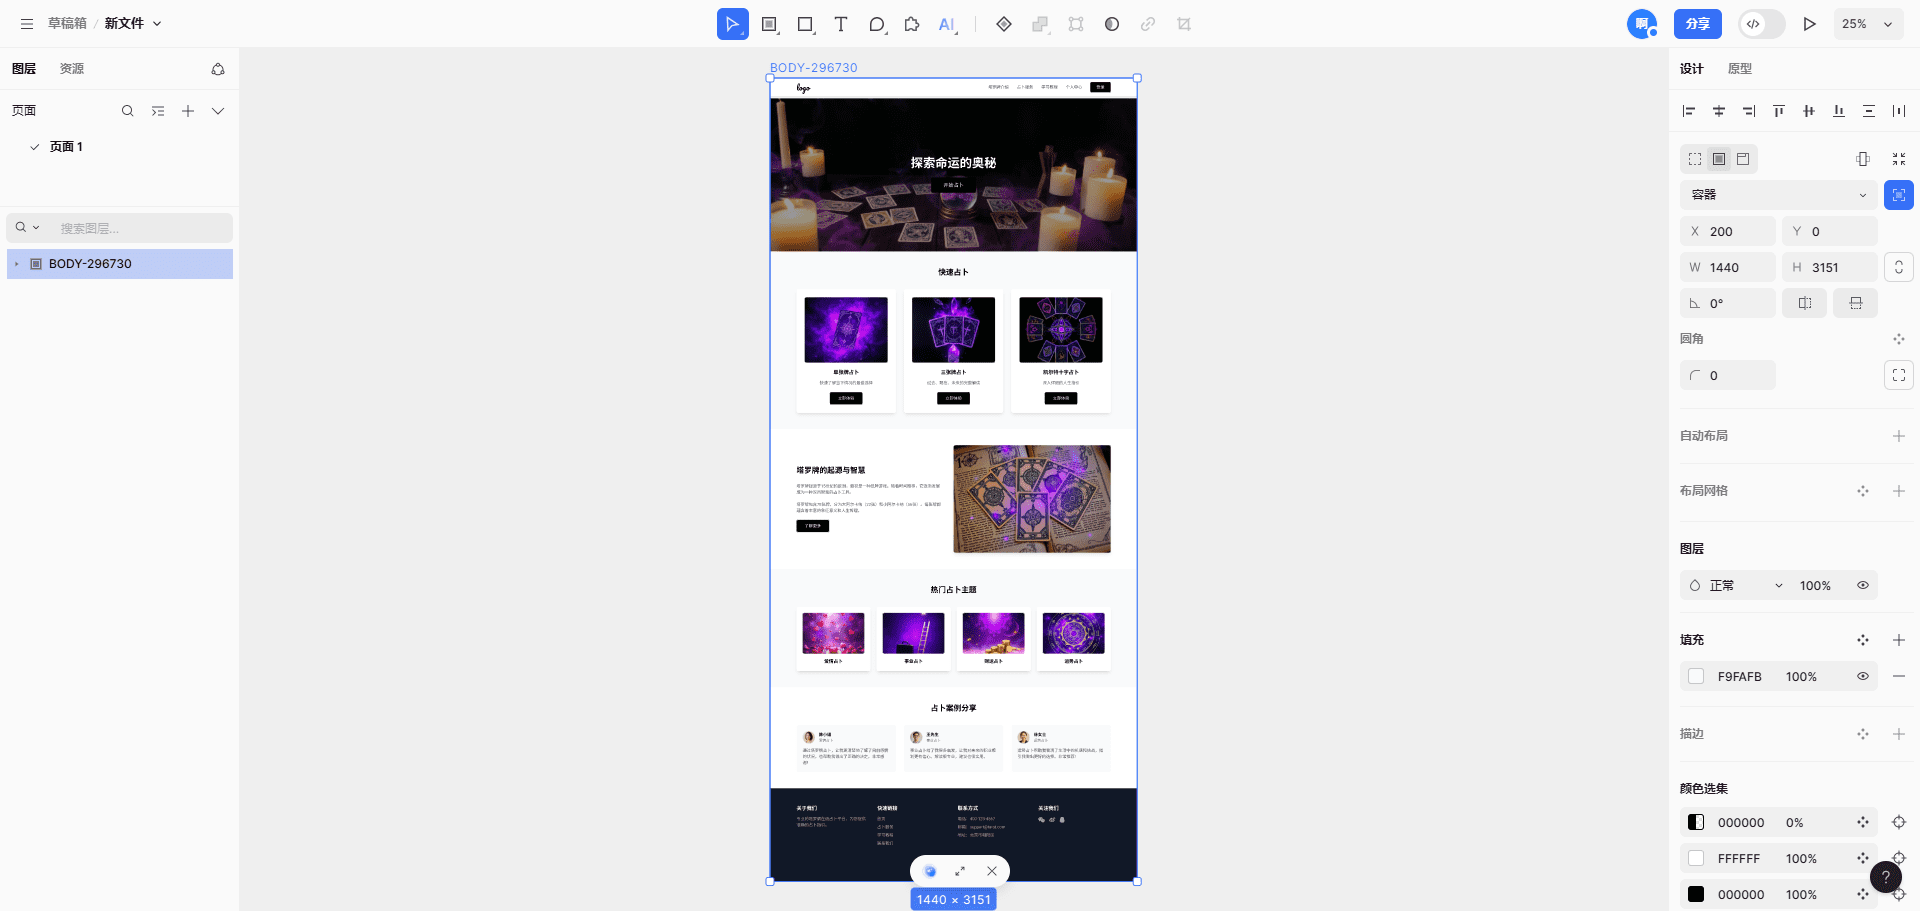
Function List
- interface design: A professional-grade online UI design tool that supports automatic layout, material filling and other smart features.
- Interactive prototypes: Actionable interaction flow, supporting prototype wireframes, flowcharts, and interactive modeling.
- Design System: Efficient management of design resources, one-click reuse of design components for global synchronization.
- Teamwork: Supports real-time online collaboration among multiple people to reduce communication costs and improve work efficiency.
- Design Delivery: Design files are stored in the cloud and updated in real time, so engineers can view annotations, get code, and download cutouts at any time.
- Resource Community: Provide rich UI interface, product prototyping resources and plug-in tools.
Using Help
Installation and Registration
- Visit the MasterGo website (https://mastergo.com/) and click on the "Free Use" button.
- Register and log in using your WeChat or Blue Lagoon account.
- Once you have completed your registration, you can access the MasterGo platform to get started.
interface design
- After logging in, click "New Project" to create a new design project.
- Use the Shape Tool in the left toolbar to draw basic shapes, or drag and drop preset components from the Component Library onto the canvas.
- Utilize the "Auto Layout" feature to quickly adjust the position and size of components to keep your design neat and tidy.
- Use the "Material Fill" function to quickly fill in pictures, colors and other materials to enrich the design content.
Interactive prototypes
- In the design project, click on the "Prototype" tab to enter the prototyping mode.
- Use the Interaction Tool to create interactive links to connect different pages or components.
- Set up interactive animations, such as zoom in and out, position movement, etc., to enhance the user experience.
- Click the "Preview" button to see the interaction in real time and make sure the design meets expectations.
Design System
- In the project, click the "Design System" tab to enter the design system management interface.
- Create new design components or import existing components from the Component Library.
- Set component styles, such as colors, text styles, etc., for global synchronization.
- Use the "Resource Management" function to efficiently manage design resources and improve design consistency.
Teamwork
- In the project, click the "Share" button to generate a link to the project.
- Send the link to team members to invite them to join the program.
- Team members can view and edit design files in real time for online review and feedback.
- Using the "Comments" feature, team members can add comments to the design document to facilitate communication and collaboration.
Design Delivery
- Once you have completed the design, click the "Delivery" button to enter the design delivery interface.
- Set delivery options, such as labeling, cutouts, etc., to ensure that the design file is complete.
- Click the "Generate Link" button to generate a delivery link to send to the engineer.
- Engineers can use the link to view annotations, get code, download cutouts, and quickly realize design development.
© Copyright notes
Article copyright AI Sharing Circle All, please do not reproduce without permission.
Related articles

No comments...


