Leonardo AI: Tutorial for generating images from text prompts
Welcome to Leonardo.AI! It's a pleasure to meet you. This guide will walk you through how to create your first images on our pioneering AI innovation platform. Create visuals, whether they are illustrations or marketing visuals, with unrivaled quality, fast speed, and stylistic consistency.
After logging in to Leonardo.AI, you can access our [web application]Follow the steps below.
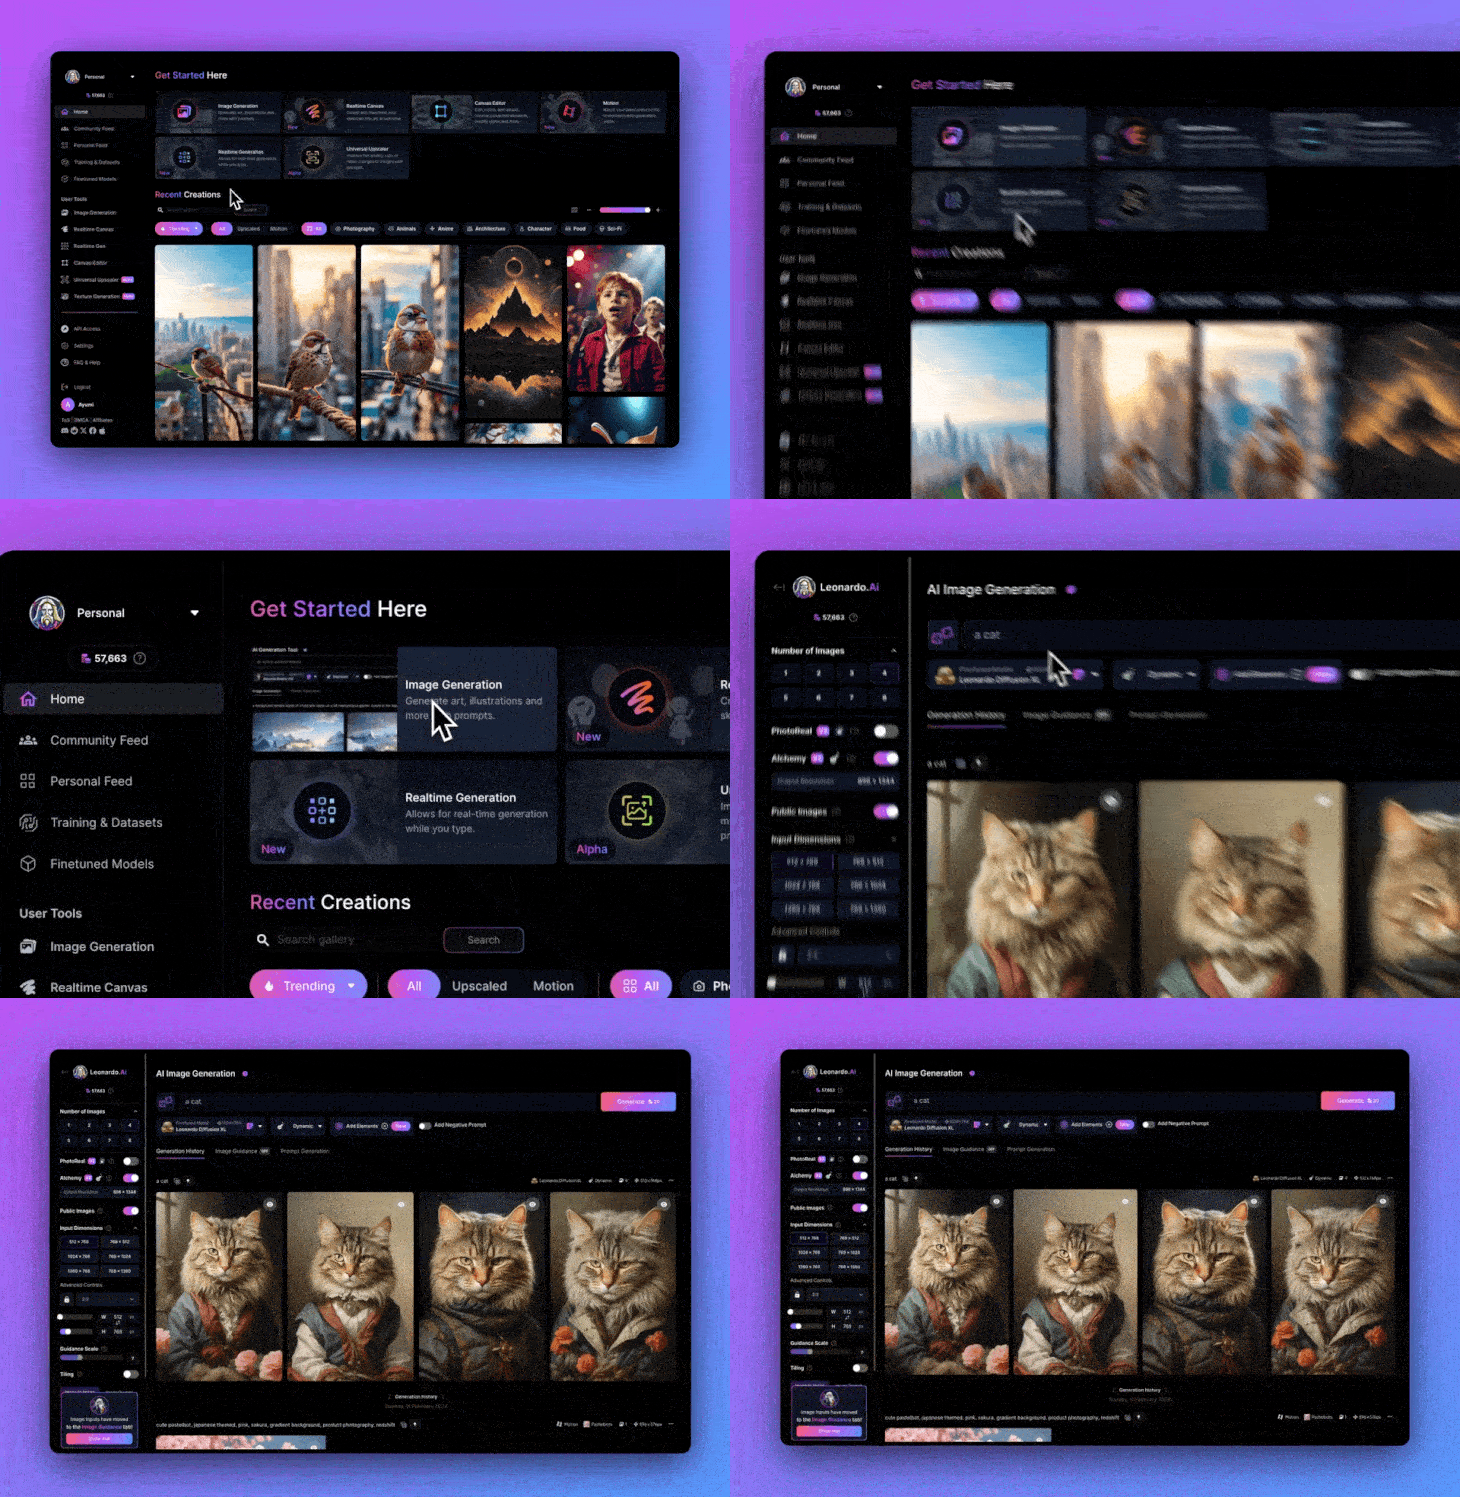
1. Path orientation to AI image creation
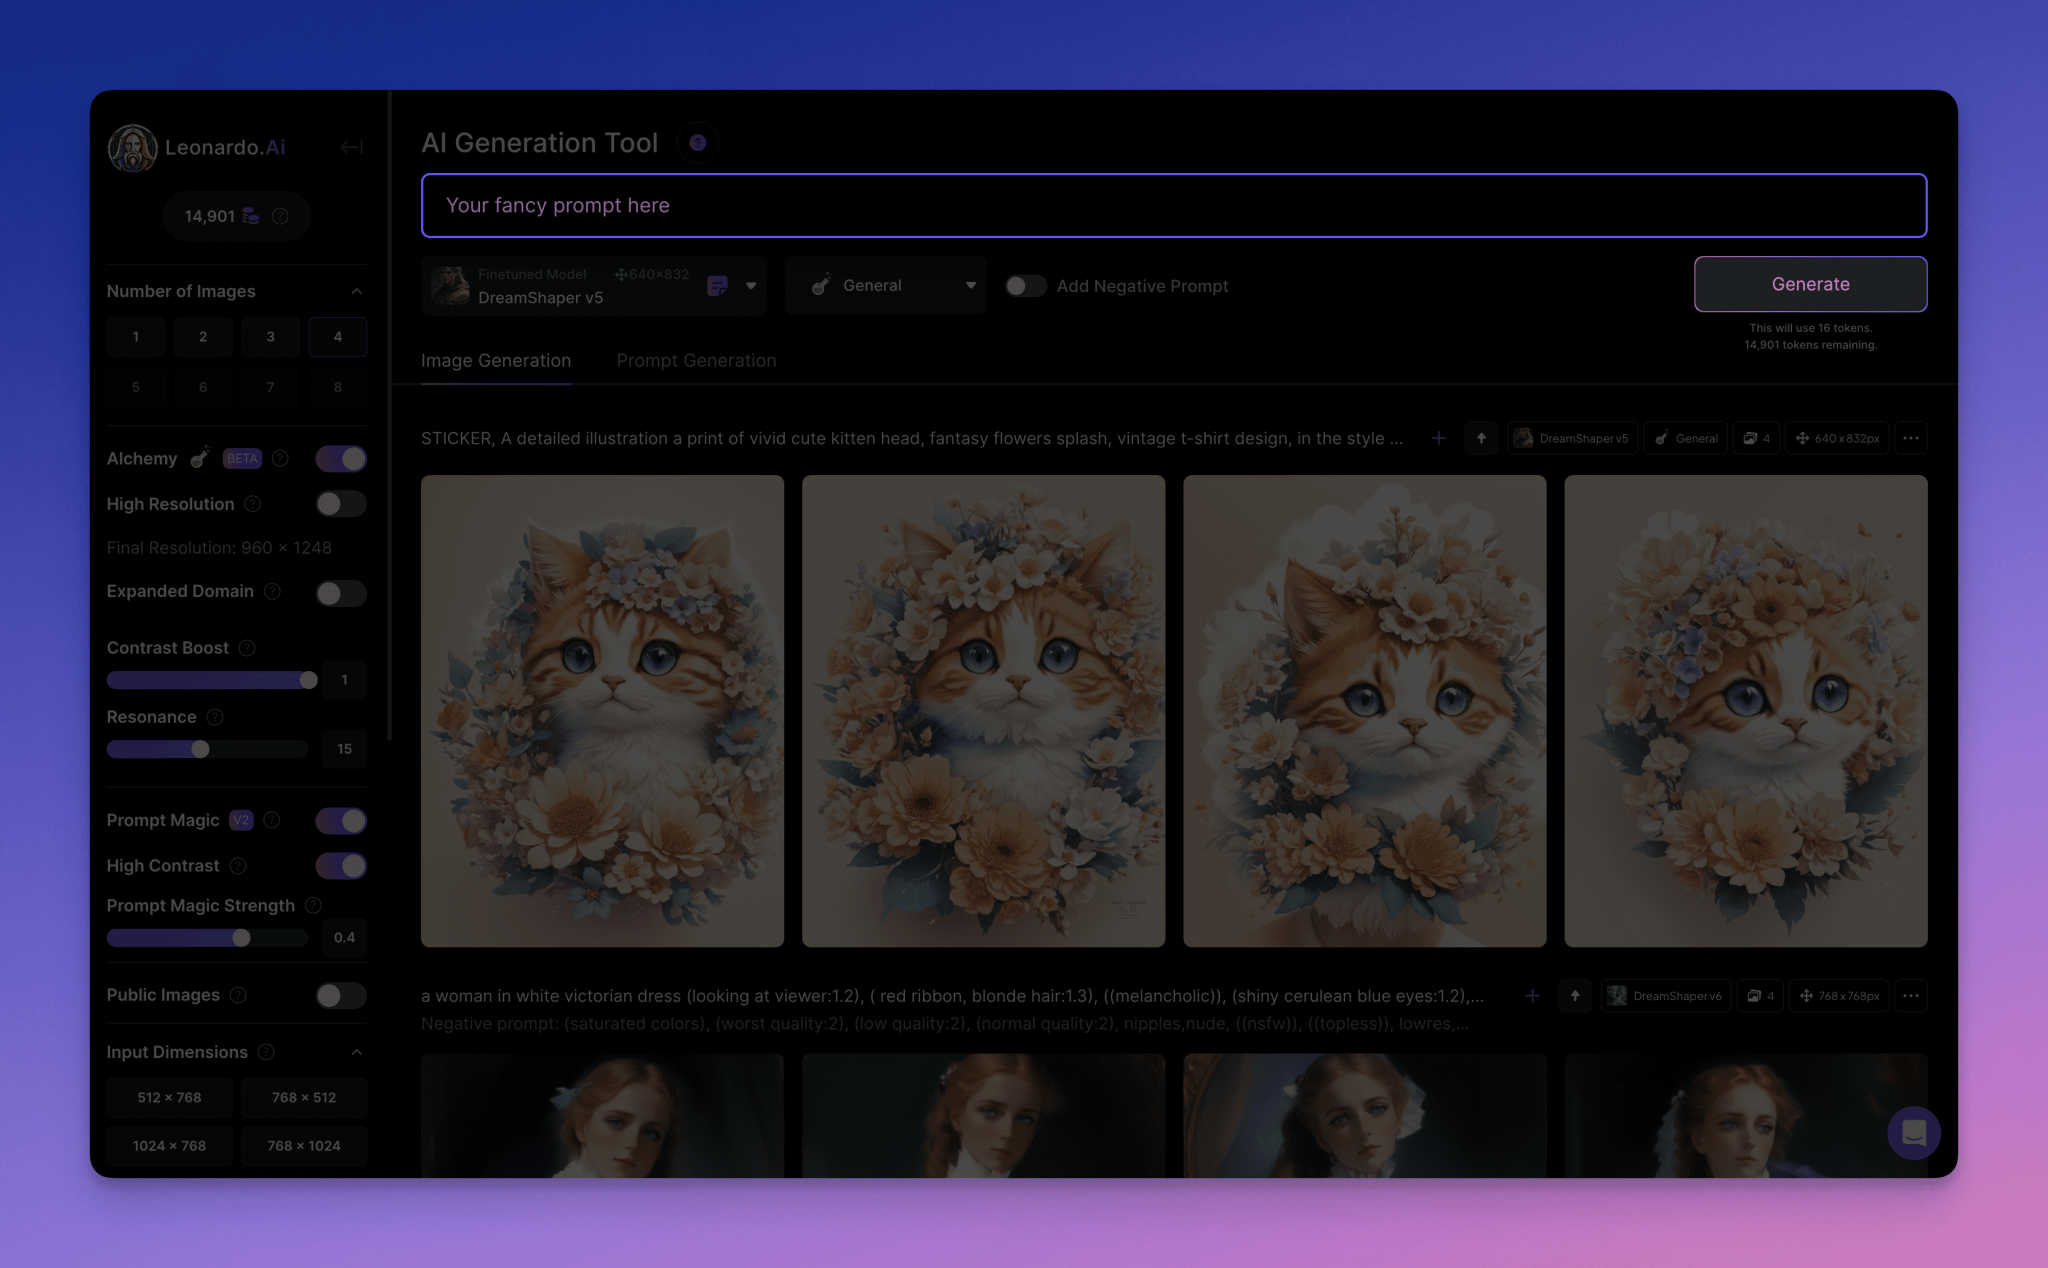
Click on "Image Generation" in the "Selected" area, or click on "Image Generation" in the "User Toolbox" on the left ribbon.
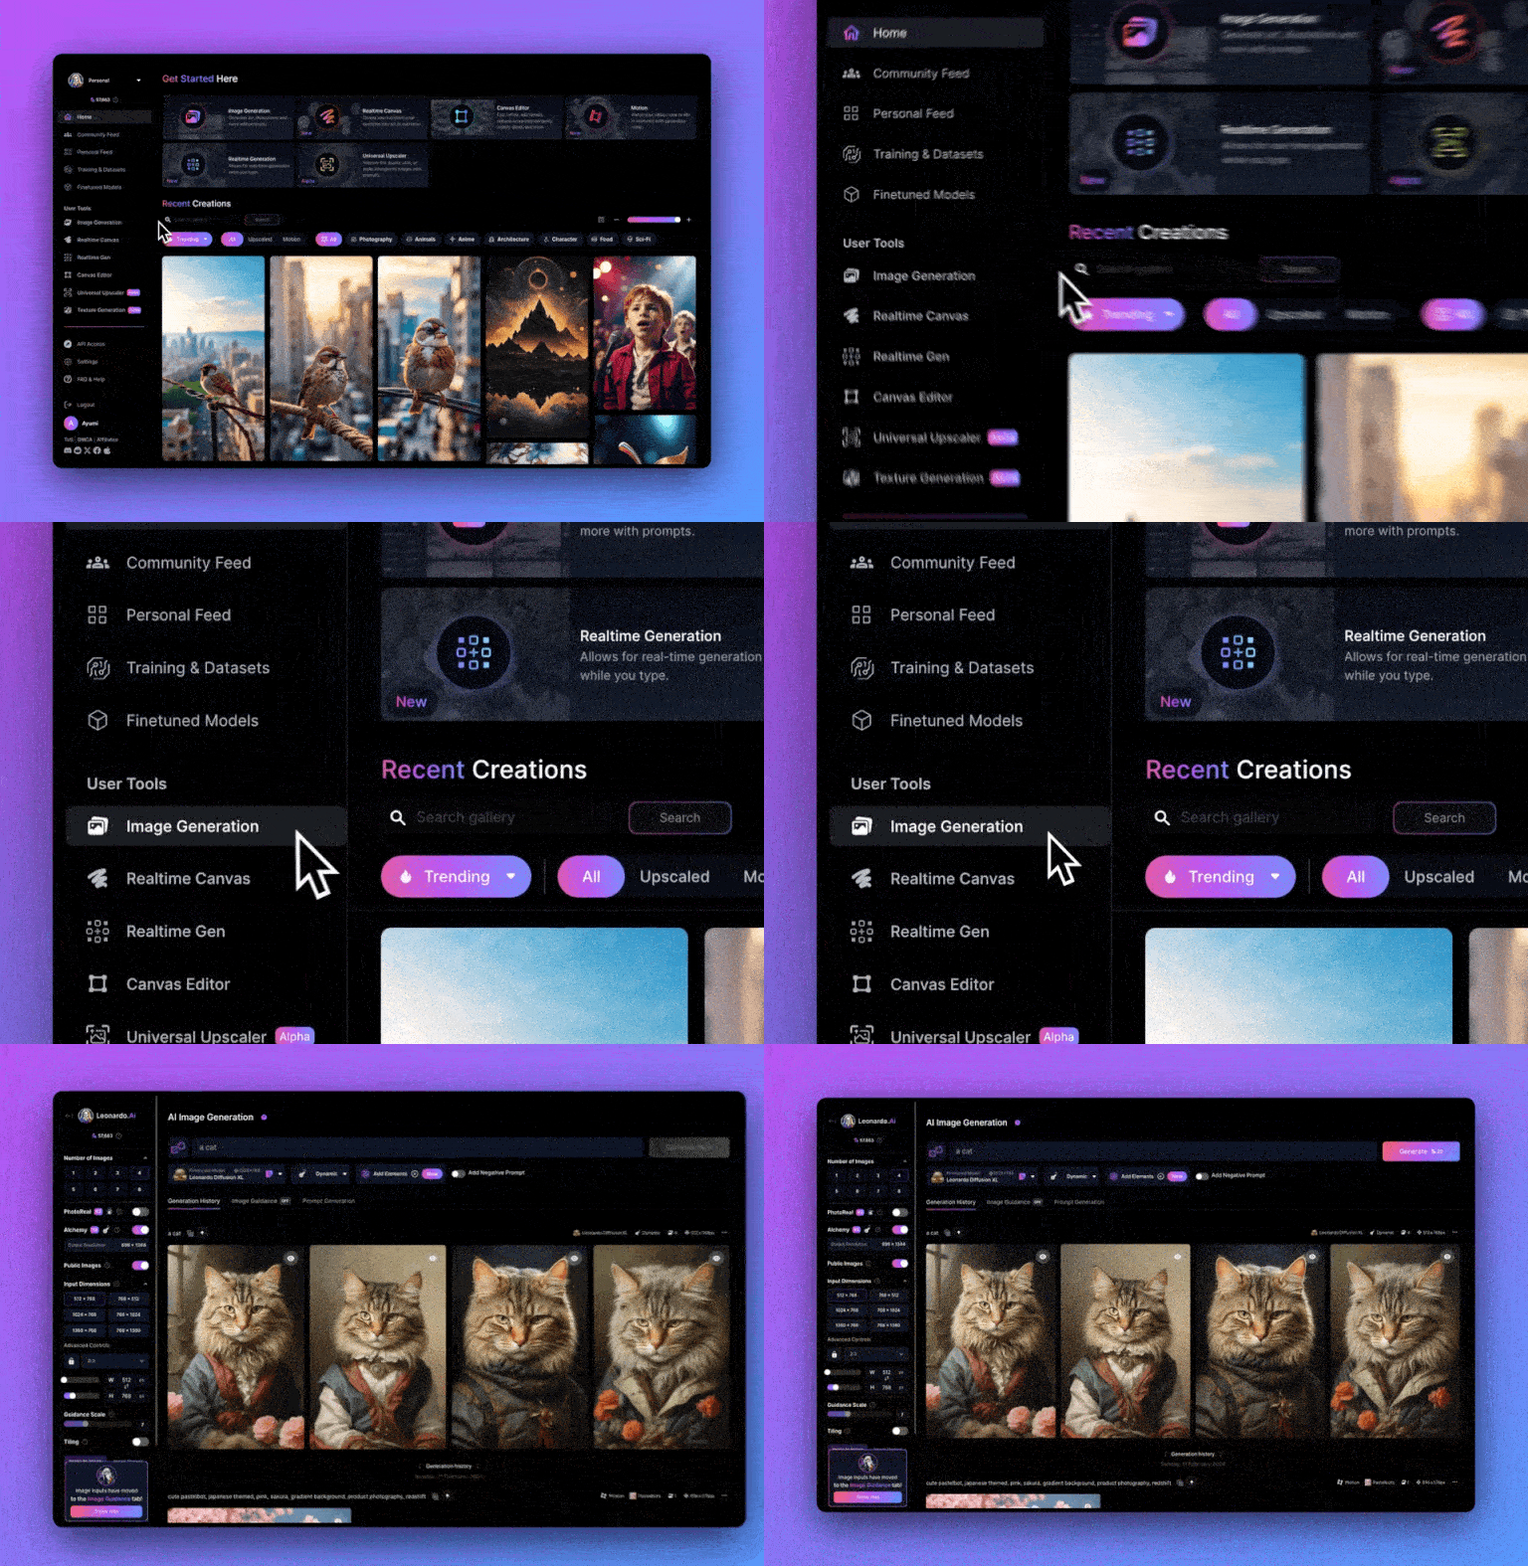
The AI image creation area page automatically loads settings, including one for "fine-tuning the model", as well as settings such as the number of images, the input size, and whether or not the "Alchemy" function is turned on.
As you gradually familiarize yourself with Leonardo.Ai, you will gradually learn how to adjust these settings to suit you. When generating your first image, we'll follow the default settings.
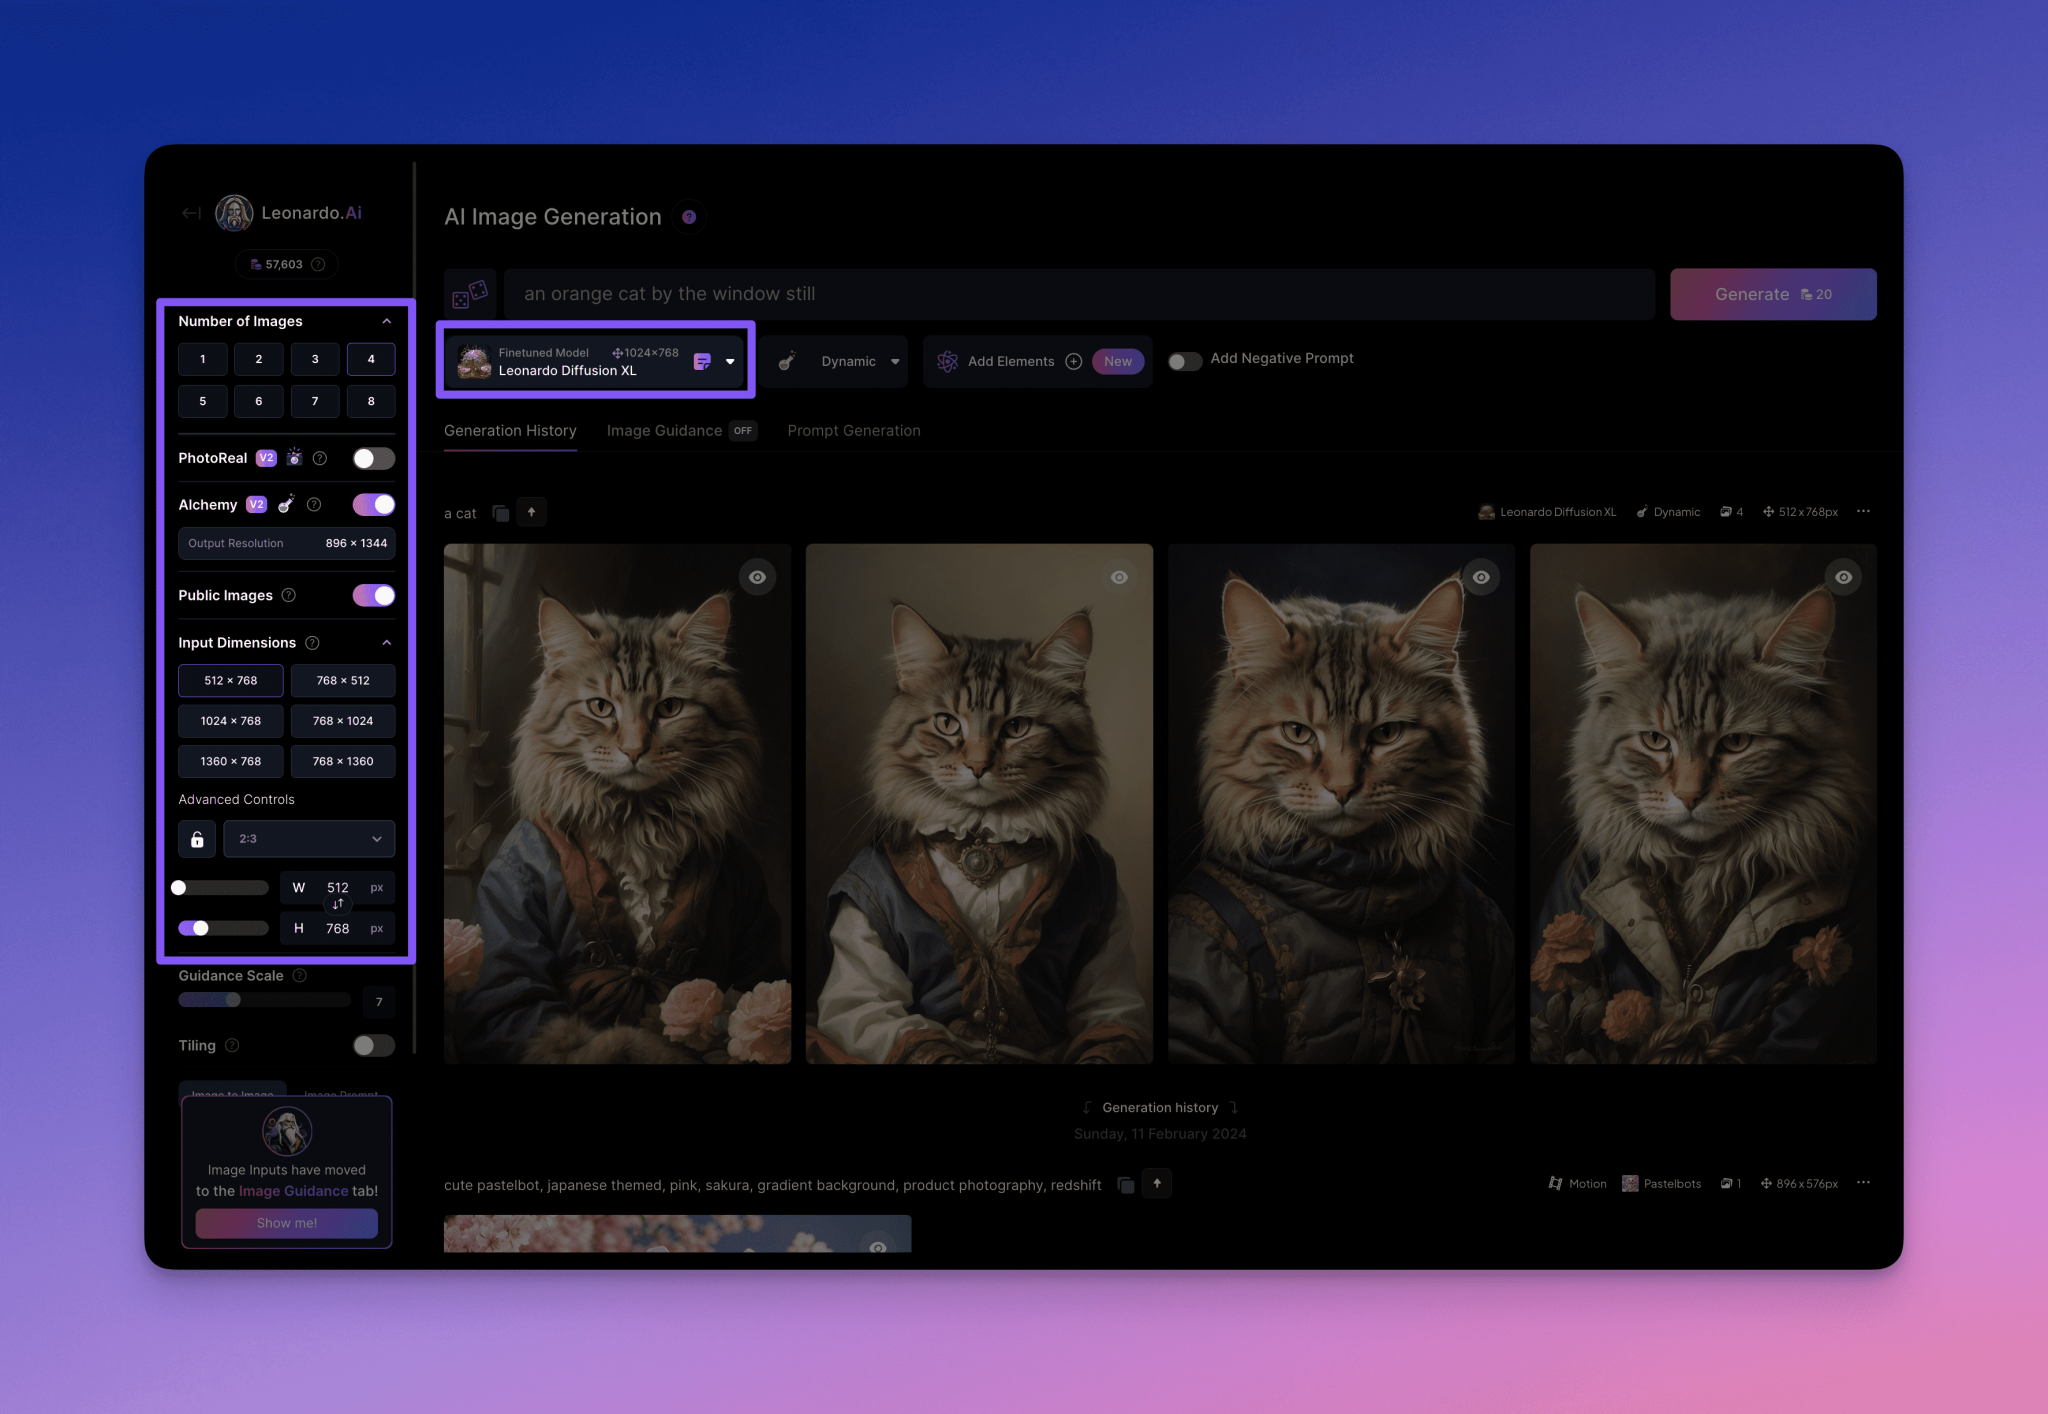
Fine-tuning the model (Finetuned Models)are specially trained models (such as the Leonardo Diffusion XL or DreamShaper 7) that excel in a particular style or use, as opposed to more common basic models (such as the basic SDXL or SD1.5 models). You can find more information on the [Fine-tuning the model page] for more detailed information on the individual fine-tuning models.
The Leonardo team releases formal fine-tuned models on a regular basis to ensure that you are able to take full advantage of the latest technology tools in your innovation efforts.
Alchemy (Alchemy)is Leonardo.Ai's unique processing streamline that allows your visual material to display extremely fine detail, with the ability to be tuned with reckless abandon and high resolution. Turning this on will dramatically improve your output. You can learn more about this nifty feature in the [Enhancing Image Quality with Alchemy] guide.
2. Preparation of text alerts
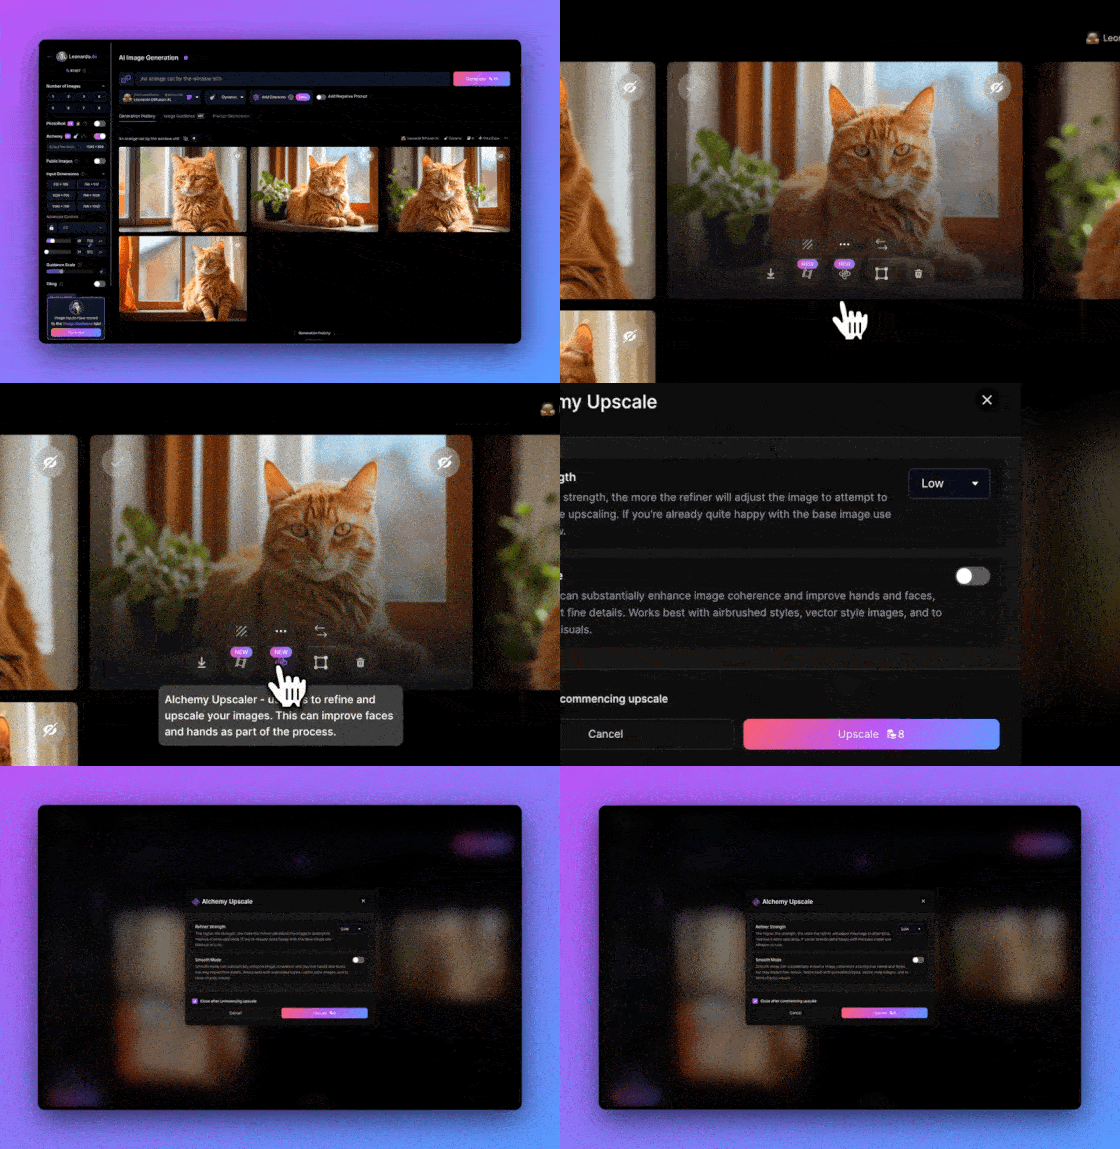
In the input box below the AI image-generated text, type in a text prompt that you would like to see, such as "Orange cat on the windowsill".
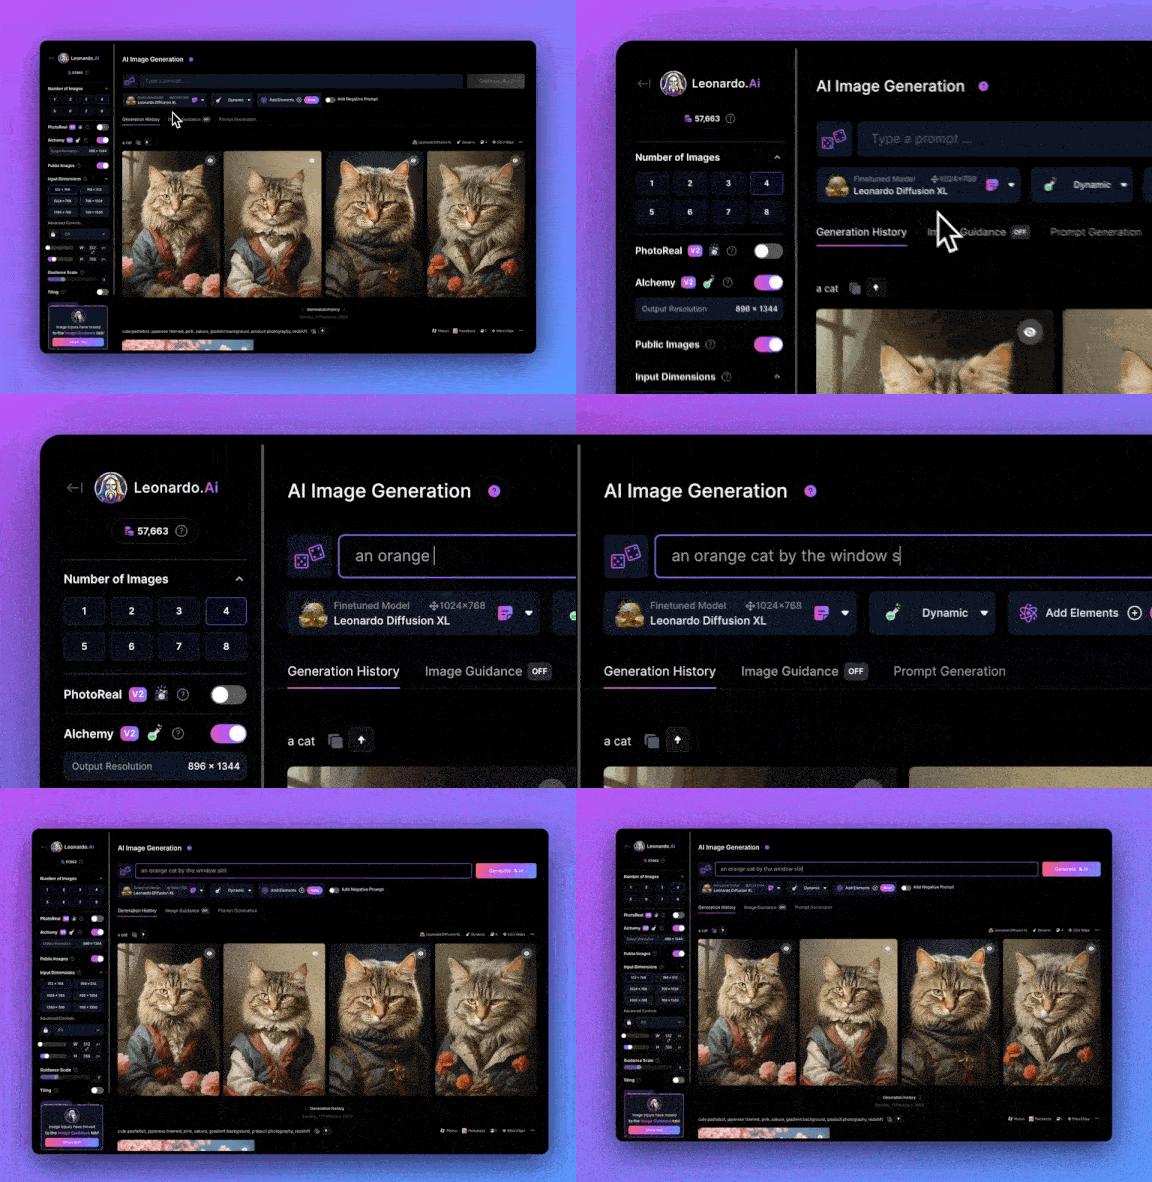
It's worth noting that unlike a language model, image generation is more suited to you describing specifically the picture you want to see and using keywords. For example:
"Please draw me an orange cat on the windowsill."
A more effective tip should be:
"The orange cat on the windowsill."
A typical prompt usually consists of 3 parts, namelySubject(such as a woman or a cat).Medium(e.g., film photography or oil on canvas) andStyle(e.g. long exposure photography or heavy). Tip content that describes your needs in as much detail as possible will help get the image results you want, but it's best to start with simple settings in the initial stages.
⚠️ Note: During the image generation process, the textual cues are descriptions of the scene, not instructions to operate the AI model.
3. Click on the "Generate" button.
After entering your text idea, click the "Generate" button. This will start the image generation process, which may take a few seconds if additional steps like "Alchemy" are checked.
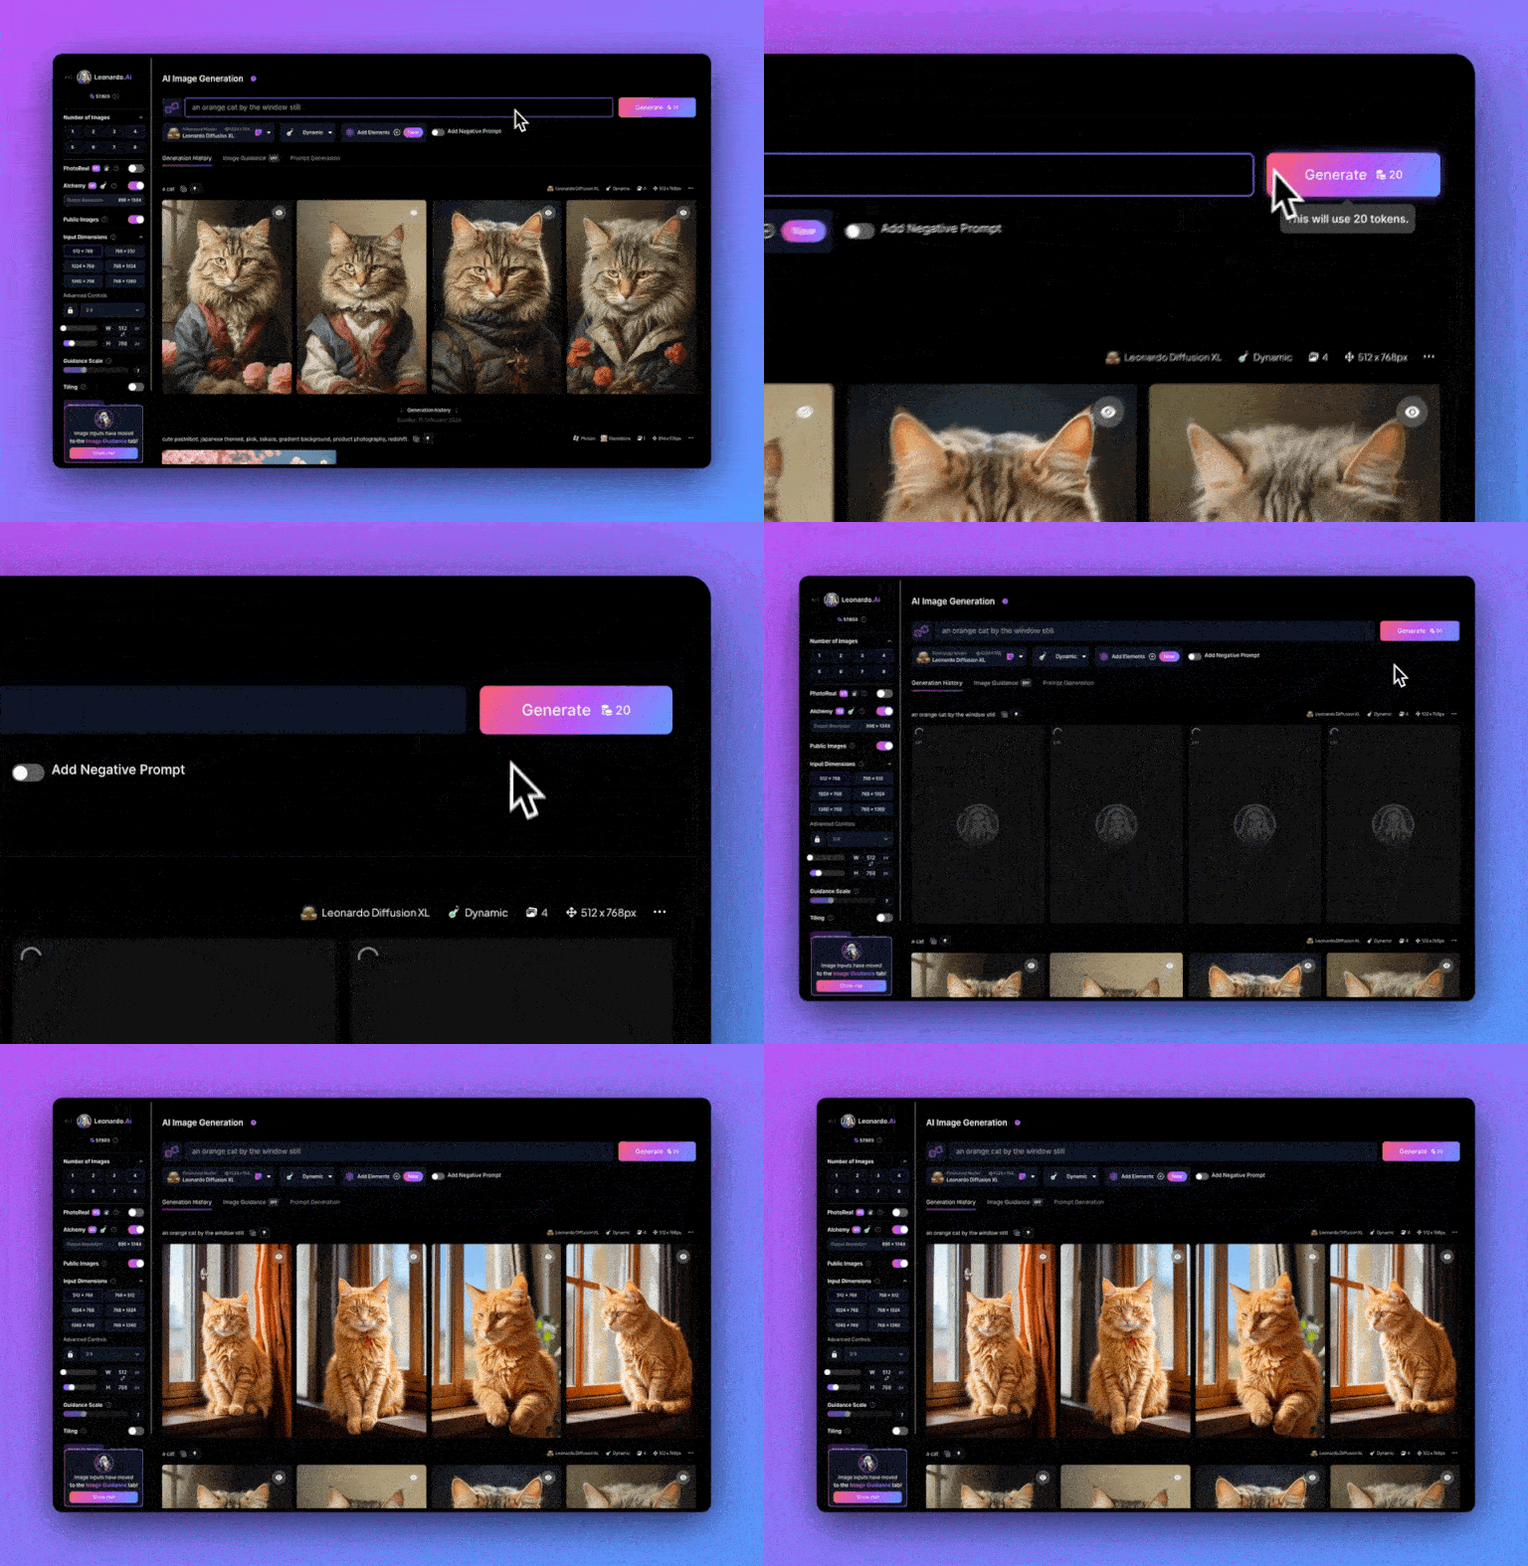
When the image has been generated, it will be displayed on your screen immediately. At that time, you can download this image and use it for your project.
In just a few steps, you've generated a high-quality image on Leonardo.Ai.
You may have noticed that a key ingredient in creating great images is text prompts. In the next guide, you'll learn how to [create great text prompts] by utilizing Leonardo.
© Copyright notes
Article copyright AI Sharing Circle All, please do not reproduce without permission.
Related posts

No comments...

