Harbor: a containerized toolset for easily managing and running AI services with one-click deployment of local LLM development environments

General Introduction
Harbor is a revolutionary containerized LLM toolset focused on simplifying the deployment and management of local AI development environments. It enables developers to start and manage all AI service components, including LLM backend, API interface, front-end interface, etc., with a single click through a concise command line interface (CLI) and supporting applications. As an open source project, Harbor is particularly suitable for developers who need to quickly build and experiment with LLM applications. It not only supports mainstream AI models and services, but also provides flexible configuration options and a complete toolchain, allowing developers to focus on application development rather than environment configuration.Harbor adopts the Apache 2.0 open source protocol, has active community support, and has received more than 770 star tags on GitHub, which is recognized and used by many developers.


Function List
- One-Click Deployment: Start a complete LLM service environment with a single command
- Container Management: Integrating Docker and Docker Compose for Service Orchestration
- Multiple backend support: compatible with multiple LLM engines and model formats (GGUF, SafeTensors, etc.)
- Service Integration: Collaboration of Pre-Configured API Services and Front-End Interfaces
- Development tools: Provides a complete local development tool chain
- Configuration flexibility: support for customizing service components and configuration options
- SSL Certificates: Built-in Certbot support for easy configuration of HTTPS access
- Environment Migration: Support configuration export, easy to migrate to the production environment
- Monitoring Management: Provide service status monitoring and log viewing functions
- Version control: support the management of different versions of AI service components
Using Help
1. Environmental preparation
1.1 System requirements
- Operating System: Supports Linux, MacOS or Windows WSL2
- Docker Engine 20.10+
- Docker Compose 1.18.0+
- Node.js 16+ (optional, for npm install method)
1.2 Installing Harbor
# 方式1:使用npm安装
npm install -g @avlab/harbor
# 方式2:使用curl安装
curl -sfL https://get.harbor.ai | sh
2. Basic use
2.1 Starting services
# 初始化Harbor环境
harbor init
# 启动所有服务
harbor up
# 查看服务状态
harbor ps
2.2 Service configuration
# 配置模型路径
harbor config set models.path /path/to/models
# 启用特定服务
harbor enable chatui
harbor enable api
# 禁用服务
harbor disable service-name
3. Advanced functions
3.1 SSL Certificate Configuration
# 设置环境变量
export NGINX_SSL_CERT_FILENAME=fullchain.pem
export NGINX_SSL_CERT_KEY_FILENAME=privkey.pem
export CERTBOT_DOMAIN=your_domain.com
export CERTBOT_EMAIL=your@email.com
# 获取证书
harbor ssl setup
3.2 Customized configuration
# 导出配置
harbor eject
# 修改配置文件
vim harbor.yaml
# 使用自定义配置启动
harbor up -c custom-config.yaml
4. Common operational processes
4.1 Deployment of new services
- Check the list of services:
harbor list - Enable the required services:
harbor enable <service-name> - Configure the service parameters:
harbor config set <param> <value> - Start the service:
harbor up - Verify the status of the service:
harbor ps
4.2 Troubleshooting
# 查看服务日志
harbor logs <service-name>
# 检查服务状态
harbor status
# 重启服务
harbor restart <service-name>
5. Best practices
- Regular backup of configuration files
- Managing Custom Configurations with Version Control
- Monitor service resource utilization
- Keep Harbor and related components up to date
- Accelerate the deployment process with project presets
Installable AI services
user
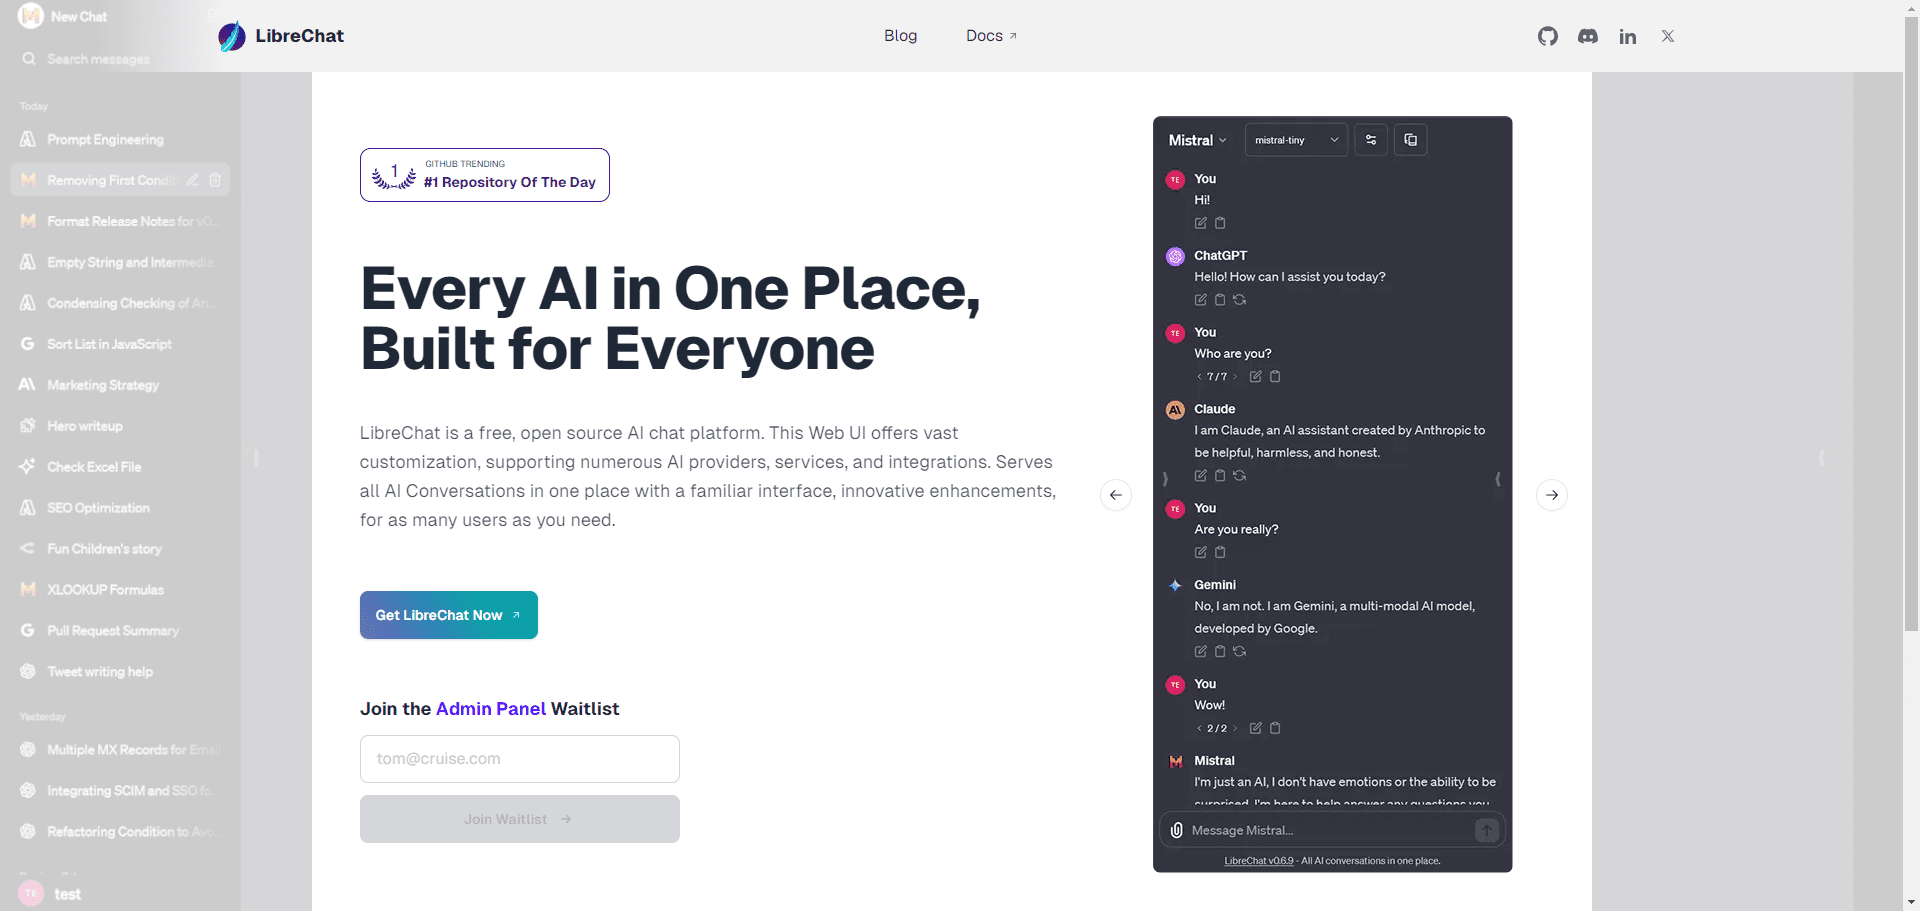
Open WebUI ⦁︎ ComfyUI ⦁︎ LibreChat ⦁︎ HuggingFace ChatUI ⦁︎ Lobe Chat ⦁︎ Hollama ⦁︎ parllama ⦁︎ BionicGPT ⦁︎ AnythingLLM ⦁︎ Chat Nio
back-end service
Ollama ⦁︎ llama.cpp ⦁︎ vLLM ⦁︎ TabbyAPI ⦁︎ Aphrodite Engine ⦁︎ mistral.rs ⦁︎ openedai-speech ⦁︎ faster-whisper-server ⦁︎ Parler ⦁︎ text-generation-inference ⦁︎ LMDeploy ⦁︎ AirLLM ⦁︎ SGLang ⦁︎ KTransformers ⦁︎ Nexa SDK
Extension Tools
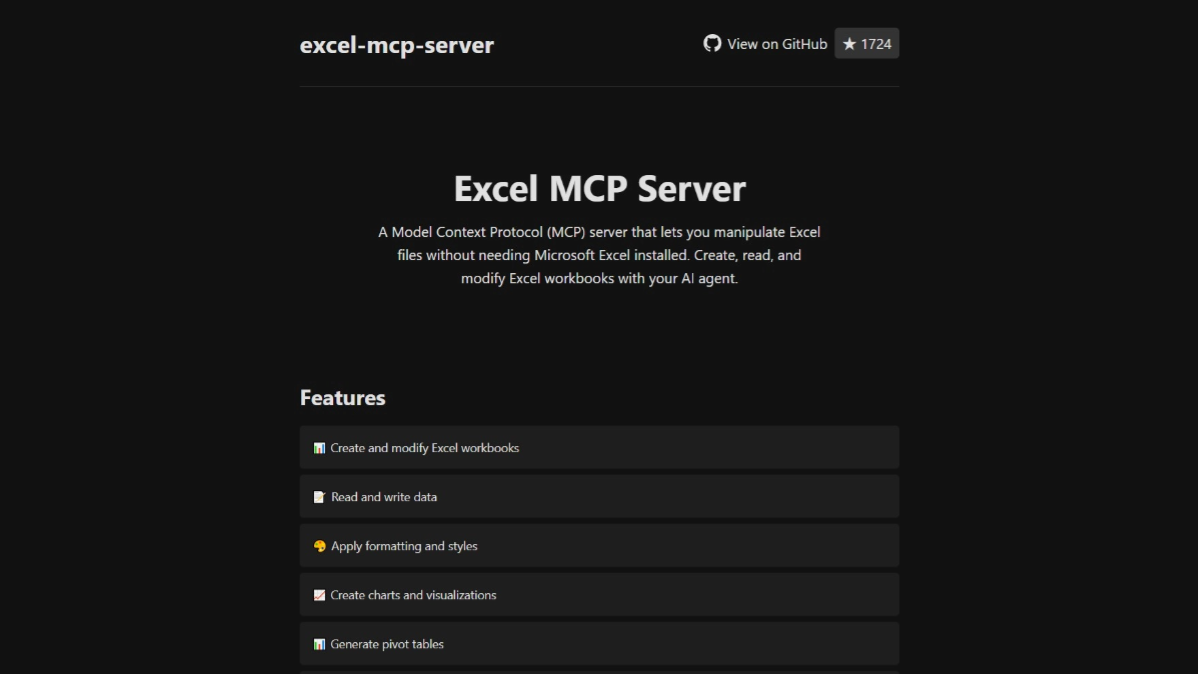
Harbor Bench ⦁︎ Harbor Boost ⦁︎ SearXNG ⦁︎ Perplexica ⦁︎ Dify ⦁︎ Plandex ⦁︎ LiteLLM ⦁︎ LangFuse ⦁︎ Open Interpreter ⦁ ︎cloudflared ⦁︎ cmdh ⦁︎ fabric ⦁︎ txtai RAG ⦁︎ TextGrad ⦁︎ Aider ⦁︎ aichat ⦁︎ omnichain ⦁︎ lm-evaluation-harness ⦁︎ JupyterLab ⦁︎ ol1 ⦁︎ OpenHands ⦁︎ LitLytics ⦁︎ Repopack ⦁︎ n8n ⦁︎ Bolt.new ⦁︎ Open WebUI Pipelines ⦁︎ Qdrant ⦁︎ K6 ⦁︎ Promptfoo ⦁︎ Webtop ⦁︎ OmniParser ⦁︎ Flowise ⦁︎ Langflow ⦁︎ OptiLLM
See also Service Documentation Get a brief overview of each service.
Detailed steps for installing Open WebUI with Harbor
1. Pre-preparation
- Ensure that Docker and Docker Compose are installed
- Ensure that the Harbor CLI is properly installed
- Ensure that the system meets the basic requirements (8GB or more RAM recommended)
2. Initializing the Harbor environment
# 初始化Harbor环境
harbor init
# 验证Harbor环境
harbor doctor
3. Installation and configuration of Open WebUI
3.1 Enabling WebUI Services
# 启用Open WebUI服务
harbor enable webui
3.2 Configuration of basic parameters (optional)
# 配置WebUI版本(如果需要指定特定版本)
harbor webui version <version>
# 配置WebUI端口(默认为8080)
harbor config set webui.port <port_number>
4. Activation of services
# 启动所有已启用的服务,包括WebUI
harbor up
# 或者仅启动WebUI服务
harbor up webui
5. Verification of installation
- Go to http://localhost:8080 (or any other port you set up)
- Check the status of the service:
harbor ps
6. Common management commands
Check Service Status
# 查看所有运行中的服务
harbor ps
# 查看WebUI日志
harbor logs webui
service management
# 停止WebUI服务
harbor stop webui
# 重启WebUI服务
harbor restart webui
# 更新WebUI版本
harbor webui version latest
harbor restart webui
7. Integration of Ollama (optional)
If you want to connect to Ollama using WebUI:
# 启用Ollama服务
harbor enable ollama
# 重启服务
harbor restart
8. Troubleshooting of common problems
Checking service health status
harbor doctor
View specific error messages
harbor logs webui
Port Conflict Resolution
If port 8080 is occupied:
# 修改WebUI端口
harbor config set webui.port 8081
harbor restart webui
9. Configuration file location
- Master Configuration File:
~/.harbor/.env - WebUI Configuration:
~/.harbor/open-webui/
10. Backup recommendations
# 导出当前配置
harbor eject > harbor-backup.yaml
Caveats:
- Ensure that the system has sufficient resources to run the service
- The first boot may take some time to download the image
- If you encounter permission issues, check the Docker permission settings
- Regular backup of configuration files is recommended
- Keep Harbor and related services updated to the latest version
开始使用:
1. 完成安装后,打开浏览器访问 http://localhost:8080
2. 首次访问时会要求进行基本设置
3. 可以开始使用Open WebUI进行AI对话了
需要帮助时可以使用:
```bash
harbor help webui© Copyright notes
Article copyright AI Sharing Circle All, please do not reproduce without permission.
Related articles


No comments...