Fish Speech: Fast and Highly Accurate Cloning of English and Chinese Speech Using Few Samples
General Introduction
Fish Speech is an open source text-to-speech (TTS) synthesis tool developed by Fish Audio. The tool is based on cutting-edge AI technologies such as VQ-GAN, Llama, and VITS, and is capable of converting text into realistic speech.Fish Speech not only supports multiple languages, but also provides an efficient speech synthesis solution for a variety of application scenarios, such as voice-over, voice assistants, and accessible reading.
Voice cloning project FishSpeech 1.5 updated ~ similar to the previous one I shared for example F5-TTS , MaskGCT FishSpeech is a voice cloning program that requires only 5-10 seconds of voice samples to highly reproduce a person's voice characteristics, and supports multiple language interchanges such as Chinese, English, Japanese, and Korean.
An open source Fish Speech v1.5.0 Optimized One Piece Integration Pack has been provided.

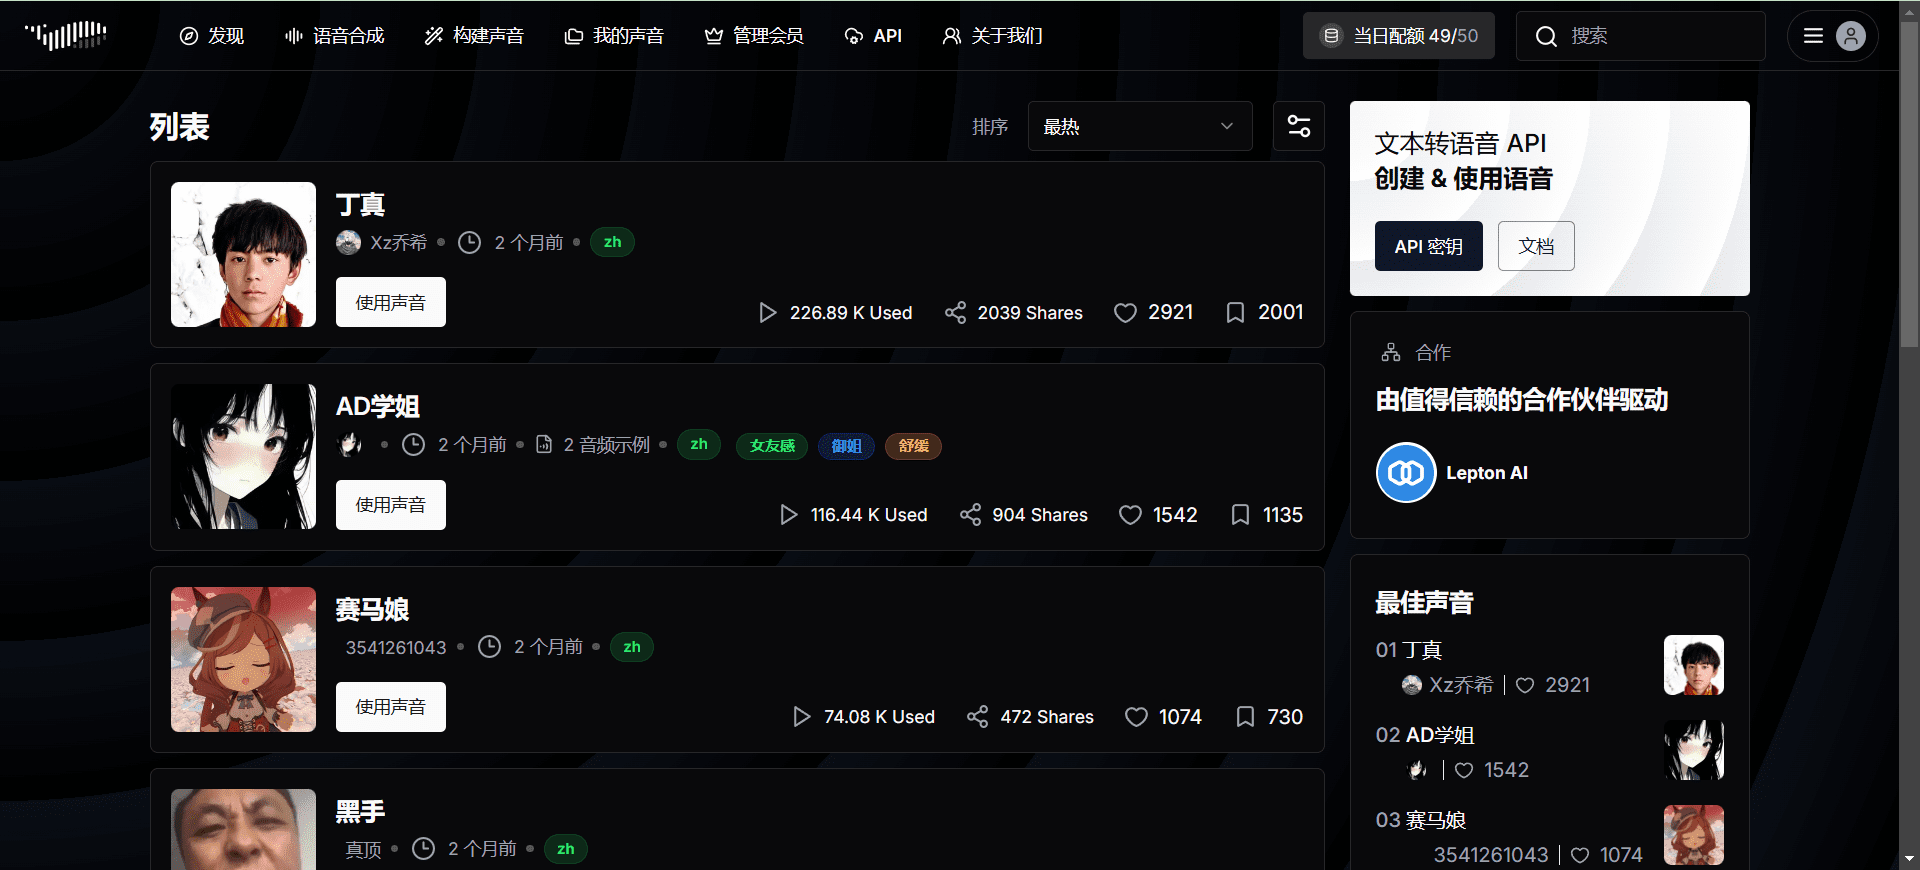
Experience it online at https://fish.audio/zh-CN/

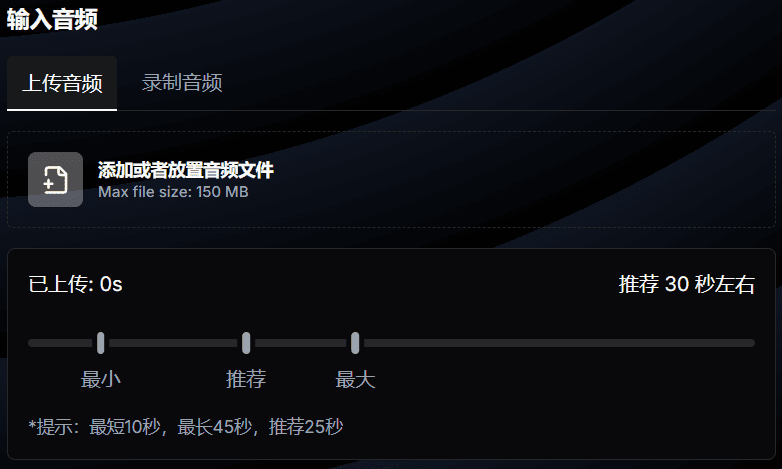
Recommended 30-second audio
Function List
- Multi-language support: Supports text-to-speech conversion in multiple languages.
- Efficient synthesis: Efficient speech synthesis based on VQ-GAN, Llama and VITS.
- open source project: The code is open source and users can download and use it freely.
- Online Demo: Provide online demo function, users can directly experience the effect of speech synthesis.
- Model Download: Support for downloading pre-trained models from the Hugging Face platform.
Using Help
Installation process
system requirements
- GPU Memory: 4GB (for reasoning), 8GB (for fine-tuning)
- systems: Linux, Windows
Windows Configuration
professional user
- Consider using WSL2 or Docker to run the codebase.
non-professional user
- Unzip the project zipThe
- strike (on the keyboard) install_env.bat installation environmentThe
- You can decide whether or not to use the mirror download by editing the USE_MIRROR entry in install_env.bat.
USE_MIRROR=falseUse the original site to download the latest stable version of the torch environment.USE_MIRROR=trueUse the mirror site to download the latest torch environment (default).
- You can decide whether to enable the compilable environment download by editing the INSTALL_TYPE entry of install_env.bat.
INSTALL_TYPE=previewDownload the development version of the compilation environment.INSTALL_TYPE=stableDownload the stable version without the compilation environment.
- You can decide whether or not to use the mirror download by editing the USE_MIRROR entry in install_env.bat.
- If step 2 INSTALL_TYPE=previewIf you do not want to use this step, then perform this step (which can be skipped; this step activates the compilation modeling environment).
- Download the LLVM compiler:
- LLVM-17.0.6(Original site download)
- LLVM-17.0.6(mirror site download)
- After downloading LLVM-17.0.6-win64.exe, double-click it to install it, choose a suitable installation location, and check Add Path to Current User to add environment variables.
- Download the LLVM compiler:
- Download and install Microsoft Visual C++ Redistributable Packageto solve the potential .dll loss problem.
- Download and install Visual Studio Community Editionto get the MSVC++ compilation tool to resolve LLVM header file dependencies.
- Visual Studio Download
- After installing the Visual Studio Installer, download Visual Studio Community 2022.
- Click on the Modify button, find the Desktop Development using C++ item and check Download.
- download and install CUDA Toolkit 12The
- double-click start.bat Open the Training Reasoning WebUI administration interface. If necessary, modify API_FLAGS as indicated below.
- Want to start the reasoning WebUI interface? Edit API_FLAGS.txt in the project root directory and change the first three lines to the following format:
--infer # --api # --listen ... - Want to start the API server? Edit API_FLAGS.txt in the root directory of your project and change the first three lines to the following format:
# --infer
--api
--listen ...
- Want to start the reasoning WebUI interface? Edit API_FLAGS.txt in the project root directory and change the first three lines to the following format:
- double-click run_cmd.bat Enter the conda/python command line environment for this projectThe
Linux Configuration
- Create a python 3.10 virtual environmentYou can also use virtualenv:
conda create -n fish-speech python=3.10 conda activate fish-speech - Installing pytorch::
pip3 install torch torchvision torchaudio - Install fish-speech::
pip3 install -e .[stable] - (Ubuntu / Debian users) Install sox::
apt install libsox-dev
Docker Configuration
- Installing the NVIDIA Container Toolkit::
- For Ubuntu users:
curl -fsSL https://nvidia.github.io/libnvidia-container/gpgkey | sudo gpg --dearmor -o /usr/share/keyrings/nvidia-container-toolkit-keyring.gpg \ && curl -s -L https://nvidia.github.io/libnvidia-container/stable/deb/nvidia-container-toolkit.list | \ sed 's#deb https://#deb [signed-by=/usr/share/keyrings/nvidia-container-toolkit-keyring.gpg] https://#g' | \ sudo tee /etc/apt/sources.list.d/nvidia-container-toolkit.list sudo apt-get update sudo apt-get install -y nvidia-container-toolkit sudo systemctl restart docker - For users with other Linux distributions, please refer to: NVIDIA Container Toolkit Install-guide for installation instructions.
- For Ubuntu users:
- Pull and run the fish-speech image::
docker pull lengyue233/fish-speech docker run -it \ --name fish-speech \ --gpus all \ -p 7860:7860 \ lengyue233/fish-speech \ zsh- If you need to use a different port, modify the
-pparameters areYourPort:7860The
- If you need to use a different port, modify the
- Download Model Dependencies::
- Make sure you are in a terminal within the docker container before downloading the required vqgan and llama models from our huggingface repository:
huggingface-cli download fishaudio/fish-speech-1.4 --local-dir checkpoints/fish-speech-1.4 - For users in mainland China, it can be downloaded through the mirror site:
HF_ENDPOINT=https://hf-mirror.com huggingface-cli download fishaudio/fish-speech-1.4 --local-dir checkpoints/fish-speech-1.4
- Make sure you are in a terminal within the docker container before downloading the required vqgan and llama models from our huggingface repository:
- To configure environment variables, access the WebUI::
- In a terminal inside the docker container, type:
export GRADIO_SERVER_NAME="0.0.0.0" - Next, in the terminal inside the docker container, type:
python tools/webui.py - If WSL or MacOS, access the
http://localhost:7860The WebUI interface opens. - If deployed on a server, replace the
localhostis your server IP.
- In a terminal inside the docker container, type:
Fish Audio One-Click Installer
Recommend the latest version of Niu, unzip the password: niugee.com
https://drive.google.com/drive/folders/1KeYuZ9fYplDEgA3jg2IUKtECpT0wsz6V?usp=drive_link
Link:https://pan.baidu.com/s/1pWaziAC7xMV908TuOkYdyw?pwd=niug Extract code: niug
Sword 27 Special Edition: https://pan.quark.cn/s/30608499dee1 The zip unzip password is jian27 or jian27.com
© Copyright notes
Article copyright AI Sharing Circle All, please do not reproduce without permission.
Related posts

No comments...

