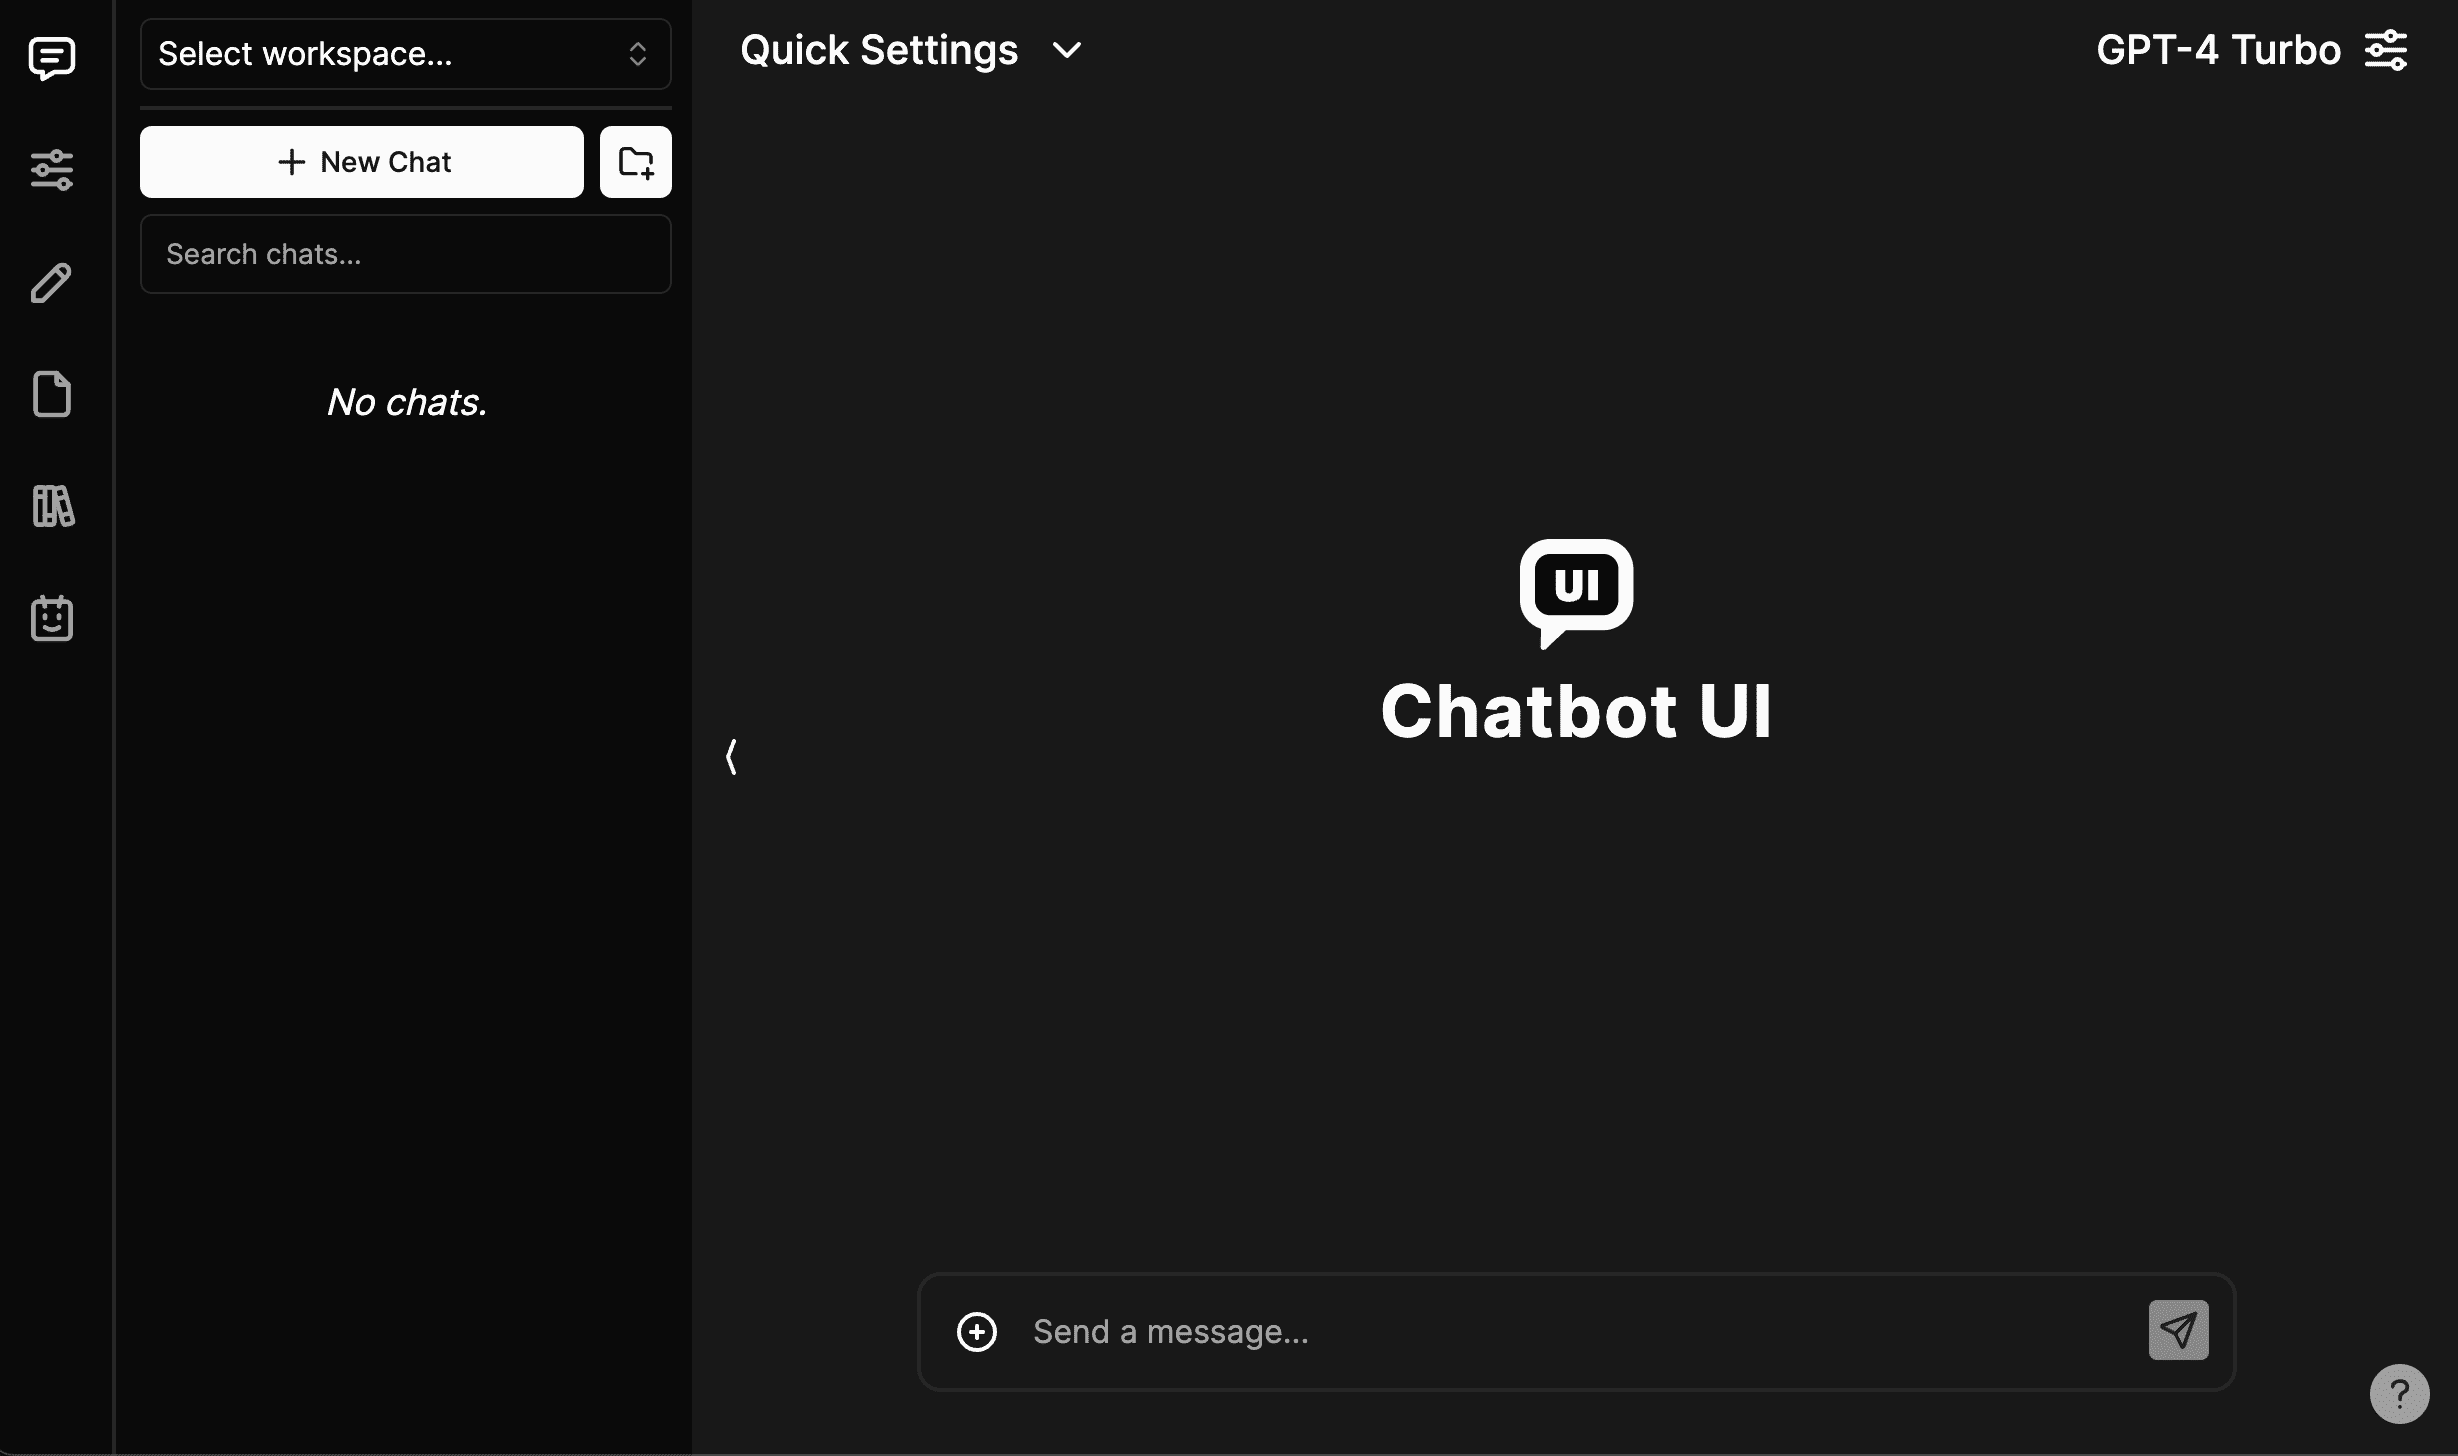
Chatbot UI: an open source AI chat app that mimics ChatGPT's interface and functionality
General Introduction
Chatbot UI is an open source project designed to help developers create personalized and intelligent conversational interfaces. The project provides a series of interface components and interactive features that can be easily integrated into the existing Chatbot system to provide users with a more fluid and intelligent conversation experience.Chatbot UI based on the MIT license , support for a variety of AI model integration with a simple UI design and easy to deploy. Based on the mckaywrigley/chatbot-ui project on GitHub, you can easily deploy and use it, and also supports mobile layout optimization.

Function List
- Provides a variety of interface components
- Support for multiple AI model integration
- Simple UI design
- Easy to deploy and integrate
- Support for multiple accounts and SSO authentication
- Extensible plug-in system
Using Help
Installation process
- clone warehouse::
git clone https://github.com/mckaywrigley/chatbot-ui.git - Installation of dependencies::
npm install - Add Extension: Enable extensions as needed, following the instructions in the README file.
- Running the application: Local operation:
npm run devor run it with Docker:
docker build -t chatbot-ui .
docker run --env-file=.env.local -p 3000:3000 --name chatbot chatbot-ui
Instructions for use
- Configuring the API Key: Create a
.env.localfile and set it up:OPENAI_API_KEY=YOUR_KEYIf the API key is not available, the user needs to provide their own key.
- Environment variable configuration: The following environment variables can be set when deploying the application:
OPENAI_API_KEY: Default API key for OpenAI authenticationOPENAI_API_HOST: Configure alternative hostsOPENAI_ORGANIZATION: Designation of OpenAI organizations
- Functional operation flow::
- interface component: With the provided component library, developers can quickly build dialog interfaces.
- model integration: A variety of AI models are supported, and users can choose the right model for integration according to their needs.
- plug-in system: Extended functionality through plug-ins for different business needs.
Detailed steps
- Interface Component Usage::
- Import the required components:
import { ChatComponent } from 'chatbot-ui'; - Used in applications:
<ChatComponent model="gpt-3" />
- Import the required components:
- model integration::
- Configure the model parameters:
const modelConfig = { model: 'gpt-3', apiKey: process.env.OPENAI_API_KEY, }; - Initialize the model:
const chatModel = new ChatModel(modelConfig);
- Configure the model parameters:
- plug-in system::
- Install the plug-in:
npm install @chatbot-ui/plugin-name - Configure the plug-in:
import { Plugin } from '@chatbot-ui/plugin-name';
const pluginConfig = {
  option1: 'value1',
  option2: 'value2',
};
const plugin = new Plugin(pluginConfig);
- Install the plug-in:
© Copyright notes
Article copyright AI Sharing Circle All, please do not reproduce without permission.
Related posts

No comments...


