AniPortrait: Audio-driven picture or video motion to generate realistic digital human speech video
General Introduction
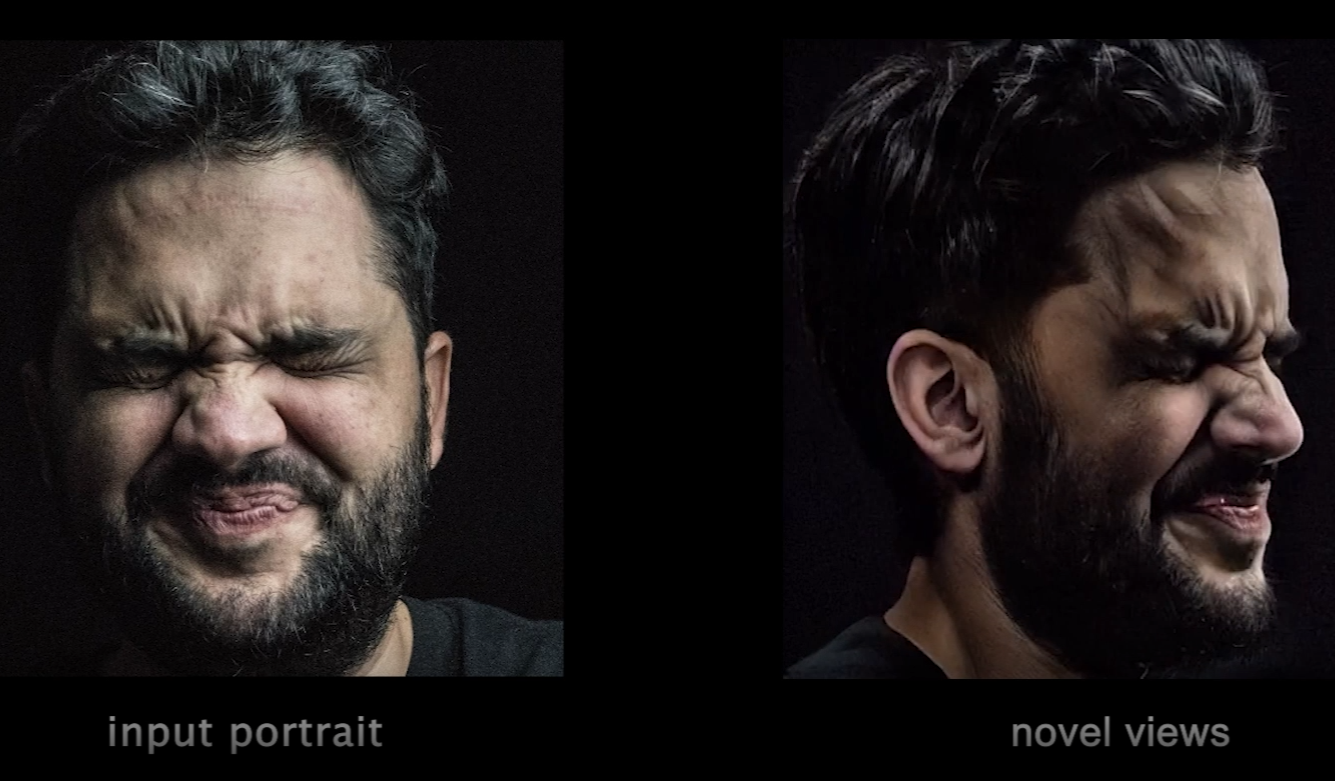
AniPortrait is an innovative framework for generating realistic portrait animations driven by audio. Developed by Huawei, Zechun Yang, and Zhisheng Wang of Tencent Game Know Yourself Lab, AniPortrait is capable of generating high-quality animations from audio and reference portrait images, and can even beProvide video for facial reenactment. By using advanced 3D intermediate representation and 2D facial animation techniques, the framework is able to generate natural and smooth animation effects for a variety of application scenarios such as film and television production, virtual anchors and digital people.
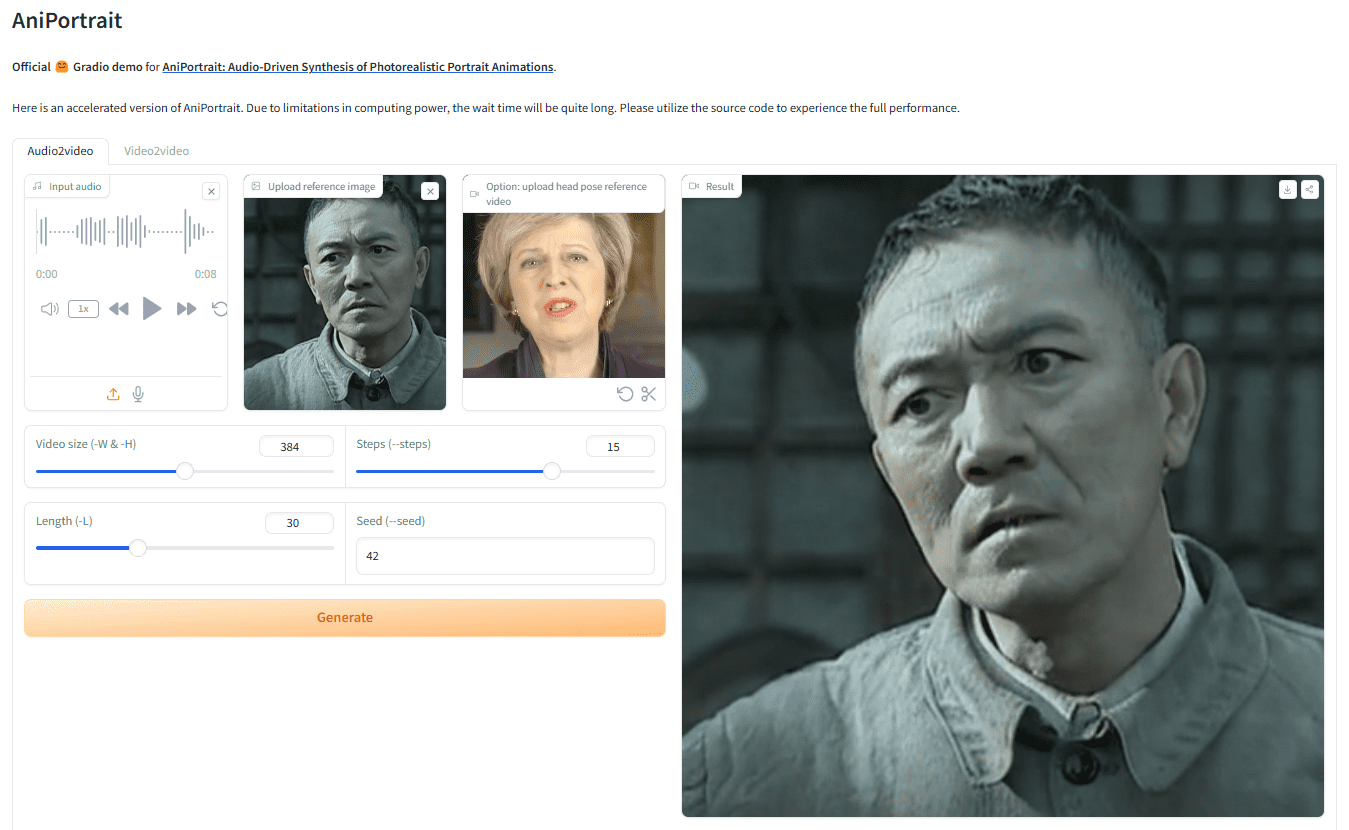
Demo address: https://huggingface.co/spaces/ZJYang/AniPortrait_official

Function List
- Audio Driven Animation: Generate corresponding portrait animation from audio input.
- Video Driven Animation: Provides video for facial reenactment to generate realistic facial animations.
- High-quality animation generation: Generate high-quality animation effects using 3D intermediate representation and 2D facial animation techniques.
- Web UI Demo: Provide online demo through Gradio Web UI for user-friendly experience.
- Model Training and Inference: Support model training and inference, users can customize data for training and generation.
Using Help
mounting
Environment Setup
We recommend using Python version >= 3.10 and CUDA version = 11.7. Follow the steps below to build the environment:
pip install -r requirements.txt
download weighting
All weight files should be placed in the./pretrained_weightsdirectory. Manually download the weights file as follows:
- Download the trained weights, including the following parts:
denoising_unet.pth,reference_unet.pth,pose_guider.pth,motion_module.pthetc. - Download pre-trained weights for the base model and other components:
- StableDiffusion V1.5
- sd-vae-ft-mse
- image_encoder
- wav2vec2-base-960h
The weights file structure is organized as follows:
./pretrained_weights/
|-- image_encoder
|   |-- config.json
|   `-- pytorch_model.bin
|-- sd-vae-ft-mse
|   |-- config.json
|   |-- diffusion_pytorch_model.bin
|   `-- diffusion_pytorch_model.safetensors
|-- stable-diffusion-v1-5
|   |-- feature_extractor
|   |   `-- preprocessor_config.json
|   |-- model_index.json
|   |-- unet
|   |   |-- config.json
|   |   `-- diffusion_pytorch_model.bin
|   `-- v1-inference.yaml
|-- wav2vec2-base-960h
|   |-- config.json
|   |-- feature_extractor_config.json
|   |-- preprocessor_config.json
|   |-- pytorch_model.bin
|   |-- README.md
|   |-- special_tokens_map.json
|   |-- tokenizer_config.json
|   `-- vocab.json
|-- audio2mesh.pt
|-- audio2pose.pt
|-- denoising_unet.pth
|-- film_net_fp16.pt
|-- motion_module.pth
|-- pose_guider.pth
`-- reference_unet.pth
Gradio Web UI
Try our web demo with the following command. We have also provided theOnline DemoThe
python -m scripts.app
inference
Note that it is possible to set the command-Lfor the desired number of generated frames, e.g.-L 300The
Acceleration method: If it takes too long to generate the video, you can download thefilm_net_fp16.ptand placed in./pretrained_weightsCatalog.
The following are the CLI commands to run the inference script:
self-driven
python -m scripts.pose2vid --config ./configs/prompts/animation.yaml -W 512 -H 512 -acc
can refer toanimation.yamlformat to add your own reference image or pose video. To convert the original video to a pose video (keypoint sequence), you can run the following command:
python -m scripts.vid2pose --video_path pose_video_path.mp4
facial reappearance
python -m scripts.vid2vid --config ./configs/prompts/animation_facereenac.yaml -W 512 -H 512 -acc
existanimation_facereenac.yamlAdd the source face video and reference image to the
Audio Driver
python -m scripts.audio2vid --config ./configs/prompts/animation_audio.yaml -W 512 -H 512 -acc
existanimation_audio.yamlAdd audio and reference images to the Deleteanimation_audio.yamlhit the nail on the headpose_tempYou can enable the audio2pose model. You can also use this command to generate the head pose control for thepose_temp.npy::
python -m scripts.generate_ref_pose --ref_video ./configs/inference/head_pose_temp/pose_ref_video.mp4 --save_path ./configs/inference/head_pose_temp/pose.npy
train
Data preparation
downloadingVFHQcap (a poem)CelebV-HQ.. Extract the keypoints from the original video and write the training json file (the following is an example of processing VFHQ):
python -m scripts.preprocess_dataset --input_dir VFHQ_PATH --output_dir SAVE_PATH --training_json JSON_PATH
Update rows in the training profile:
data:
json_path: JSON_PATH
Stage 1
Run command:
accelerate launch train_stage_1.py --config ./configs/train/stage1.yaml
Stage 2
Weighting the pre-trained motion modulesmm_sd_v15_v2.ckpt(download link) placed on./pretrained_weightsdirectory. In thestage2.yamlThe configuration file specifies the training weights for stage 1, for example:
stage1_ckpt_dir: './exp_output/stage1'
stage1_ckpt_step: 30000
Run command:
accelerate launch train_stage_2.py --config ./configs/train/stage2.yaml© Copyright notes
Article copyright AI Sharing Circle All, please do not reproduce without permission.
Related posts

No comments...

