
RuoYi AI: A backend framework for AI chat and drawing based on SpringBoot

General Introduction
RuoYi AI is a back-end project based on the ruoyi-plus framework , focusing on integrating AI chat and painting features . It is completely open source and free , using Java17 and SpringBoot 3.X technology stack , the backend management interface is built using elementUI , simple and easy to use . The project supports a variety of AI models such as ChatGPT4, Dall-E-3, etc., and also provides voice cloning, text-to-drawing, WeChat applets and other functions, which is suitable for developers to quickly build AI-capable applications. ruoyi-ai's design goal is to provide a flexible and scalable back-end solution to help users realize the needs of intelligent chat and image generation. Both individual developers and enterprise users can easily customize and deploy it through its rich features and documentation.


Function List
- AI Chat Support: Integrate models such as ChatGPT4, ChatGPT-4-All, etc. to realize intelligent conversations.
- AI Painting Features: Support for Dall-E-3 and Vincennes models for generating creative images.
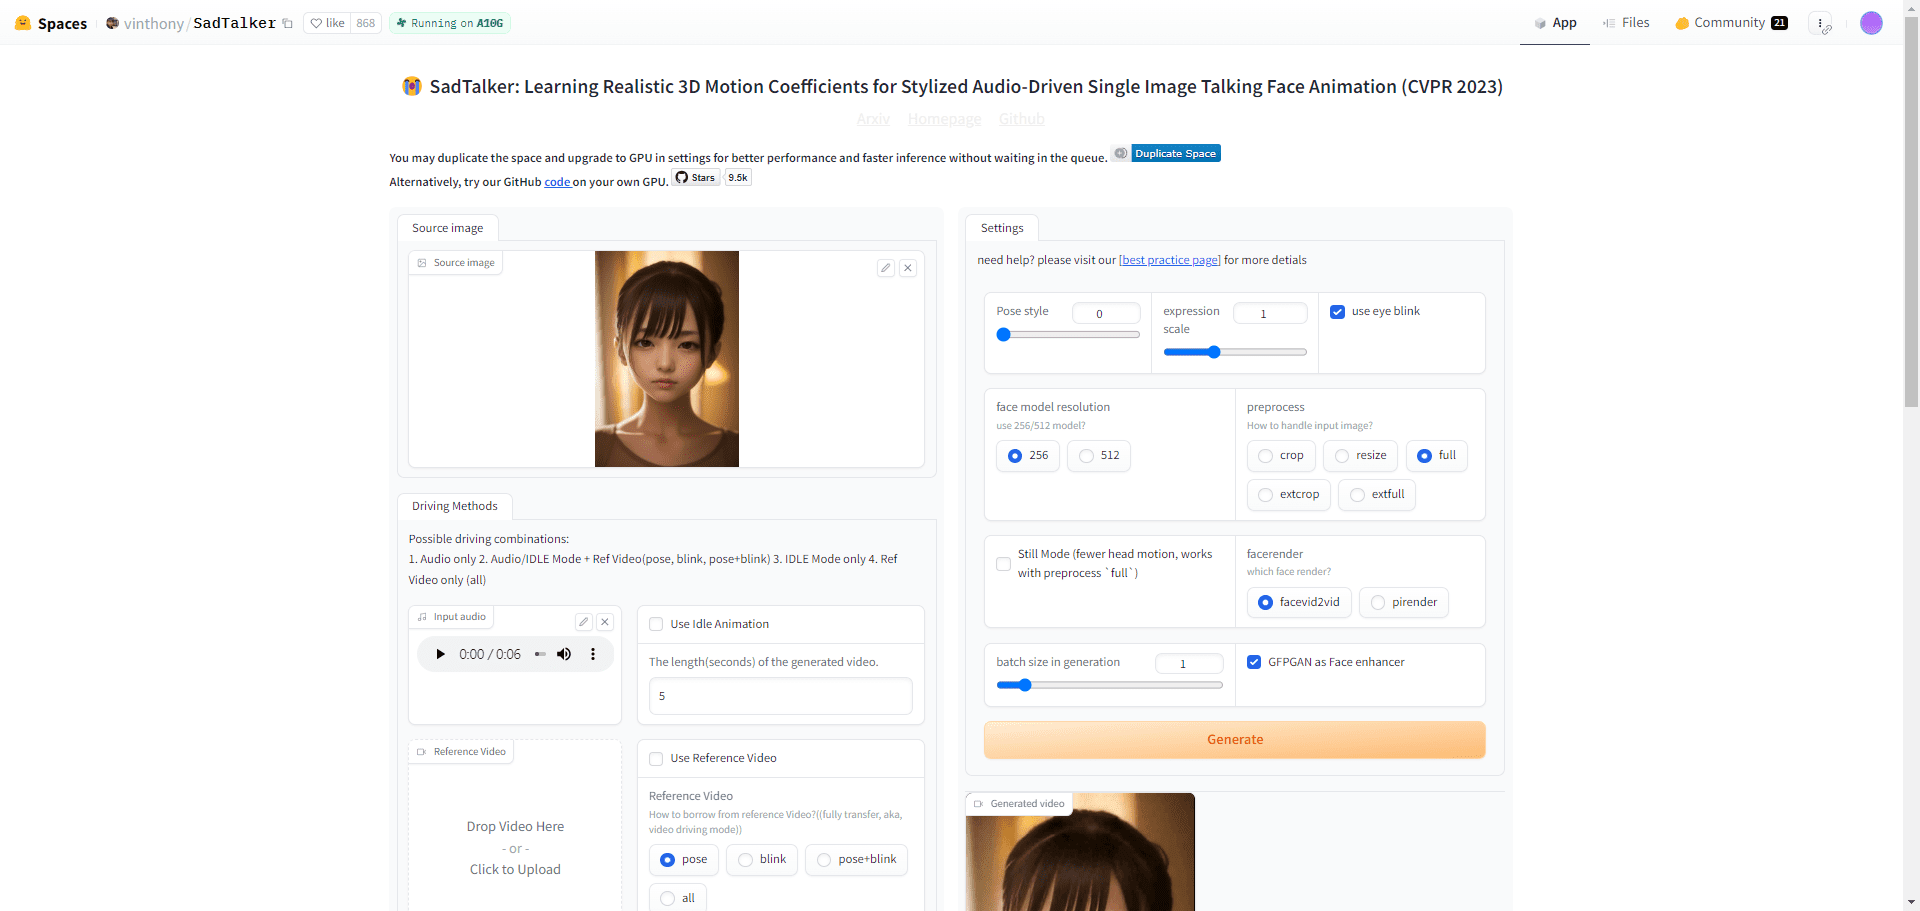
- voice cloning: Provides speech generation and cloning capabilities that can be used to personalize voice interaction.
- WeChat Small Program Docking: Supports development on the applet side for cross-platform use.
- Real-time payment integration: Supports real-time personal QR code arrival, based on the Easy Payment System.
- Personal WeChat Access: Allow personal micro-credit to be linked to ChatGPT Connect to enhance the social experience.
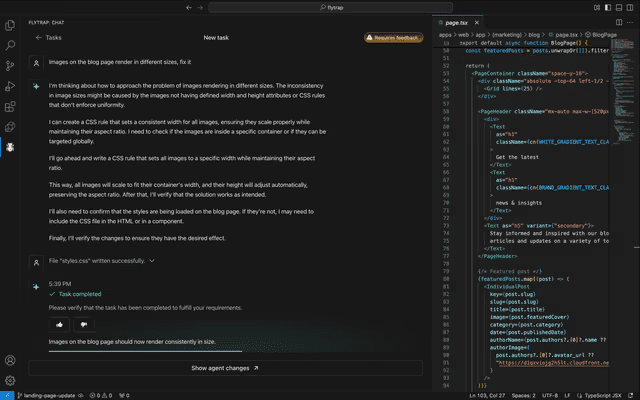
- Backend Management Interface: Based on elementUI, it provides user-friendly management operations.
- Open source and free: The code is completely open for secondary development and learning.
Using Help
Installation process
ruoyi-ai is a GitHub-based open source project that requires certain development environment configuration to run. Here are the detailed installation steps:
1. Environmental preparation
Make sure you have the following software installed on your computer:
- Java 17: This project uses Java17, which needs to be downloaded and configured with environment variables.
- Maven: For dependency management and project builds, the latest stable version is recommended.
- Git: Used to clone code from GitHub.
- MySQL: Database support, database needs to be installed and created in advance.
- Node.js(Optional): If the front-end management interface needs to be adjusted.
After the installation is complete, check the version:
java -version  # 确保输出为 17.x.x
mvn -v        # 检查 Maven 是否正常
git --version # 确认 Git 已安装
2. Cloning projects
Open a terminal and enter the following command to clone the ruoyi-ai repository:
git clone https://github.com/ageerle/ruoyi-ai.git
cd ruoyi-ai
3. Configuration projects
- Database Configuration::
- Create a new database in MySQL, e.g.
ruoyi_ai_dbThe - Find the project root directory of the
application.ymlfile to modify the database connection information:spring: datasource: url: jdbc:mysql://localhost:3306/ruoyi_ai_db?useSSL=false&serverTimezone=UTC username: root password: 你的密码
- Create a new database in MySQL, e.g.
- AI Model Keys(Optional):
- If you are using a model such as ChatGPT or Dall-E, you need to add an API key to the configuration file. Example:
ai:
chatgpt:
api-key: 你的ChatGPT密钥
dalle:
api-key: 你的Dall-E密钥
- If you are using a model such as ChatGPT or Dall-E, you need to add an API key to the configuration file. Example:
4. Build and run
Run the following command in the project root directory:
mvn clean install  # 编译并安装依赖
mvn spring-boot:run  # 启动项目
After successful startup, access the http://localhost:8080 Check that the backend administration interface is displayed properly.
5. Front-end package (optional)
The front-end management interface of ruoyi-ai needs to be cloned and run separately:
- Cloning front-end projects:
git clone https://github.com/ageerle/ruoyi-admin.git cd ruoyi-admin - Install the dependencies and start:
npm install  # 或 yarn install
npm run dev  # 或 yarn dev
The front-end runs by default in the http://localhost:8081, which can be used in conjunction with the back-end.
Main function operation flow
AI Chat feature
- configuration model::
- exist
application.ymlFill in the ChatGPT API key. - Restart the project to ensure that the configuration takes effect.
- exist
- access interface::
- Call the chat interface using a POST request, for example:
curl -X POST "http://localhost:8080/api/chat" -H "Content-Type: application/json" -d '{"message": "你好,我想了解AI"}' - The returned result is in JSON format and contains the AI's response.
- Call the chat interface using a POST request, for example:
- test effect::
- You can enter a message through the front-end management interface to see the effect of a real-time dialog. If you have not configured the front-end, you can test it directly with a tool (e.g. Postman).
AI Painting Features
- Configuring the Vincennes model::
- Add the API key for Dall-E-3 to the configuration file.
- Check if the dependency contains image processing libraries (e.g.
imageio).
- Generating images::
- Calls the drawing interface:
curl -X POST "http://localhost:8080/api/draw" -H "Content-Type: application/json" -d '{"prompt": "一幅未来城市的画"}' - The result is either a download link to the image file or a Base64 encoding.
- Calls the drawing interface:
- View Results::
- In the management interface, click on the "AI Painting" module, enter a description, and then generate and download the image.
voice cloning
- Preparing Audio Files::
- Upload a clear audio file (e.g. in MP3 format) to the server.
- invoke an interface::
- Use a POST request:
curl -X POST "http://localhost:8080/api/voice/clone" -F "file=@sample.mp3" - Returns the cloned voice file.
- Use a POST request:
- application scenario::
- Can be used to generate personalized voice prompts for integration into applets or chats.
WeChat Small Program Docking
- Cloning the small program side::
- Get the applet code:
git clone https://github.com/ageerle/ruoyi-uniapp.git
- Get the applet code:
- Configure the back-end address::
- Modify in the applet project
config.js, pointing to the back-end address:const BASE_URL = "http://localhost:8080";
- Modify in the applet project
- Run the applet::
- Open the project using WeChat Developer Tools to preview the results.
Featured Functions
Real-time payment integration
- Configure Easy Pay::
- Sign up for an Easy Pay account and get your key.
- exist
application.ymlAdd in:payment: yipay: key: 你的易支付密钥
- Generate QR code::
- interviews
http://localhost:8080/api/payment/qrcode, return to the payment QR code image.
- interviews
- Verify Payment::
- Receive payment results through the callback interface to ensure real-time arrival.
Personal WeChat Access ChatGPT
- Bind WeChat::
- Enter your personal microsignal and ChatGPT key in the administration interface.
- send a message::
- Send a message to a specified service number in WeChat, and the backend automatically calls ChatGPT to return a reply.
- test (machinery etc)::
- Try sending "Hello" to see if you get a smart reply.
caveat
- safety: The API key should be kept in a safe place to avoid leakage.
- performance optimization: If requests are frequent, configure the Redis cache, modify the
application.yml::spring: redis: host: localhost port: 6379 - documentation support: Detailed documentation for the project is available on the GitHub repository at
README.md, which can be consulted if problems are encountered.
With these steps, you can quickly get started with ruoyi-ai and experience its powerful AI features!
© Copyright notes
Article copyright AI Sharing Circle All, please do not reproduce without permission.
Related posts


No comments...